Checklist before creating the VM.
1. Start with the network
2. Name the VM
3. Decide the location for the VM
4. Determine the size of the VM
5. Understanding the pricing model
6. Storage for the VM
7. Select an operating system
How to create Virtual machine in Azure using Azure Portal
Login to Azure Portal -> Click Virtual Machine
Click Create


Select Subscription
Resource Group
Virtual Machine Name
Region

Select Operating system and Size -> Price will applicable as per the assigned size
Enter User Name and password

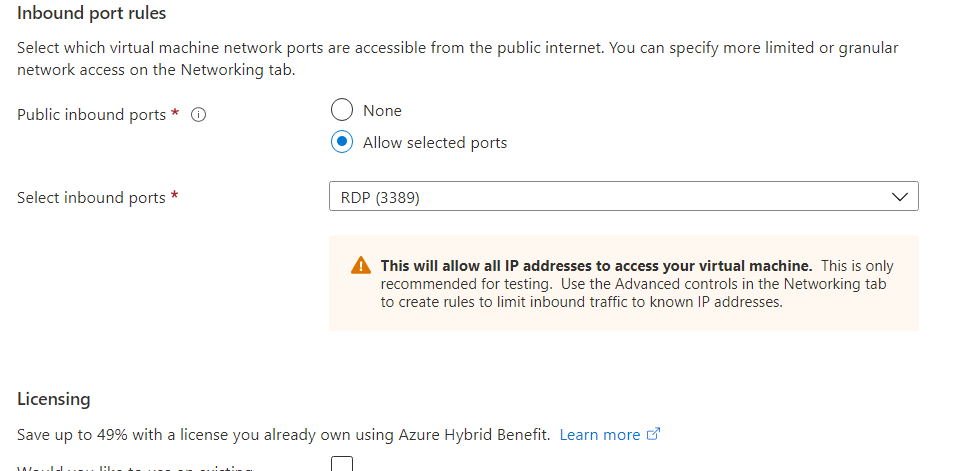
Create Inbound port rule -> If you want to enable RDP port select RDP 3389 port allow.
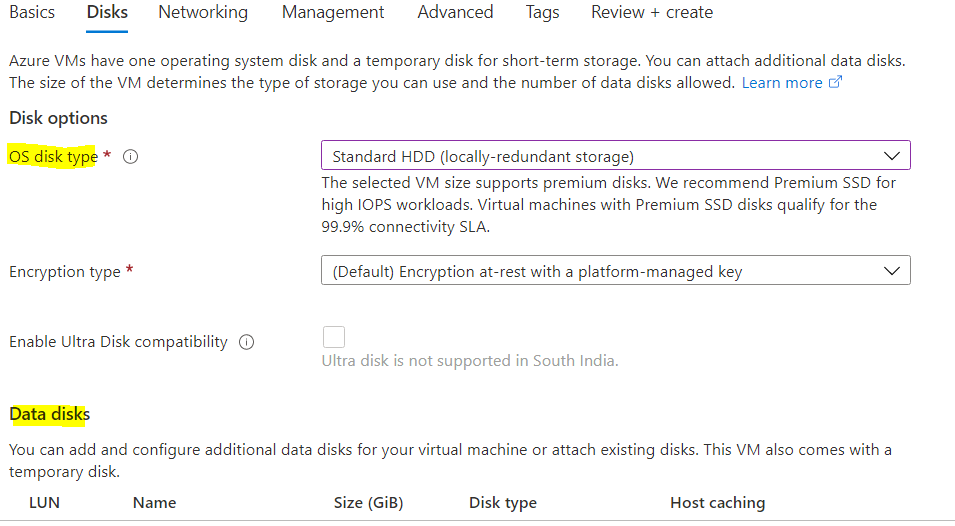
Click next Disk type ->
Select the Disk type for OS and LUN for Data disk
Note-: If you are deploying VM using without any storage disk, one temp disk will add default and you can store your data in temp drive but when you will Power Off the VM data will wipe from temp disk
Click Networking
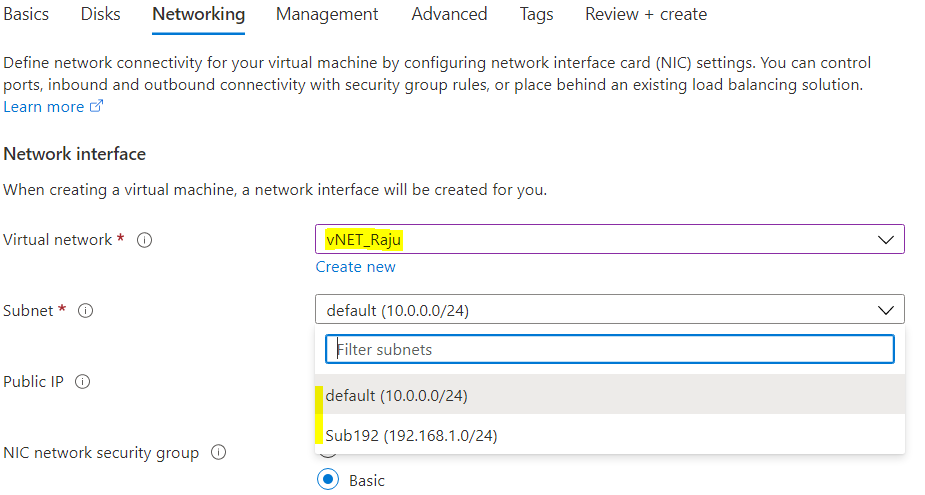
You will see a couple of Subnets inside the Virtual Network-> Select one of them from the list.
I am leaving other options default
Click Review + Create
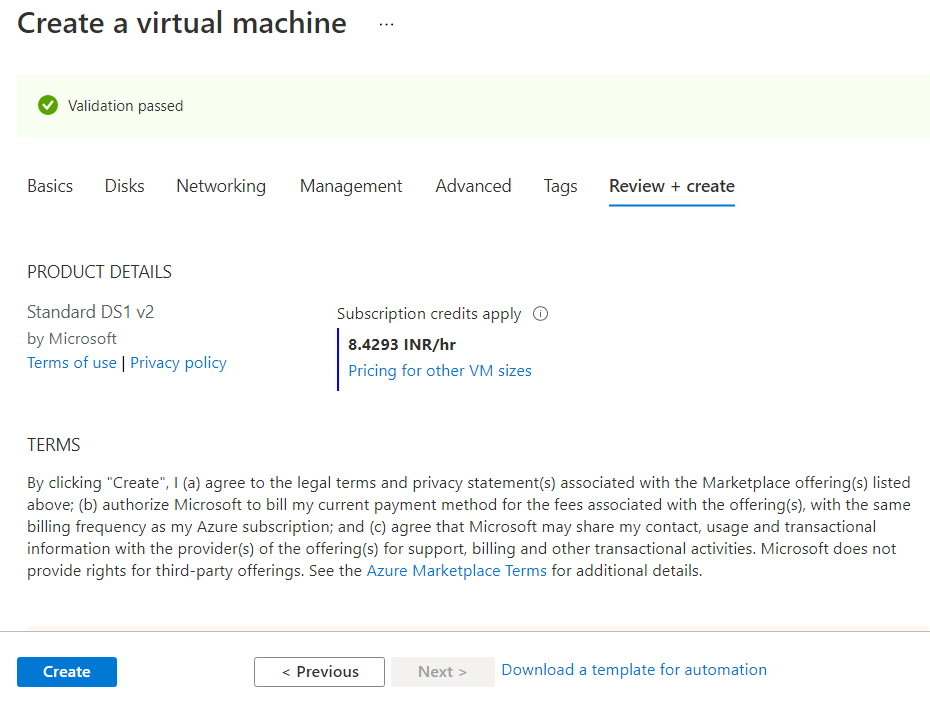
Click Create
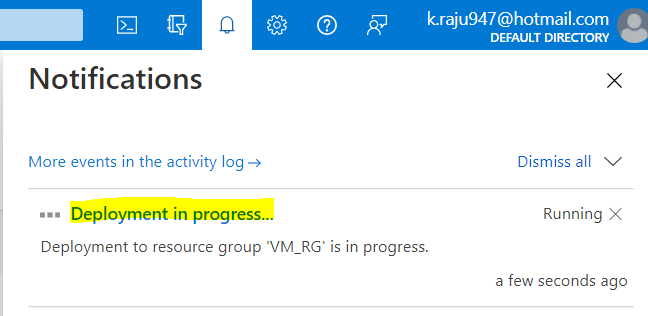
VM Deployment is in progress.
Now VM Deployment has completed.

Click Connect -> Select RDP Or you can use MSTSC and enter public IP to connect

Download RDP file

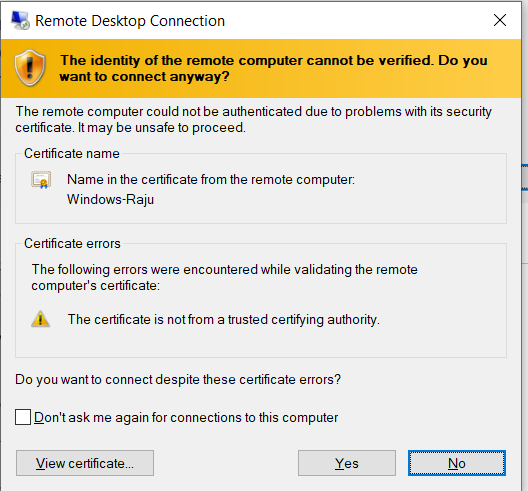
Click Connect

Enter User ID and Password

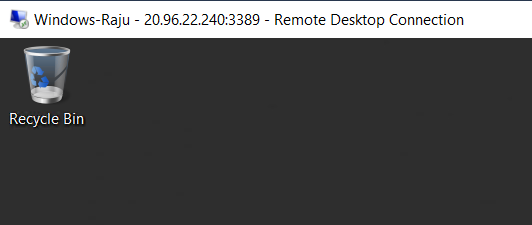
Now you will see OS disk and Temporary Storage D drive


No comments:
Post a Comment