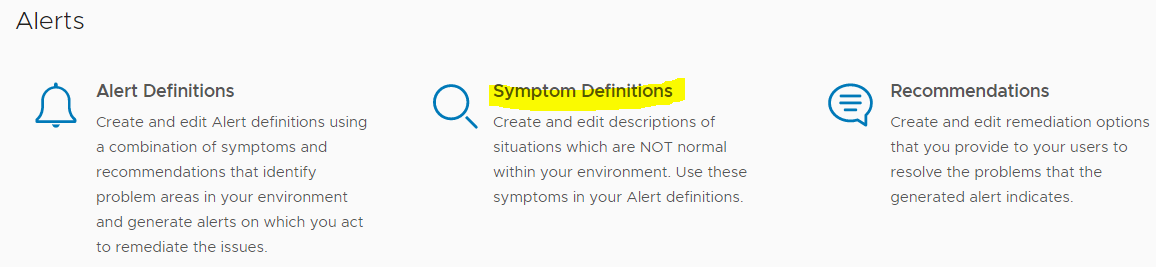
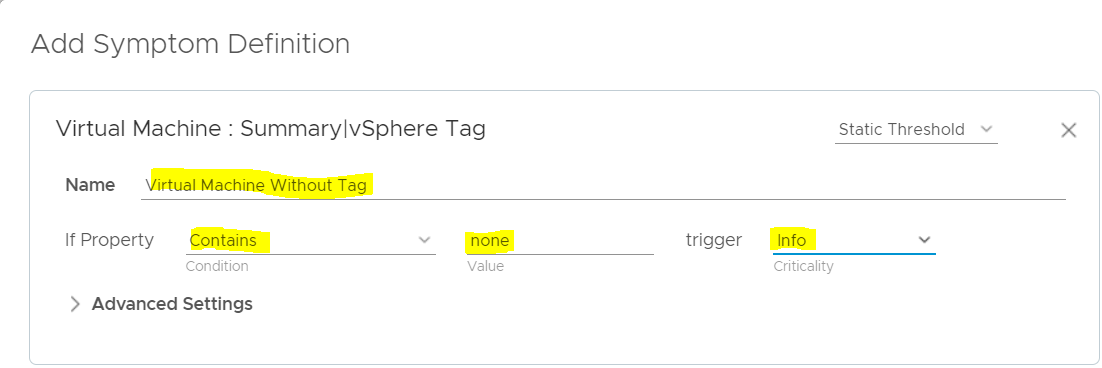
A Symptom Definition allows the administrator to describe a situation that is NOT normal within a given environment. vROPs come pre-configured with many symptom definitions that are set to values which are a good starting point for “most” environments.
Create Symptom Definition & Alert if Snapshot is older than 60 Days
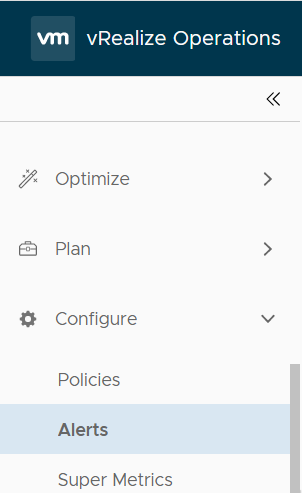
Login to vROPS console
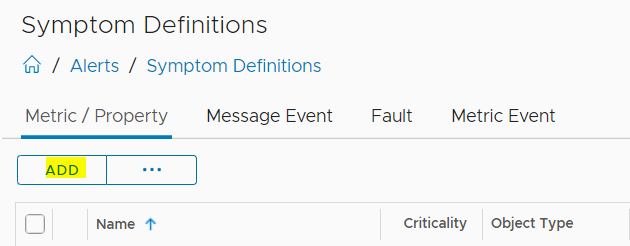
Under Configuration -> Alert -> Symptom Definitions
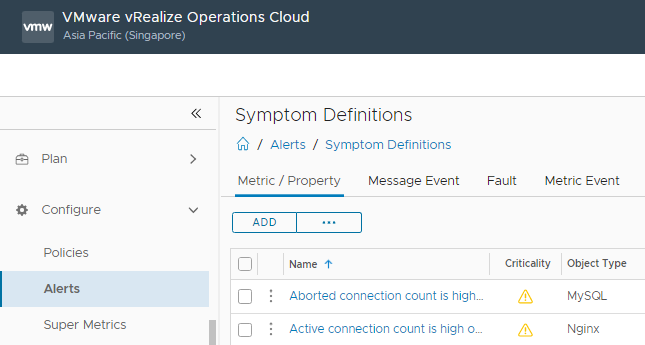
Click Add

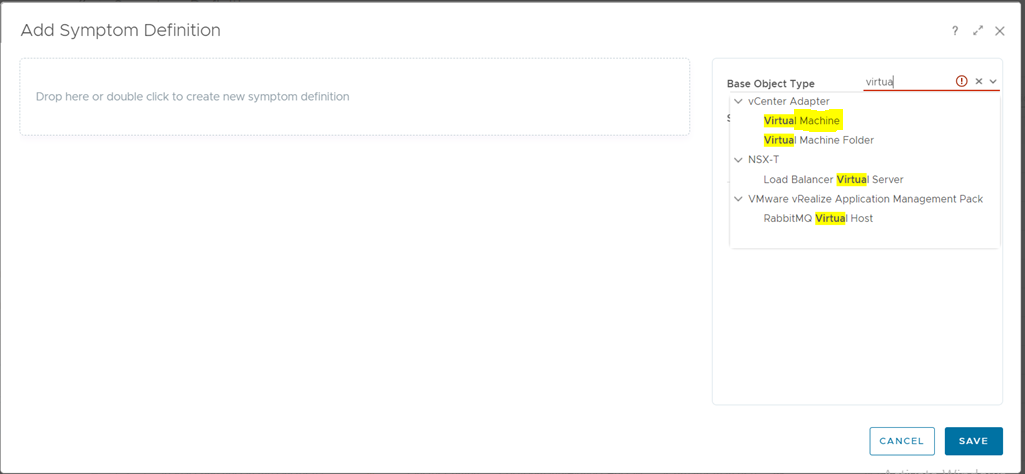
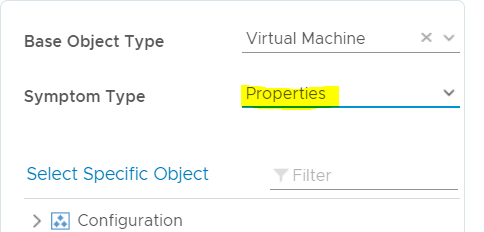
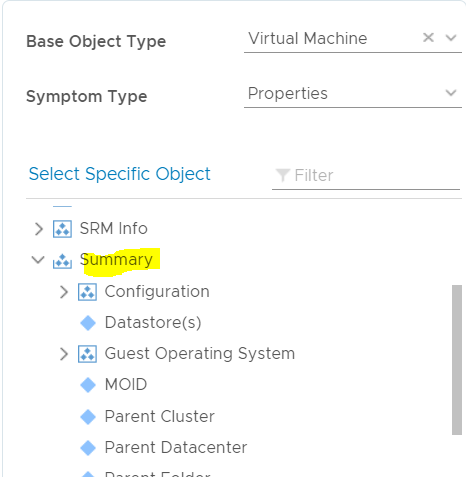
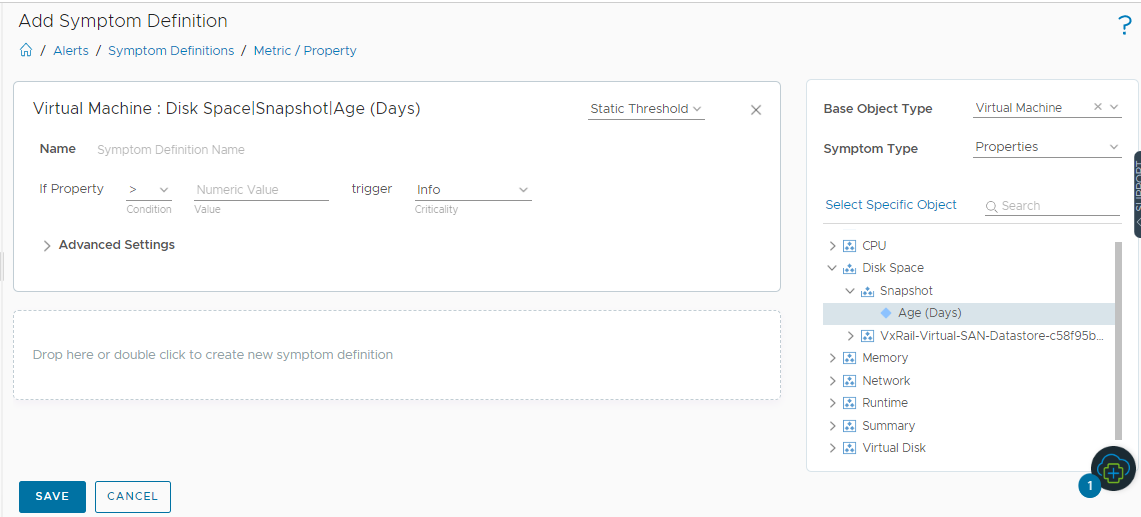
Select Base object, Symptom type

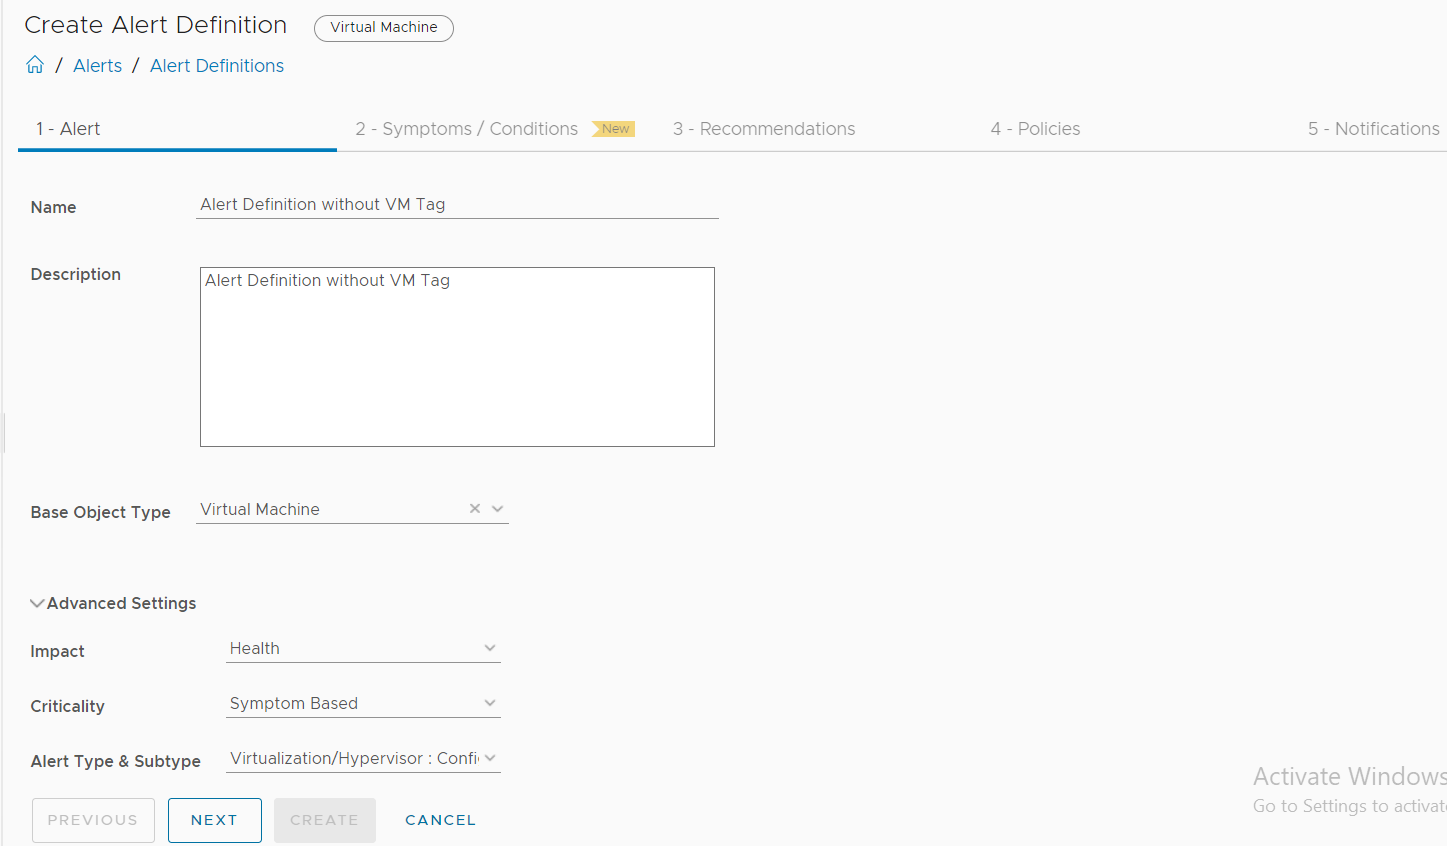
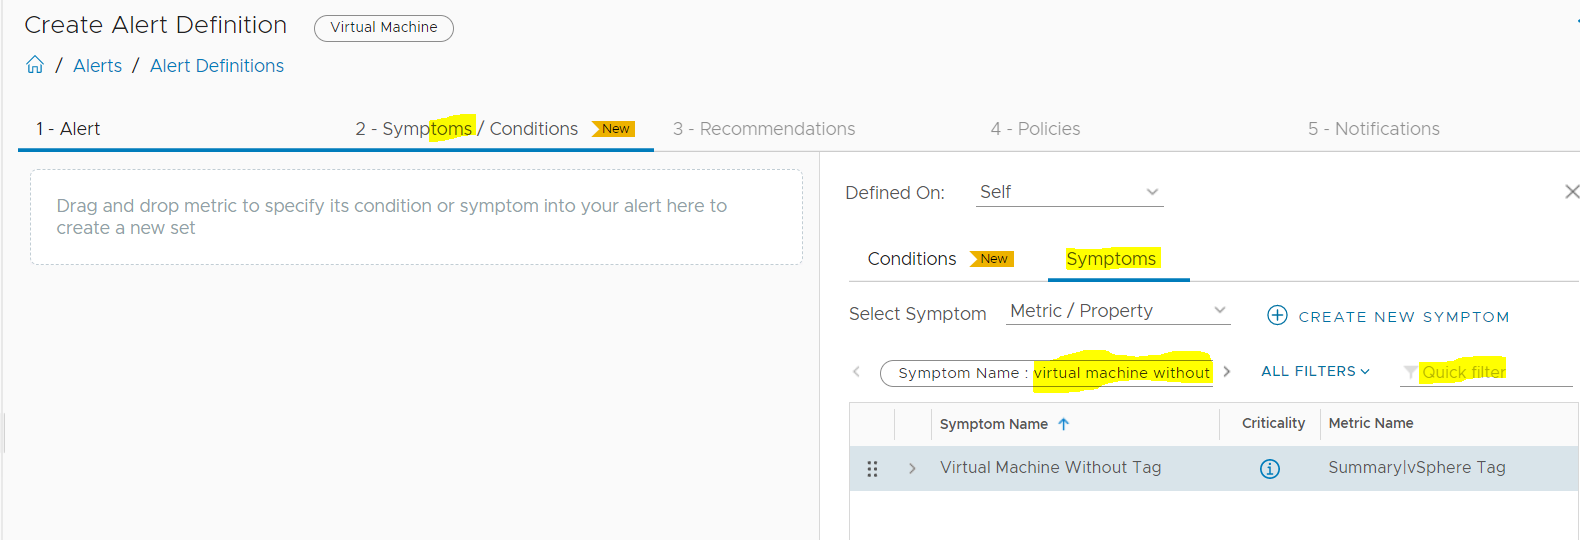
Now create Alert definition
Under Configure -> Alert -> Add -> Give Alert Definitions Name
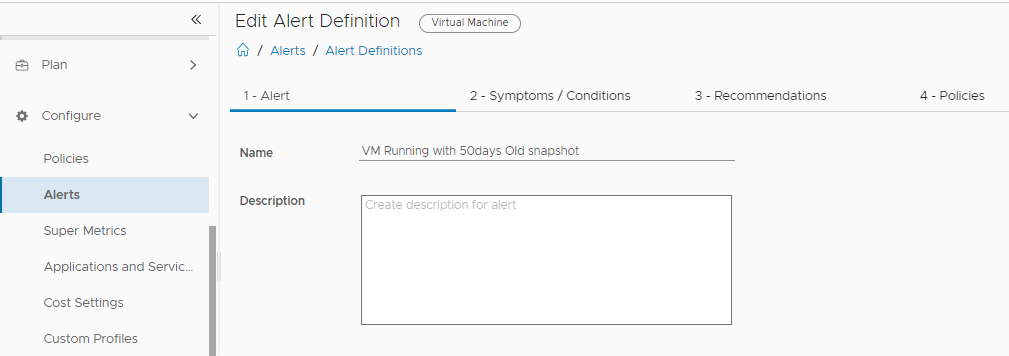
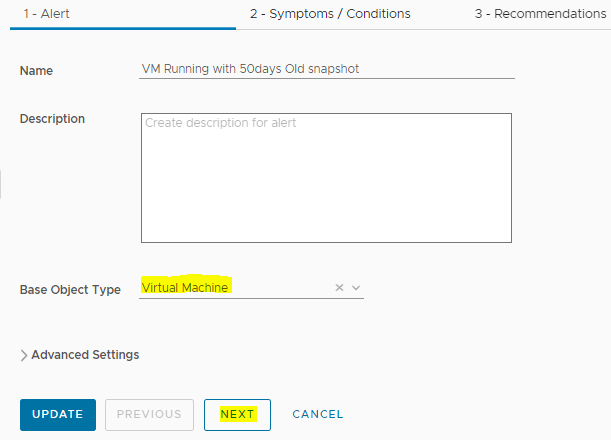
Base Object Type-> Drop down vCenter -> Virtual Machine
Click Next
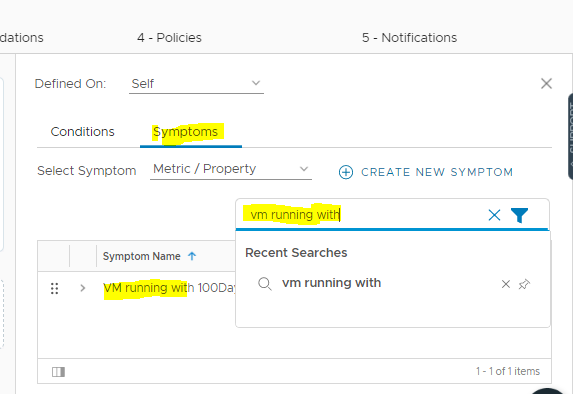
Select Symptoms
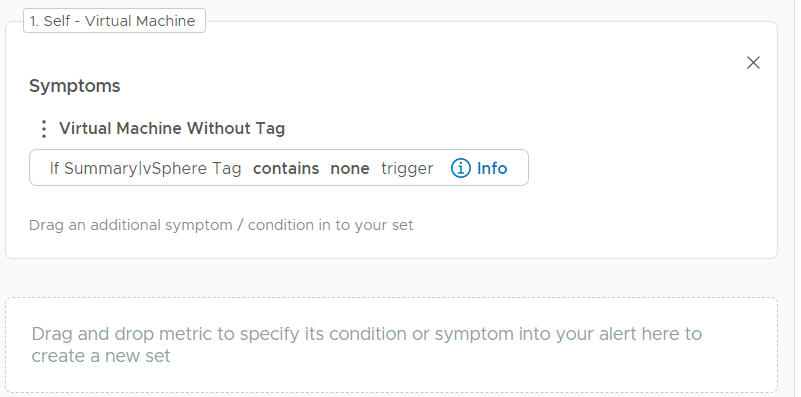
In filter Type Symptom Name that you have already created and want to integrate with Alert Definition –: Drag and drop in Symptoms/Conditions
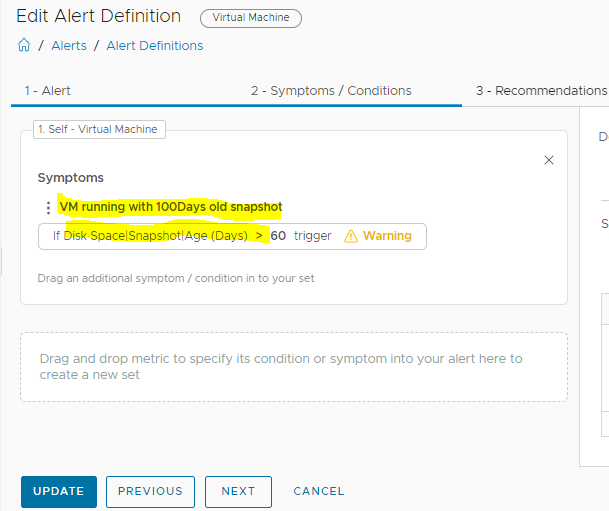
Next
Recommendation -> Select the recommendation

Next -> Select Policies
Click Create