You can use scripts for unattended ESXi installation or upgrade, scripted installations or upgrades provide an efficient way to deploy multiple hosts.
The installation or upgrade script contains the installation settings for ESXi. You can apply the script to all hosts that you want to have a similar configuration.
For a scripted installation or upgrade, you must use the supported commands to create a script. You can edit the script to change settings that are unique for each host.
The installation or upgrade script can reside in one of the following locations:
FTP server
HTTP/HTTPS server
NFS server
USB flash drive
CD-ROM drive
In my lab I am keeping the installation script in FTP and HTTP server.
You can download the script from below link and save the script win KS.CFG
http://www.mytechinfoit.com/2022/04/script-to-automate-esxi-deployment.html
Steps to configure FTP server.
Login to server
Go to server manager
Add Roles and features -> Follow the screen
Check web server IIS
FTP server
Select FTP service
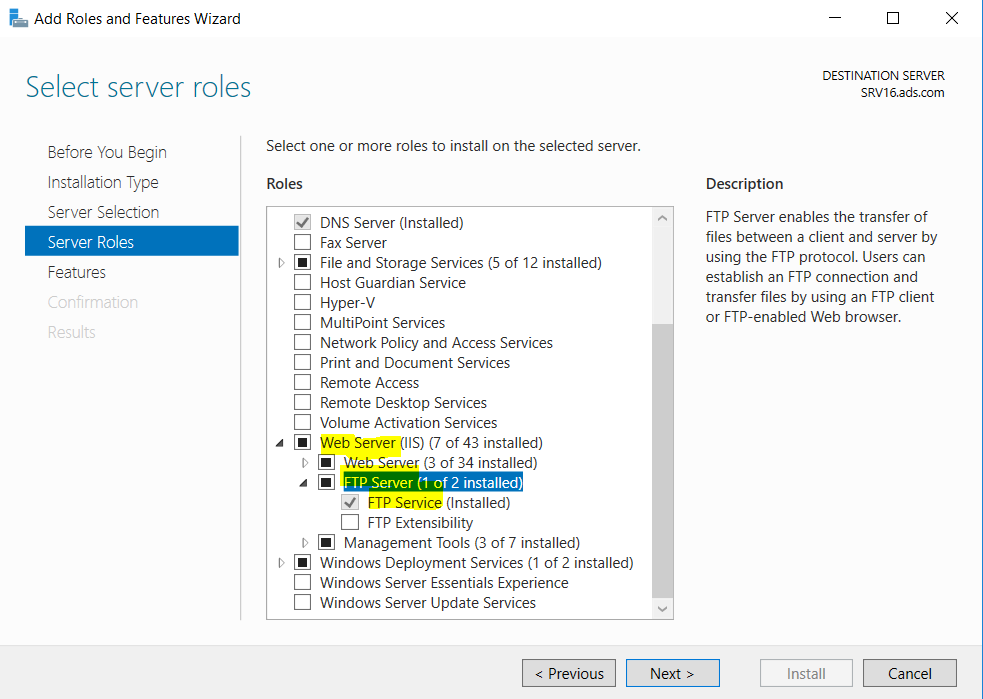
Click next and follow the screen and install
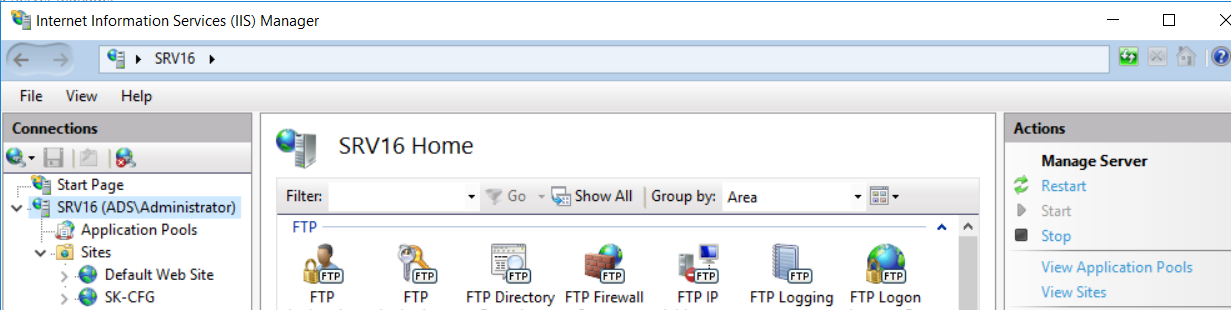
Once installation complete
Open IIS manager
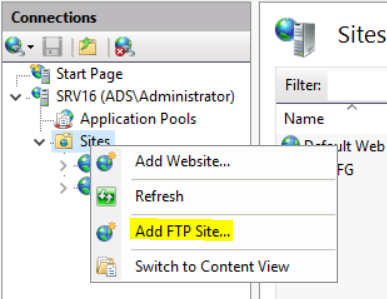
Right click on site and click Add FTP site
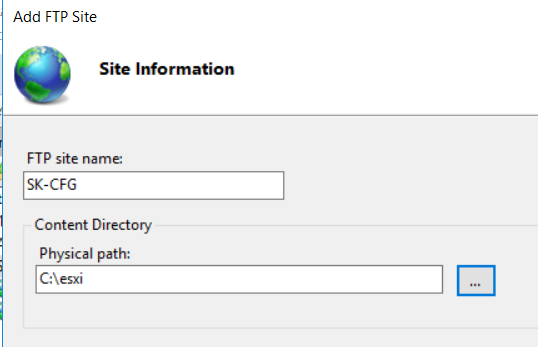
Give the FTP site name
In content directory give the physical location of script file
I have kept script file in c:\esxi folder
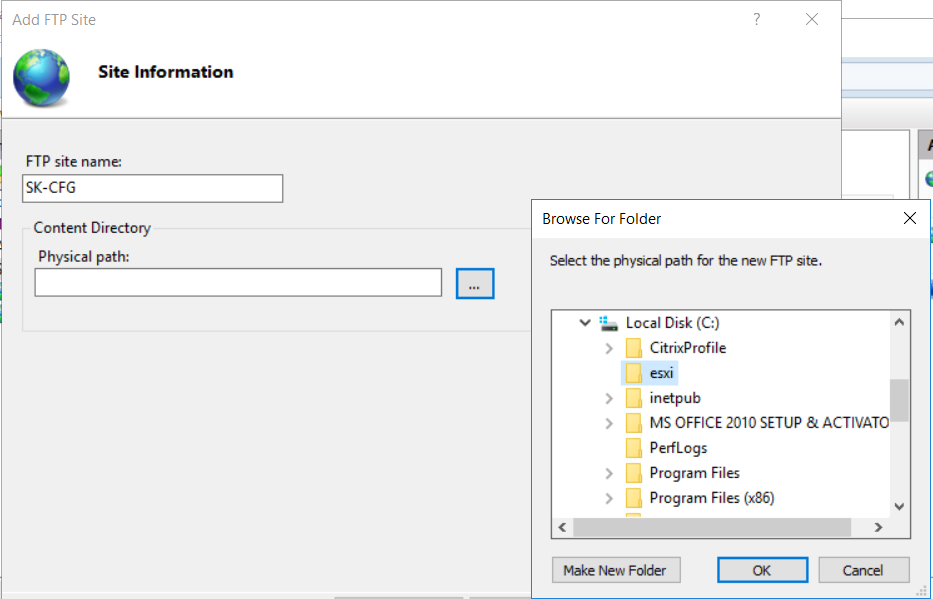
Click next
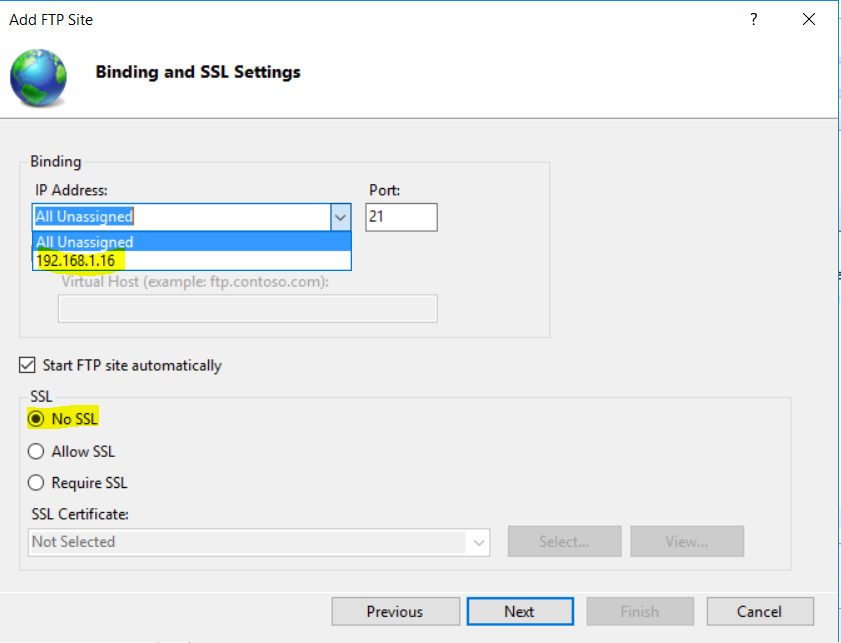
Select IP address to bind the address, in my Lab setup I am using single IP, if there is multiple assigned on the server then it will show in list
Select No SSL
In Authentication type
Select Anonymous
And anonymous users
In permission
Select Read
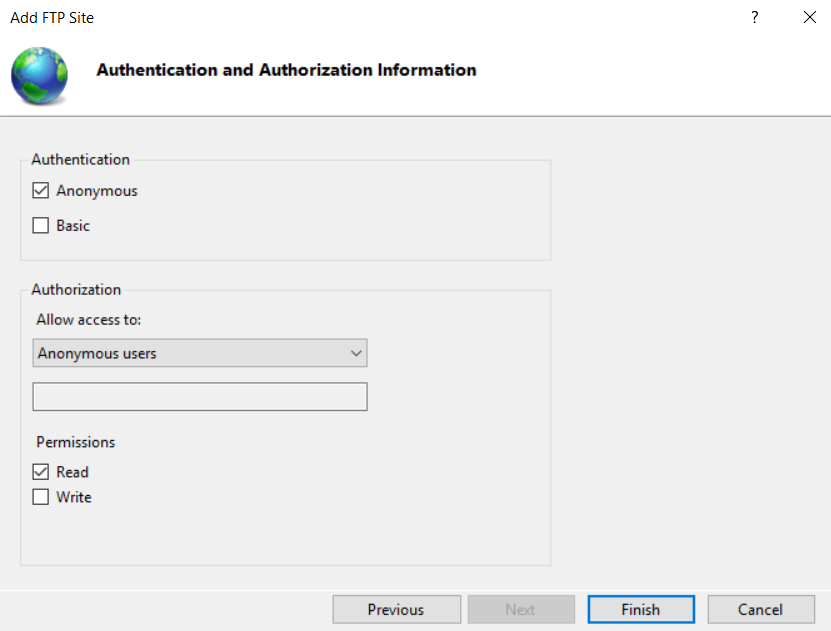
Then click finish
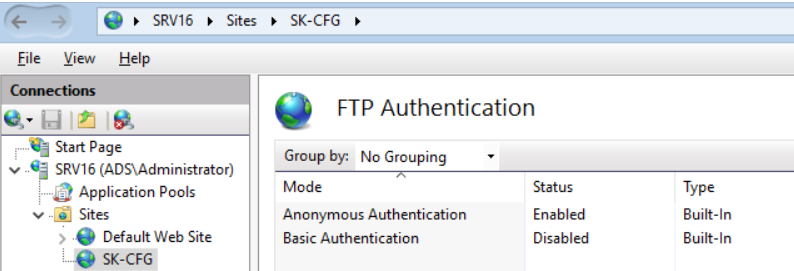
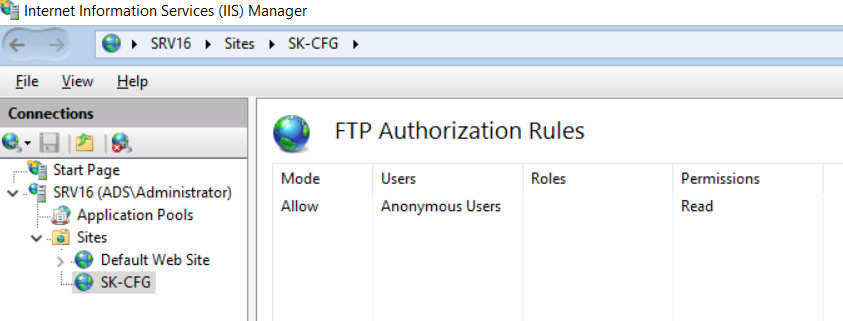
Now select newly created FTP site SK-CFG
Click FTP authentication and enable Anonymous authentication if it is not already enabled
Once you enable it then anyone can access this FTP content without login.
Also click on FTP authorization rule to recheck whether anonymous users are allowed or not
Now go to the client machine and check whether FTP is working or not.
Open browser and enter FTP path-> ftp://192.168.1.16/
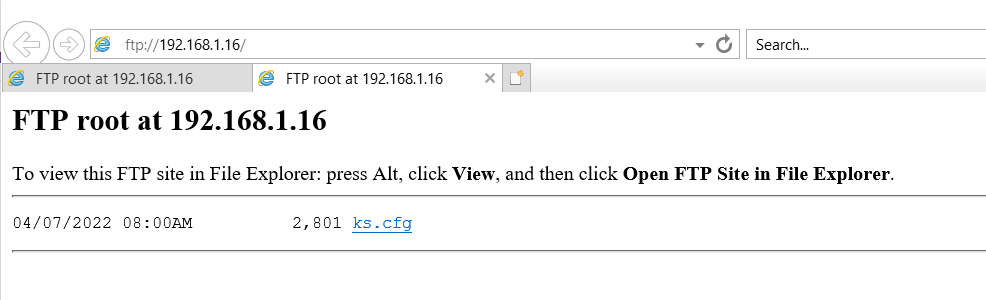
Now FTP page is opening without entering any user ID or password
Steps to install unattended ESXI
If you are using physical server for deployment, then mount ESXI ISO and boot the server using CD/DVD
And follow below steps, in my case I am deploying ESXi in VMware workstation.
Steps will be the same for both Physical and Virtual only, the booting process will be different.
For a physical server you need to launch iLO console and mount ISO and boot from there.
In the VMware workstation we need to edit the VM setting and assign the ISO path and boot the server.

Once you will boot the server using ISO at first boot press SHIFT=O to edit boot options
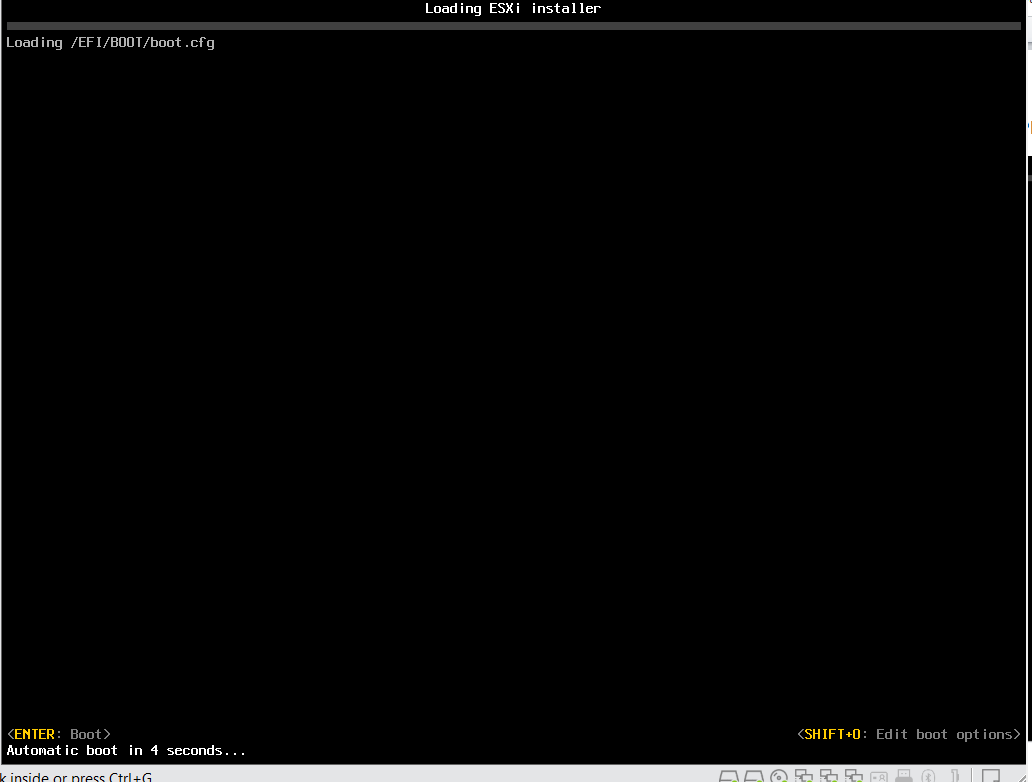

Now enter FTP address one temp IP to communicate with the FTP server like below.

Press enter.
Now installation has started
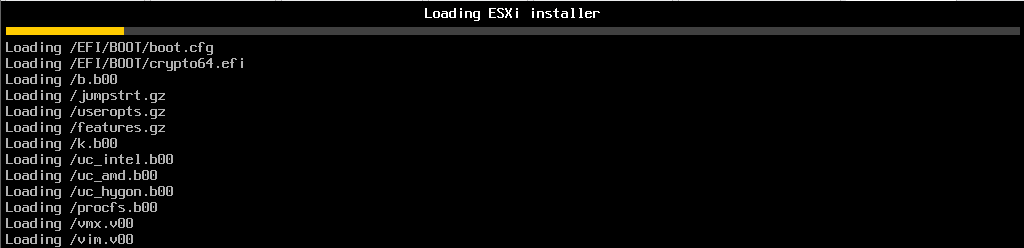
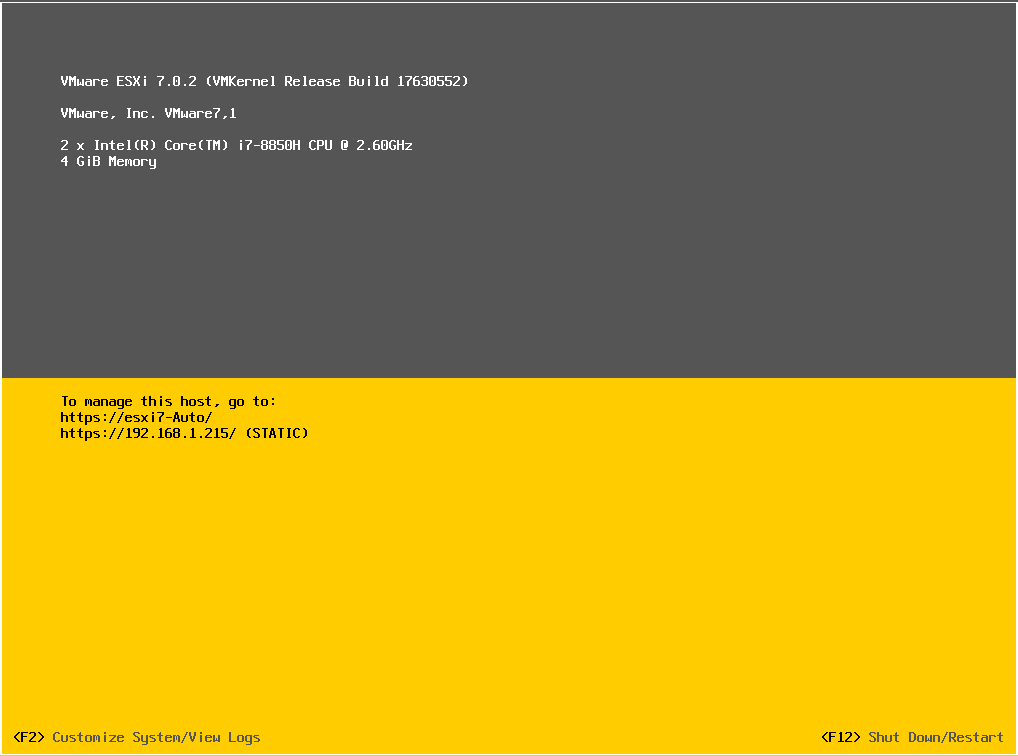
Post installation server will auto reboot and do the entire configuration that has been updated in the script.
Finally installation completed with the same configuration that had updated in script file.
Thank you!!!!


