What is the Volume Group in Nutanix and How to create? And mount in client or Initiator machines
VGs enable you to separate the data vDisks from the VM's boot vDisk. This separation allows you to create a protection domain that consists only of the data vDisks for snapshots and cloning. In addition, VGs let you configure a cluster with shared-disk access across multiple VMs. Supported clustering applications include Oracle Real Application Cluster (RAC), IBM Spectrum Scale (formerly known as GPFS), Veritas InfoScale, and Red Hat Clustering. To attach the VG to multiple VMs when you use the aCLI, create it with a shared=true attribute. If you use Prism, answer yes when you attach the VG to a second VM. There are two ways to use Nutanix VGs: default VG and VGLB.
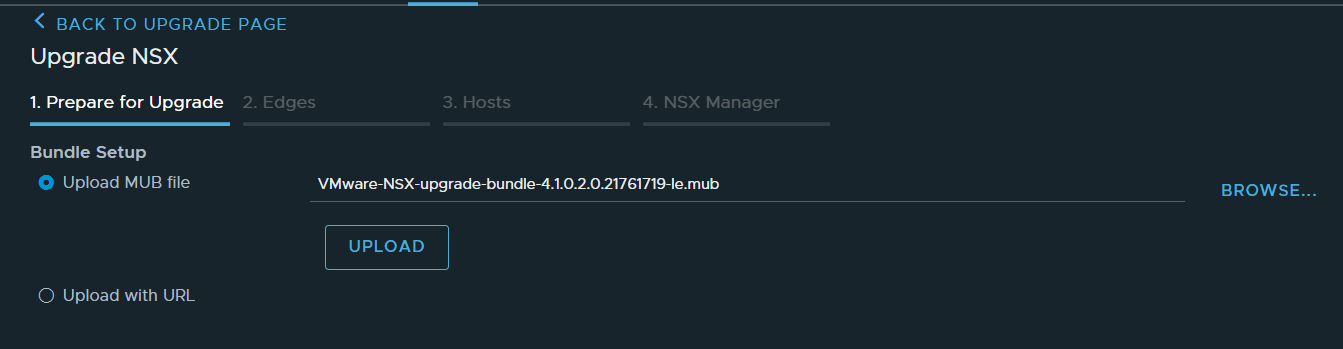
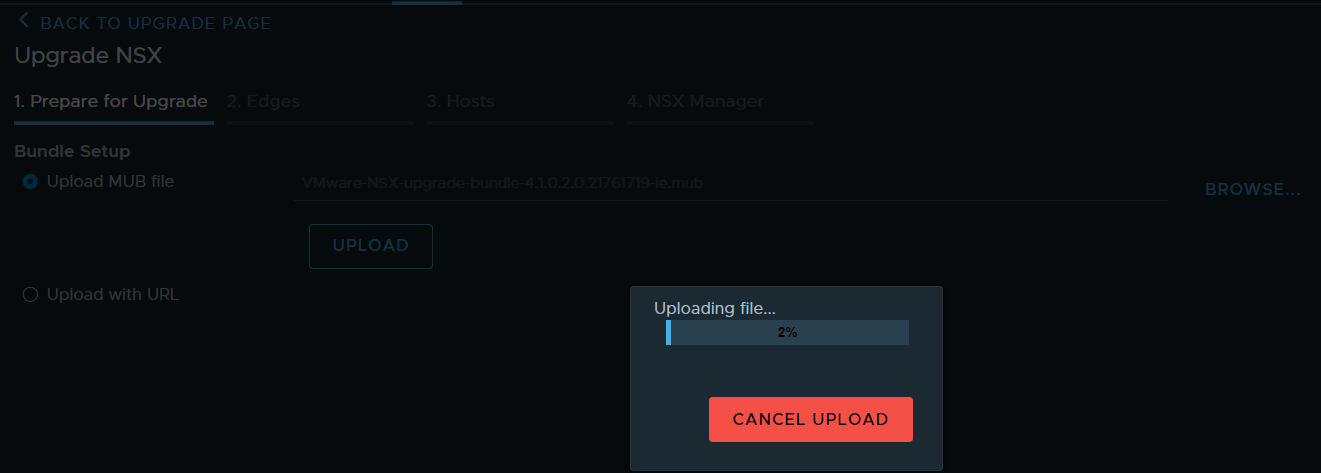
Note- : In short we are creating iSCSI disk, that we create in Windows server and allow the initiator to connect the disk and use it as a shared disk for MS Cluster.
Login to Prism
Click Table -> Storage
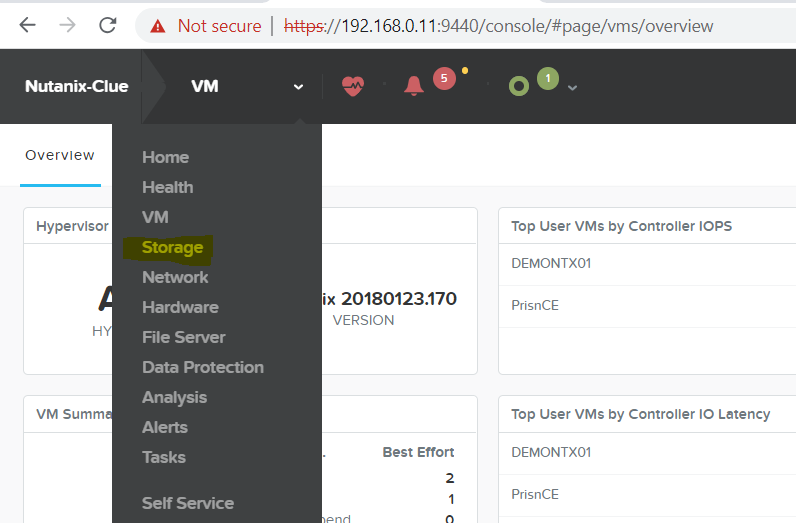
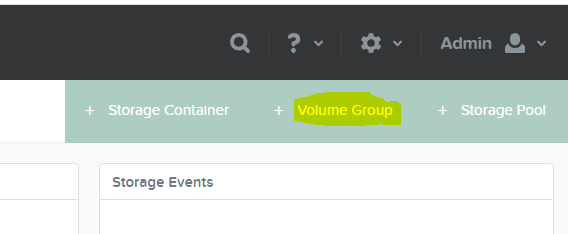
Click Volume Group
Enter Volume Group Name
Description
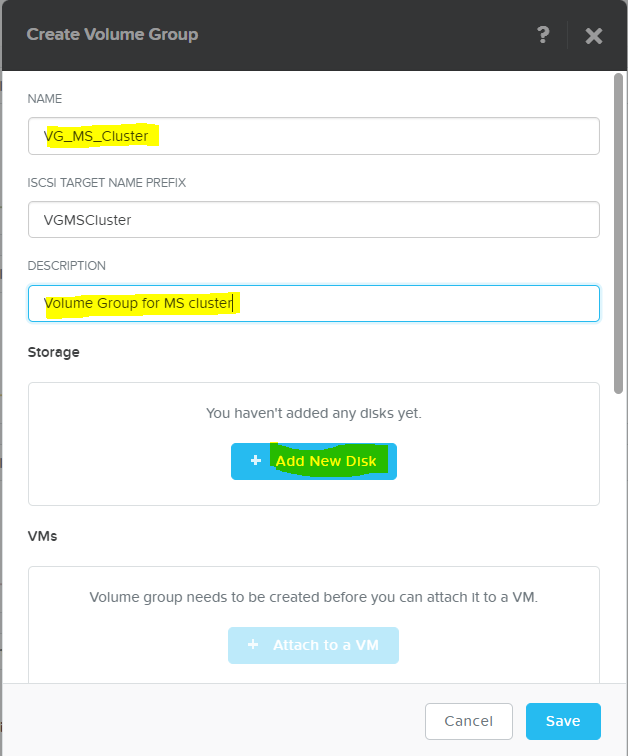
Click Add New Disk
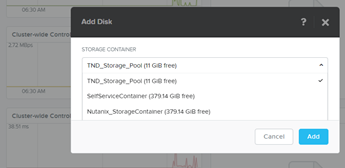
Drop down and select the Storage Container.
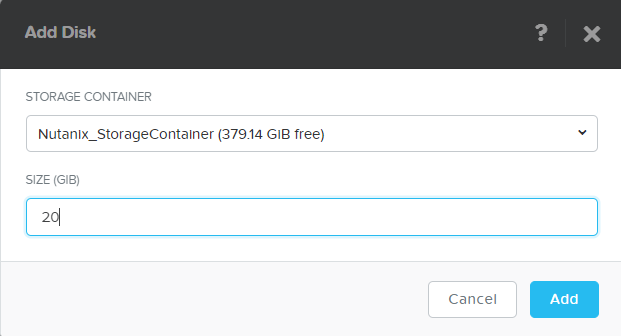
Give the size and click Add
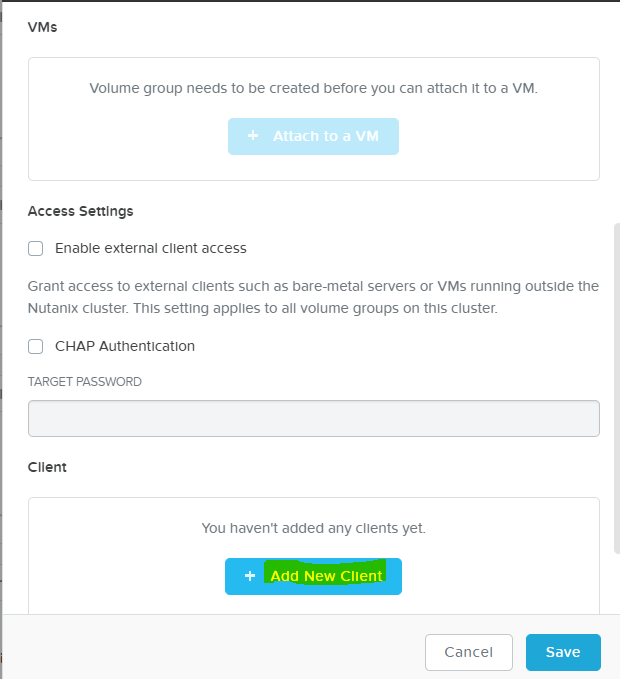
Click Add New Client to allow access to connect this Volume group
Enter client machine IP or IQN
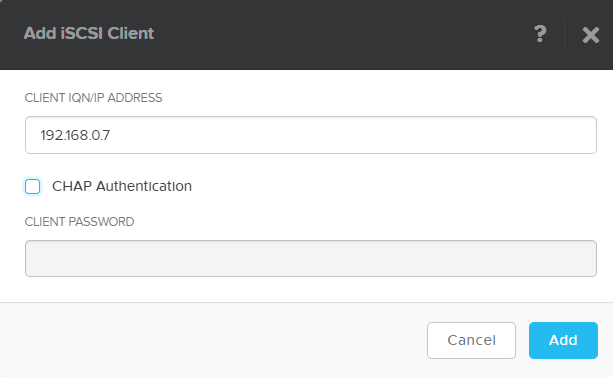
Click Add
You may add multiple clients IP or IQN to connect with VG and use disk as cluster disk.
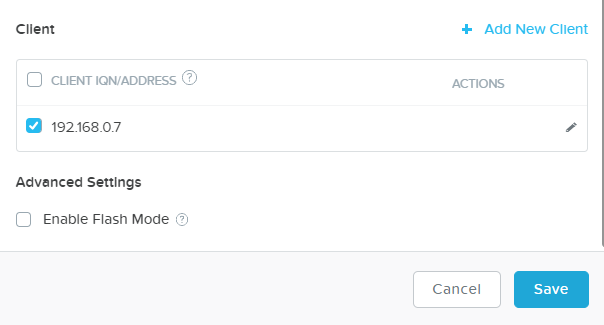
Click Save
Go to Table -> Storage -> Table and Volume Goup to see newly created Volume Group
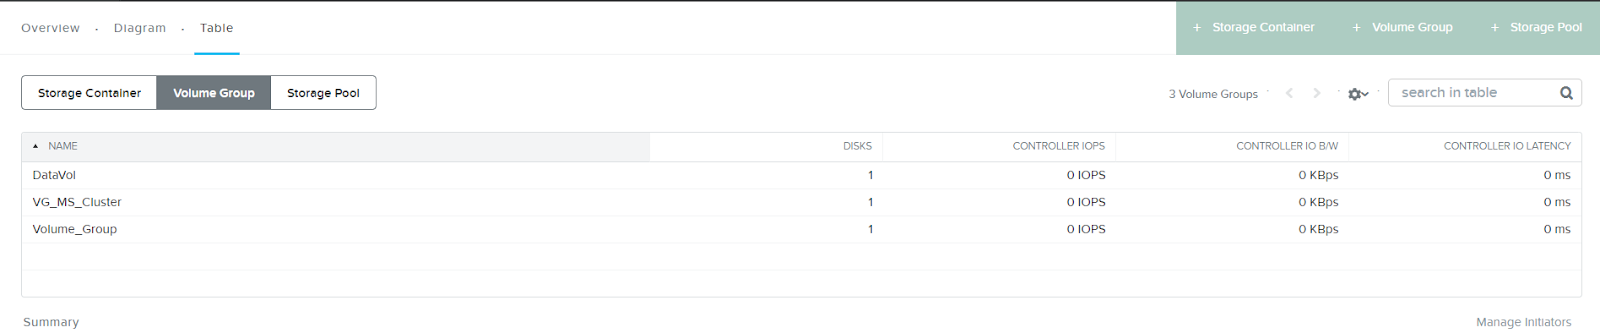
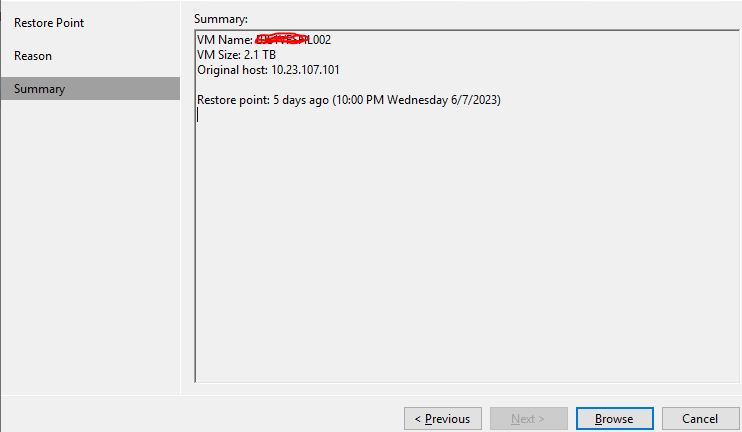
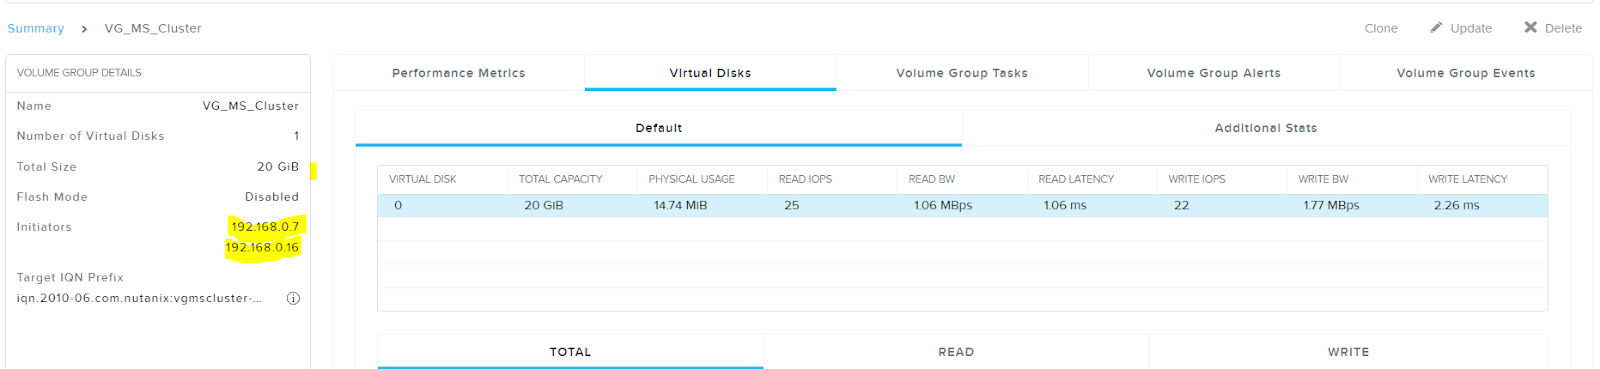
Select the Volume to see the summary
I have assigned two initiators
How to Map Volume in client machine
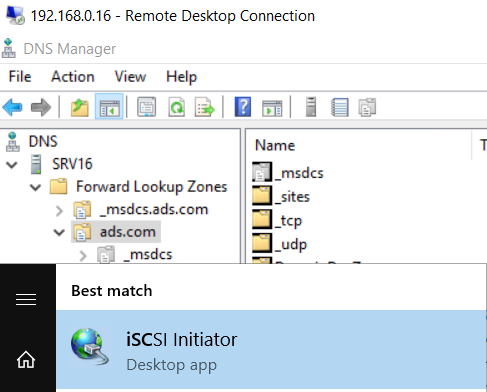
Login to Client Machine
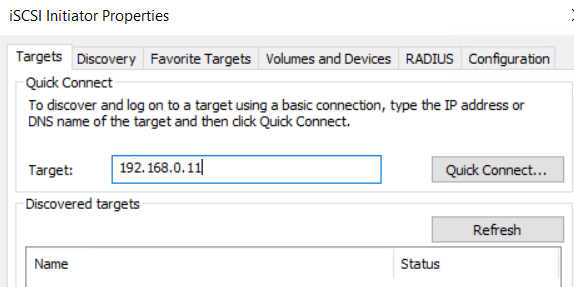
Open iSCSI Initiator
Enter iSCSI provider IP (Nutanix Server Cluster IP)
Click Quick Connect
Refresh the page

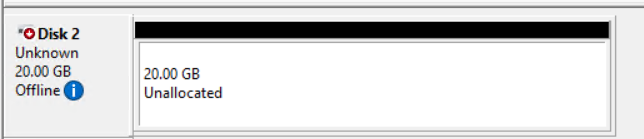
Go to Disk management to see mounted disk