error: No DHCPv4 option 11 server ip or option 17 server name streaming aborted


error: No DHCPv4 option 11 server ip or option 17 server name streaming aborted
 SME VMware and Window | VMware | VxRail | vSAN | SRM | vRO | vROP|VMware Aria Log Insight| Nutanix |Cisco HyperFlex | NetApp | Azure | Citrix | Veeam Backup & Replication, EM & One
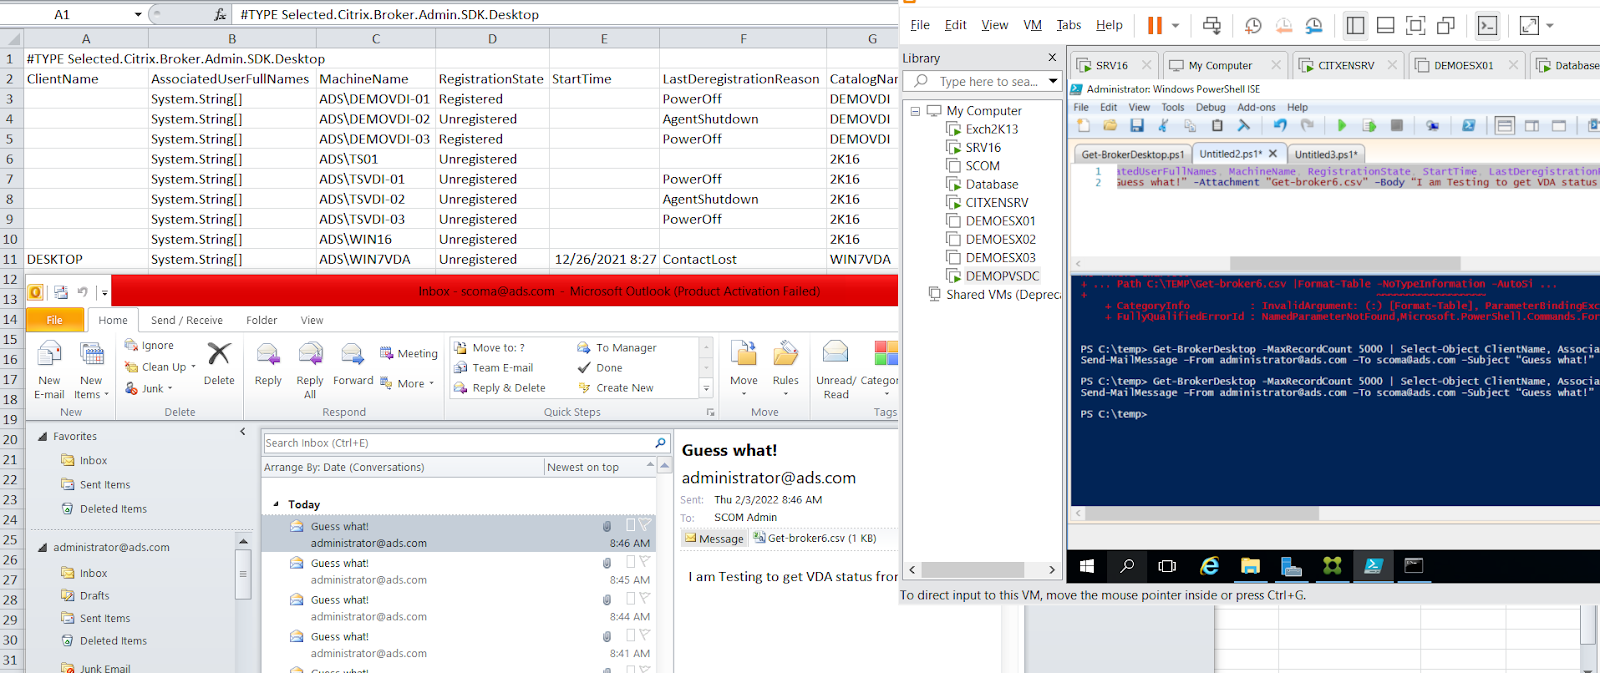
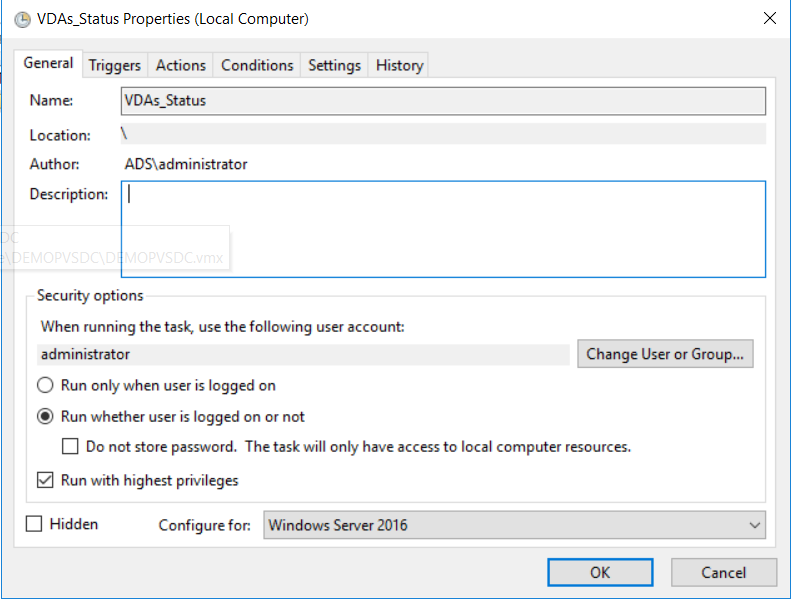
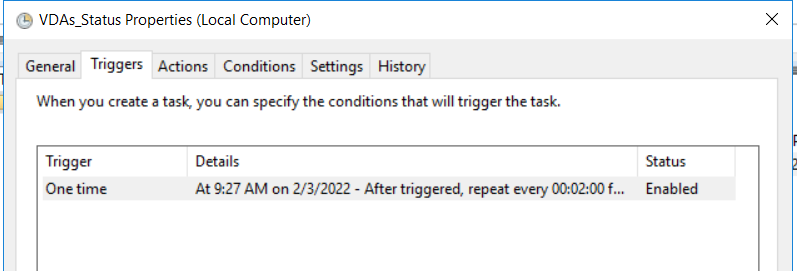
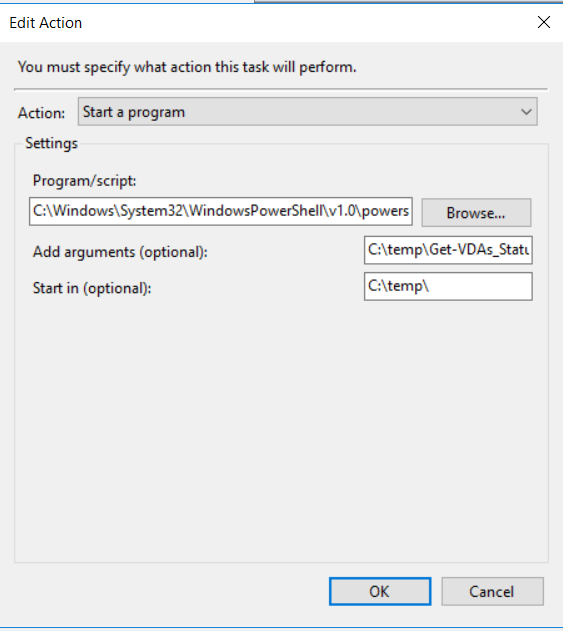
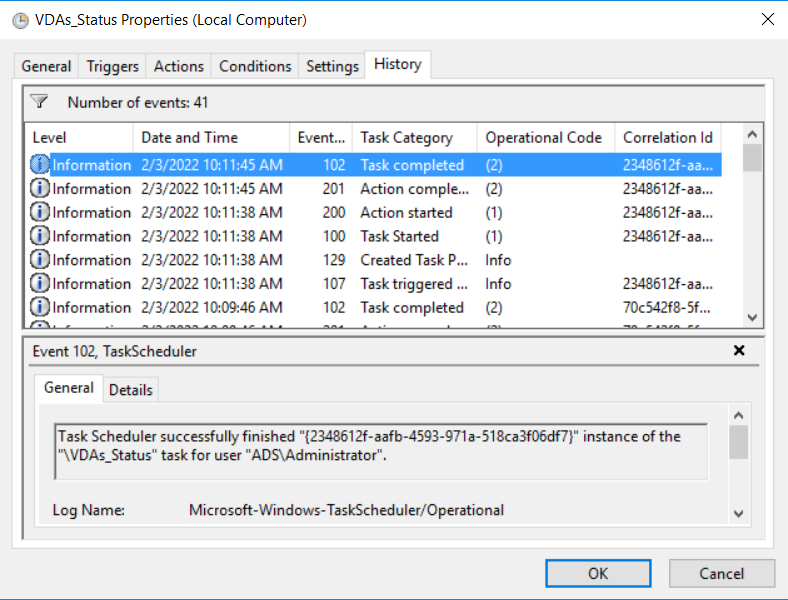
PowerShell command to list out all the VDAs registered or registered/unregistered to site and schedule it using task scheduler send the report over mail
Get-BrokerDesktop -MaxRecordCount 5000 | Select-Object ClientName, AssociatedUserFullNames, MachineName, RegistrationState, StartTime, LastDeregistrationReason, CatalogName, LastConnectionTime, FunctionalLevel |Where-object {$_.RegistrationState -eq 'Unregistered'} | Export-Csv -Path C:\TEMP\Get-brokerDesktop.csv |Format-Table –AutoSize
Send-MailMessage –From administrator@ads.com –To VDA@ads.com –Subject “Guess what!” -Attachment "Get-brokerDesktop.csv" –Body “I am testing to get VDA status through PowerShell” -SmtpServer smtp.mail.com -Port 25
Get-BrokerDesktop -MaxRecordCount 5000 | Select-Object ClientName, AssociatedUserFullNames, MachineName, RegistrationState, StartTime, LastDeregistrationReason, CatalogName, LastConnectionTime, FunctionalLevel, AssociatedUserSID, HostedMachineName | Export-Csv -Path C:\TEMP\Get-broker6.csv |Format-Table -InformationAction Stop -AutoSize
Send-MailMessage –From administrator@ads.com –To VDA@ads.com –Subject “Guess what!” -Attachment "Get-brokerDesktop.csv" –Body “I am testing to get VDA status through PowerShell” -SmtpServer smtp.mail.com -Port 25
SME VMware and Window | VMware | VxRail | vSAN | SRM | vRO | vROP|VMware Aria Log Insight| Nutanix |Cisco HyperFlex | NetApp | Azure | Citrix | Veeam Backup & Replication, EM & One
SME VMware and Window | VMware | VxRail | vSAN | SRM | vRO | vROP|VMware Aria Log Insight| Nutanix |Cisco HyperFlex | NetApp | Azure | Citrix | Veeam Backup & Replication, EM & One
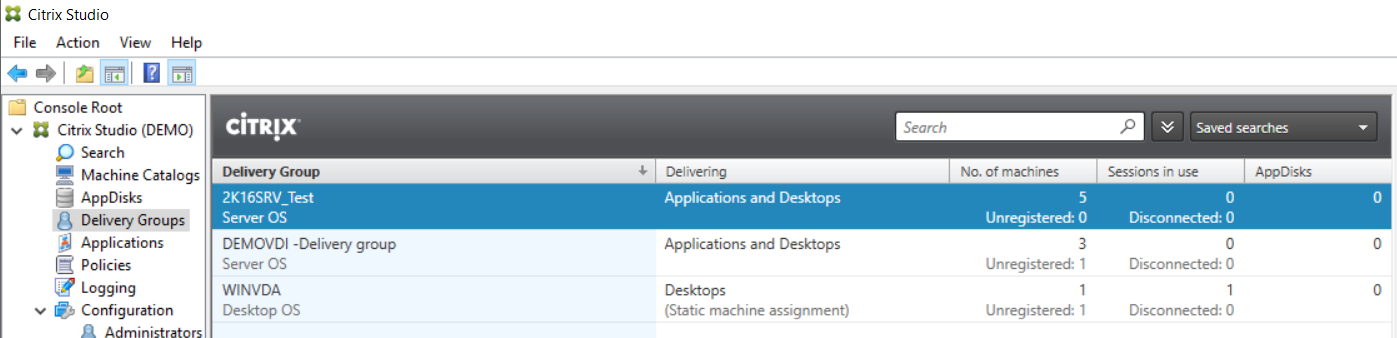
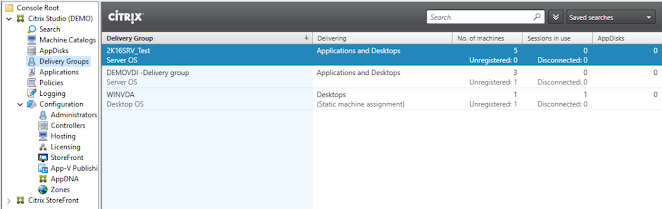
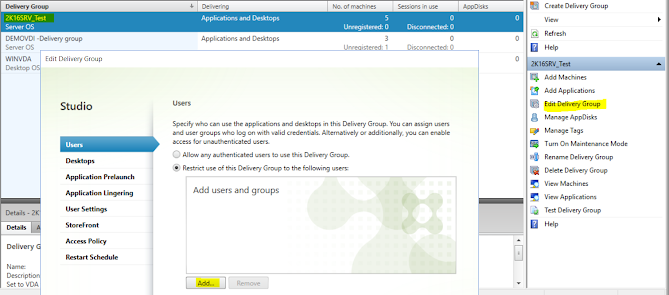
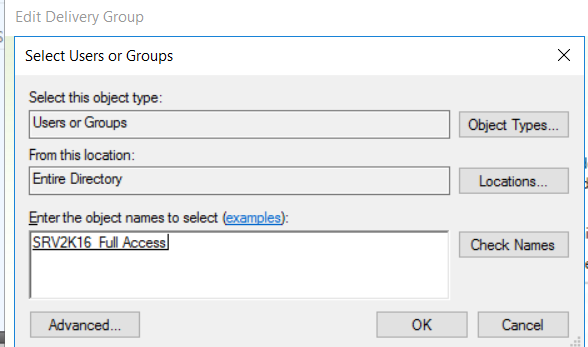
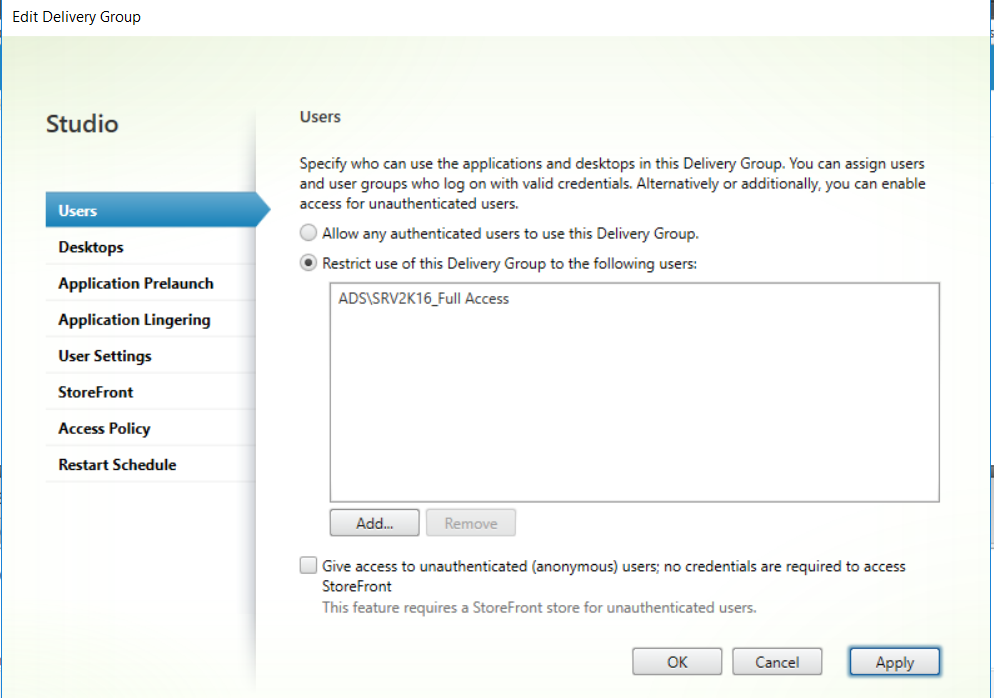
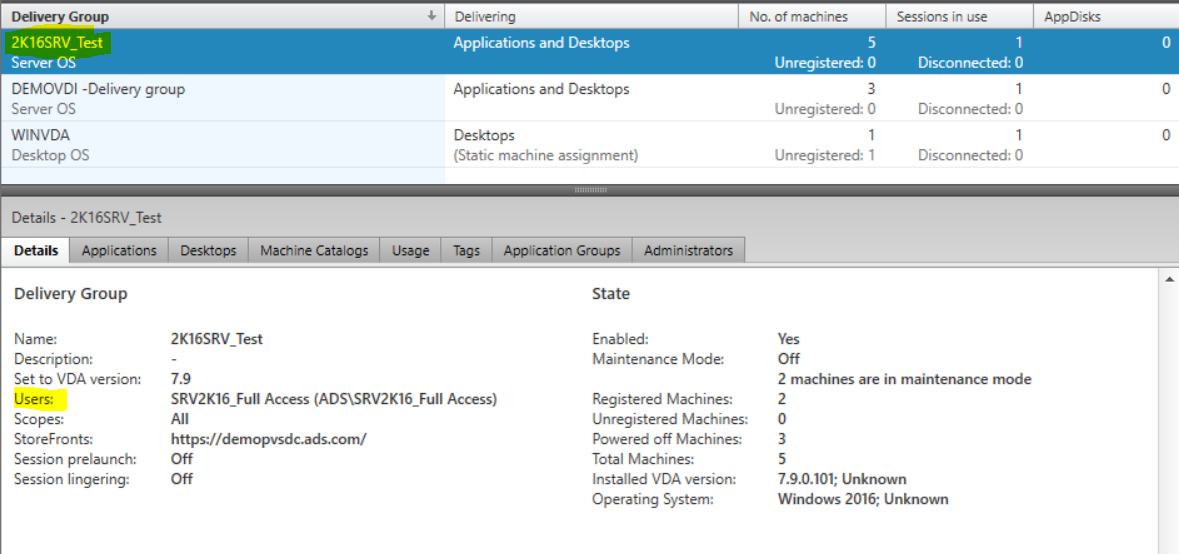
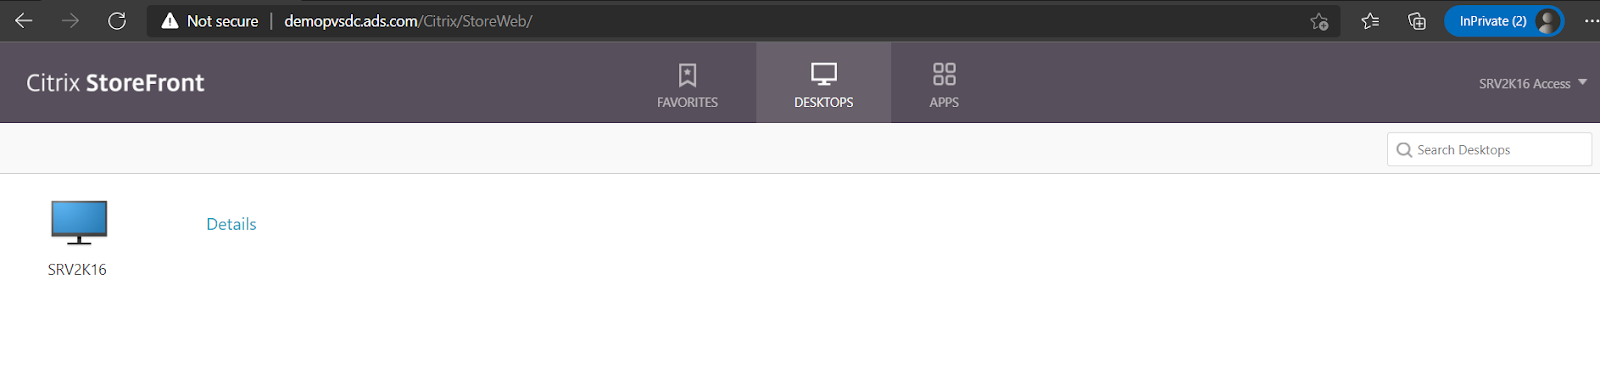
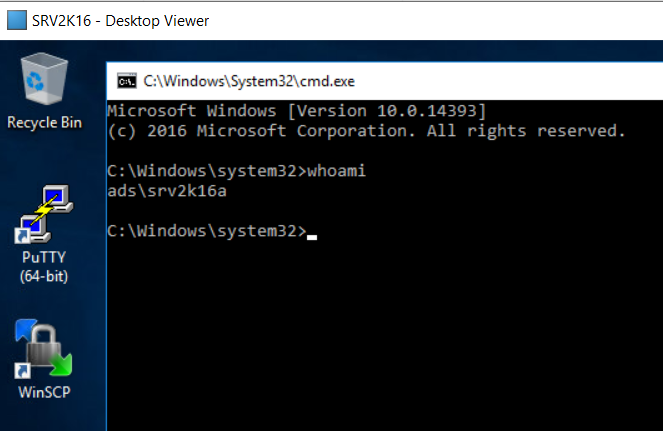
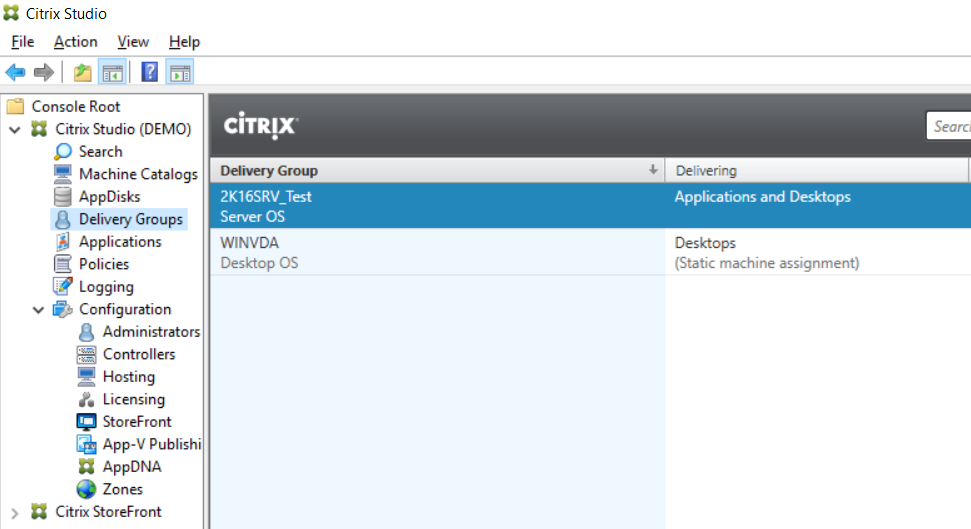
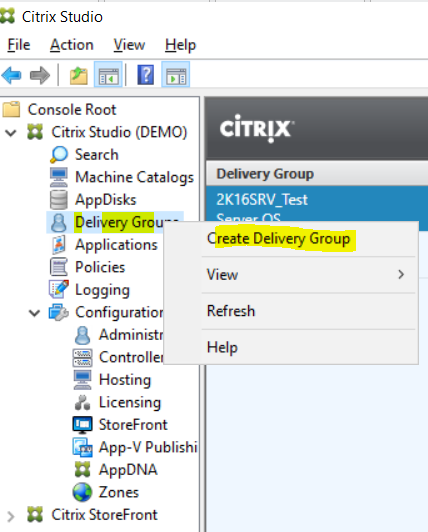
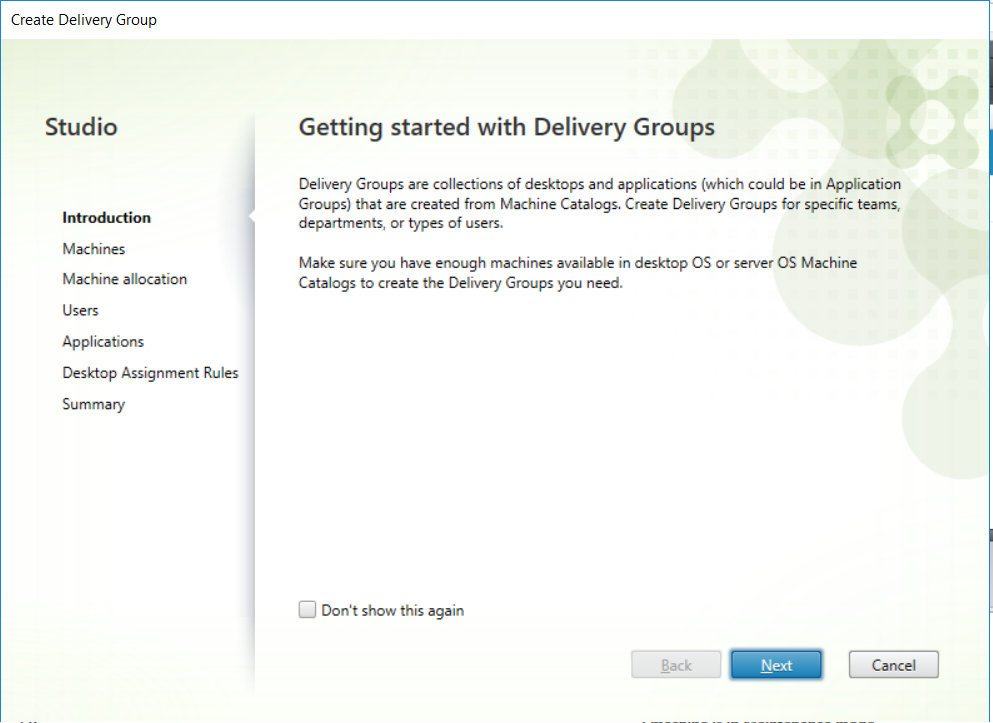
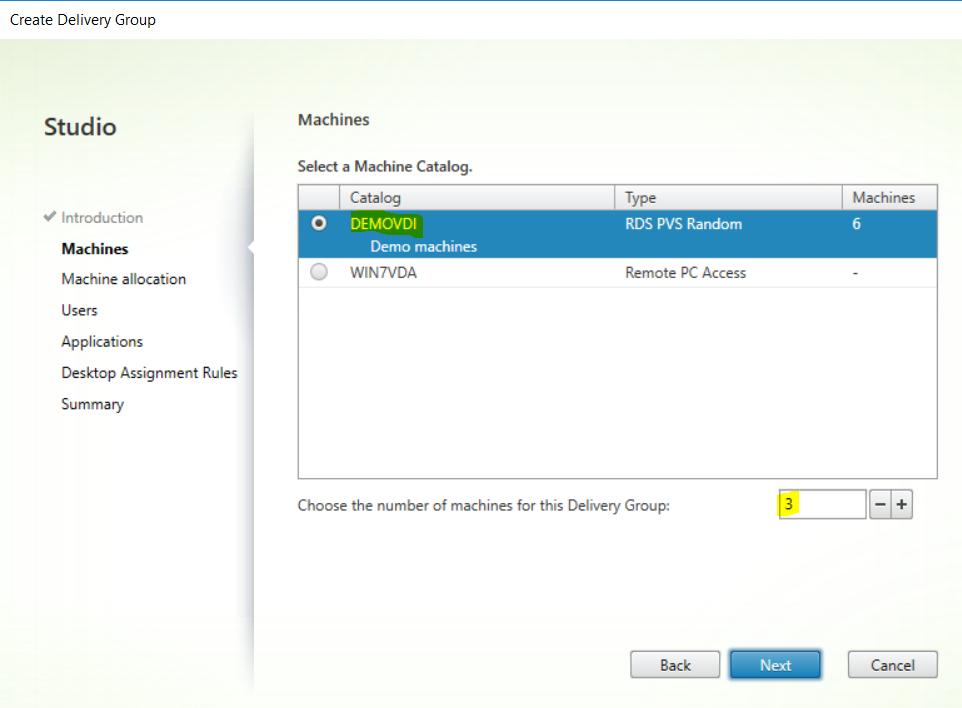
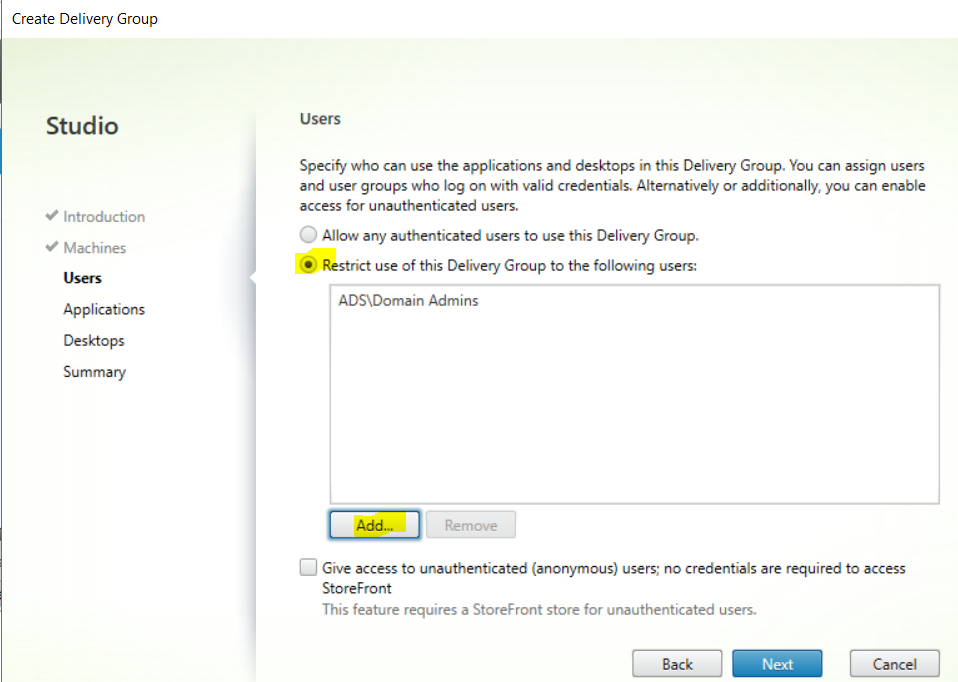
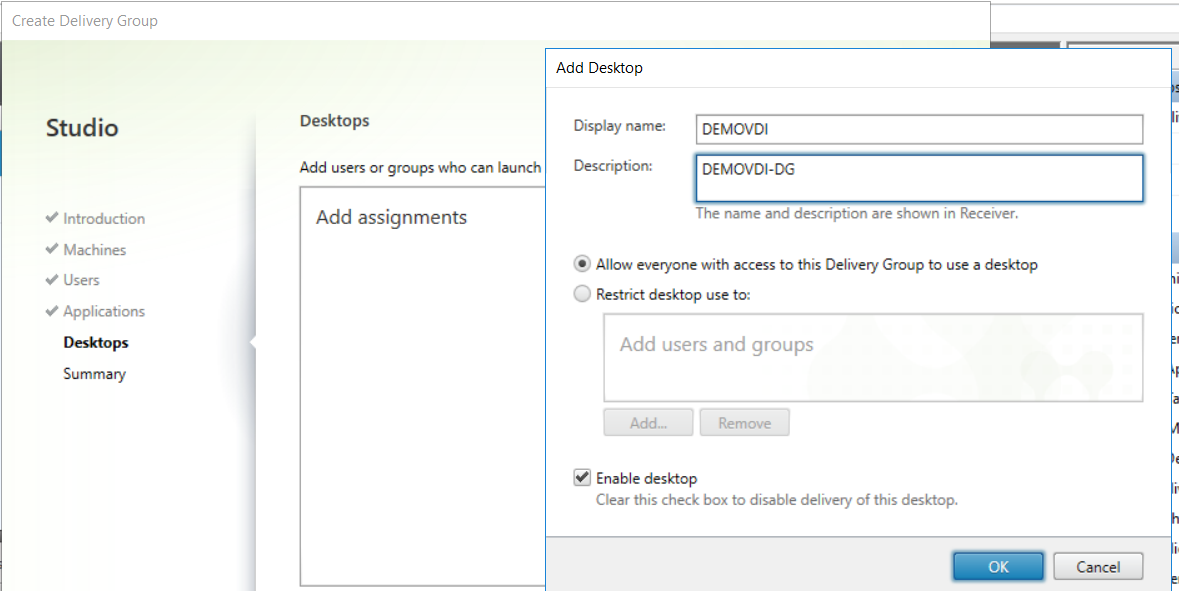
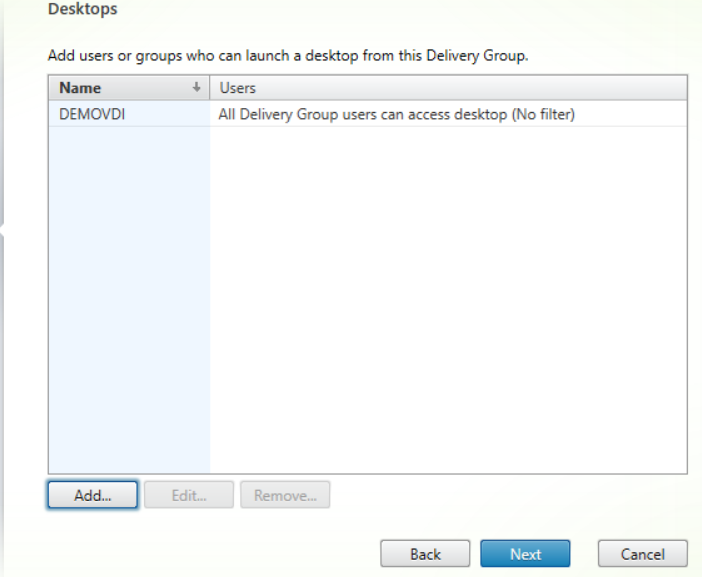
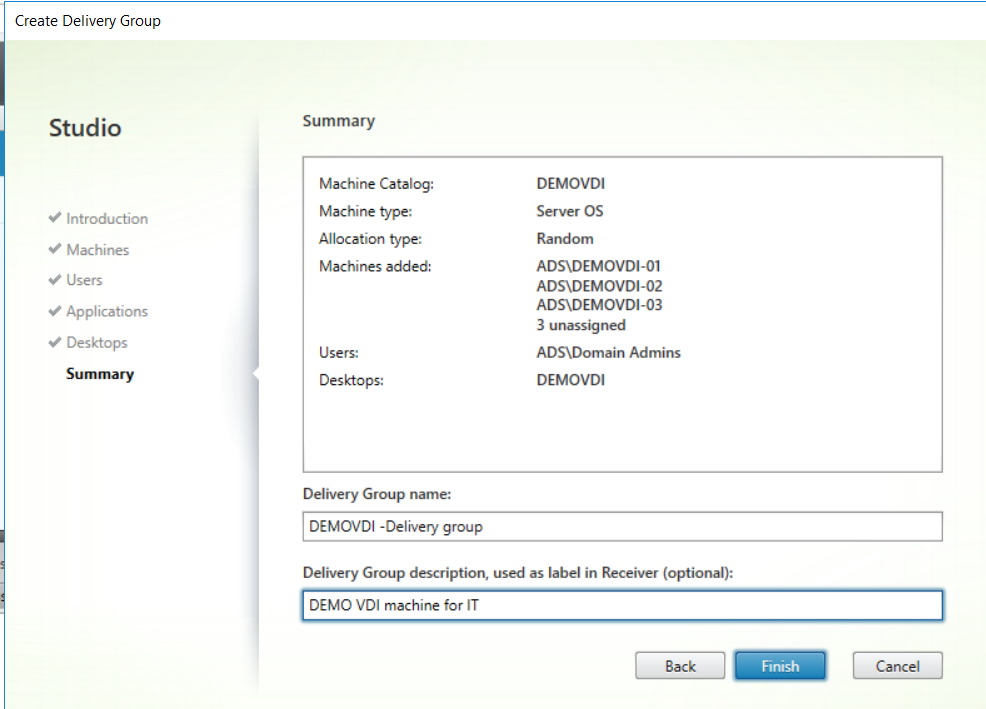
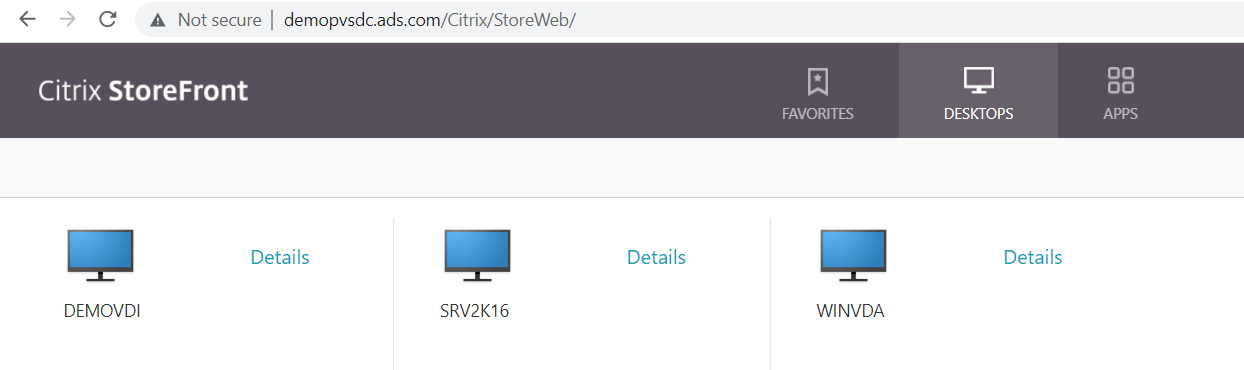
Create Delivery group in Citrix 7.9 Step by Step
http://demopvsdc.ads.com/Citrix/StoreWeb/
SME VMware and Window | VMware | VxRail | vSAN | SRM | vRO | vROP|VMware Aria Log Insight| Nutanix |Cisco HyperFlex | NetApp | Azure | Citrix | Veeam Backup & Replication, EM & One
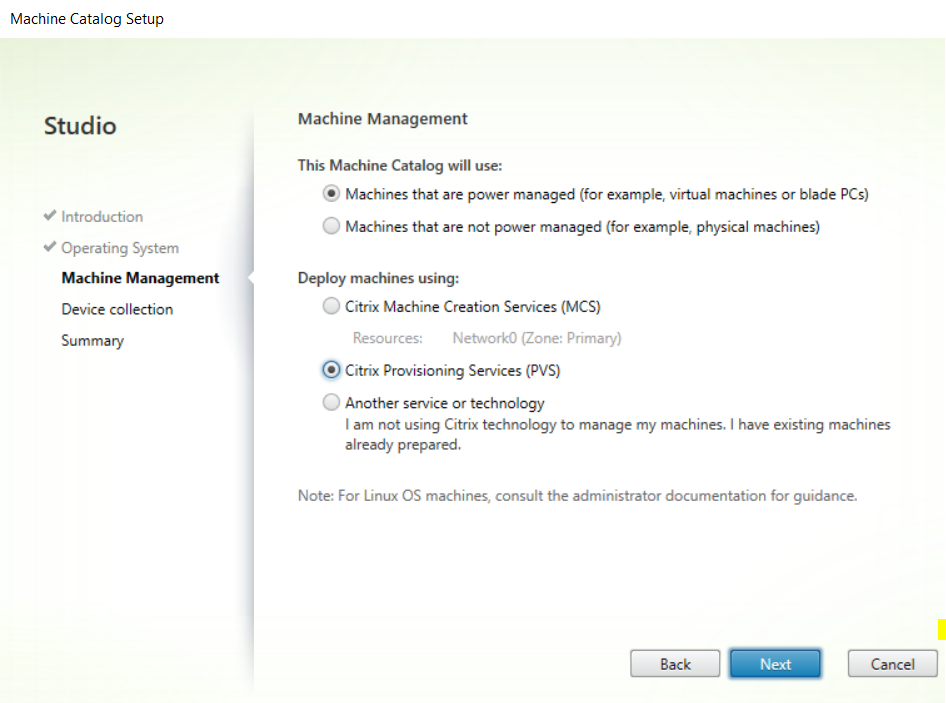
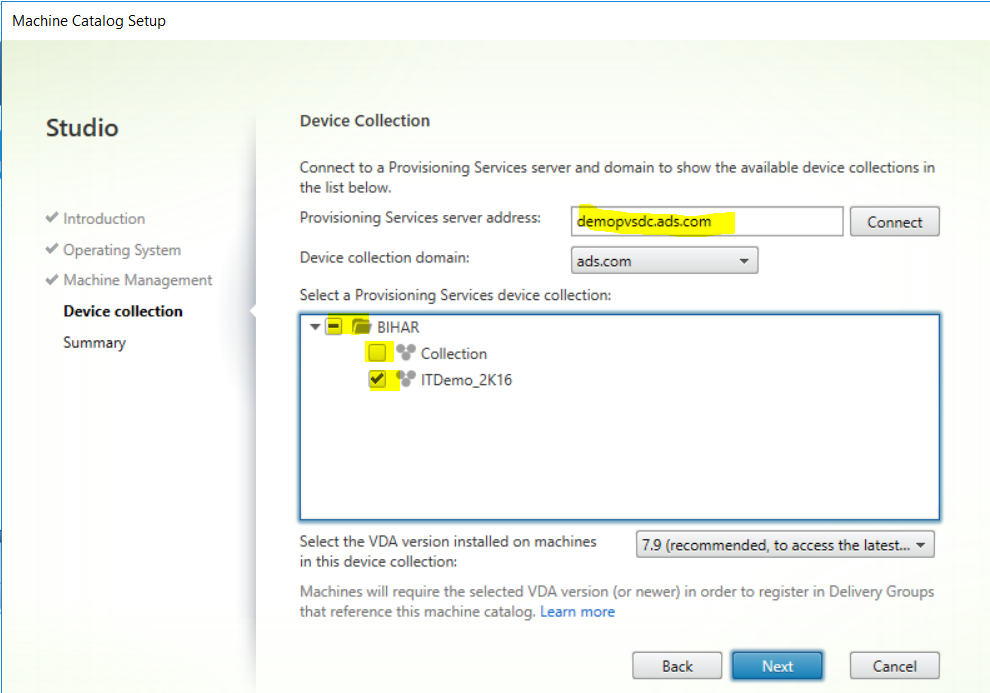
Create Machine catalog in Citrix Studio 7.9 step by step
http://www.mytechinfoit.com/2021/12/citrix-provisioning-2109-installation.html
http://www.mytechinfoit.com/2021/12/how-to-create-bulk-machines-in-citrix.html
SME VMware and Window | VMware | VxRail | vSAN | SRM | vRO | vROP|VMware Aria Log Insight| Nutanix |Cisco HyperFlex | NetApp | Azure | Citrix | Veeam Backup & Replication, EM & One
HPE MSA 2040 configuration Default IP range for HP SAN storage MSA 2040 is 10.0.0.1/2 You need to connect your laptop and storage with...