Requirement for Citrix Provisioning 2109 installation and configuration
1. Domain Controller (Already configured DHCP & DNS on SRV16.ads.com)
2. SQL server – (Already installed and configured on Database.ads.com)
3. PVS Server (For Console Installation, Server Installation & License server Installation) – DEMOPVSTS.ads.com
4. Target device – WIN16TS.ads.com
Login to DHCP server and configure both point 066 & 067
Open DHCP expand Scope -> Go to Scope Options
Right click on Scope Options -> Click Configure Options
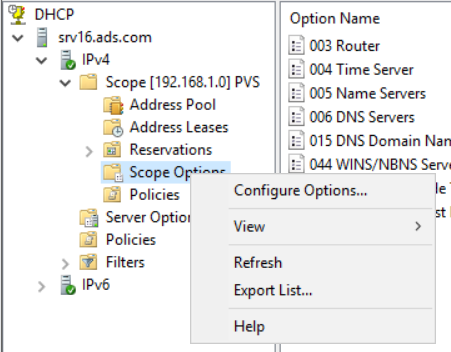
Select point 066 and assign PXE boot server Name. In my case I am using a PVS server for PXE boot.

Now select point 067 to assign file Name for PXE boot ARDBP32.BIN.

Now login to PVS server
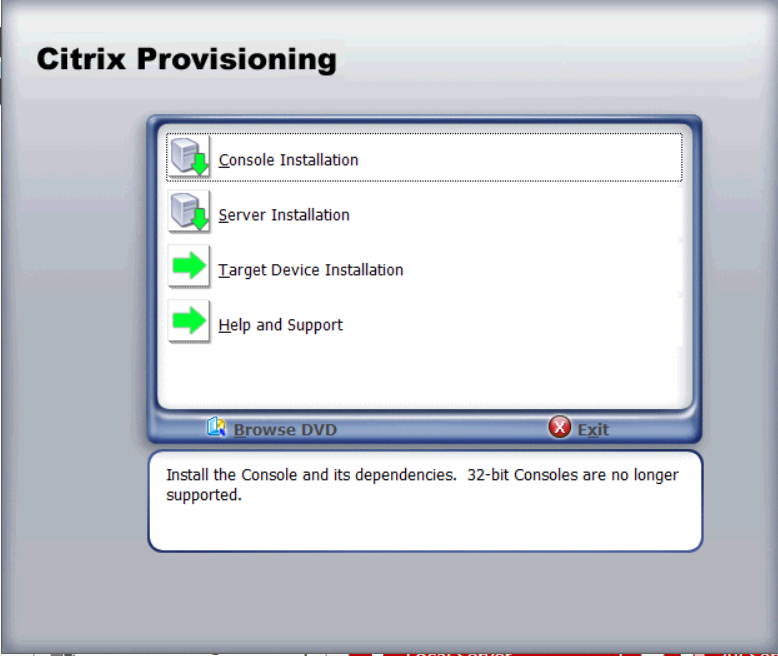
Mount Citrix provisioning application on PVS server “DEMOPVSTS.ads.com” to complete Console Installation and Server Installation
Select Console Installation
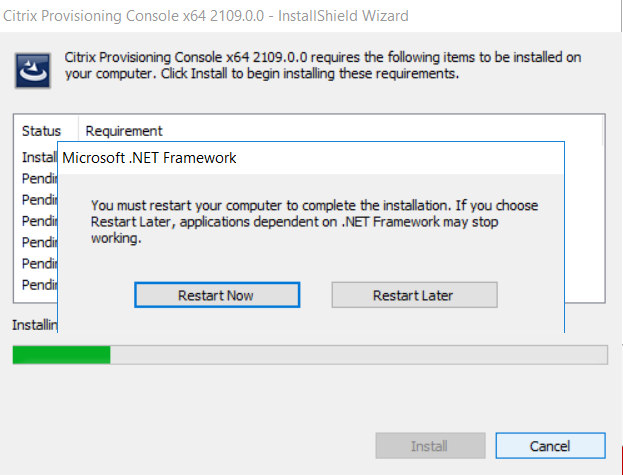
Console installation will start


Once Installation will complete click Restart
Once server will back login to the server and launch Citrix Provisioning Setup
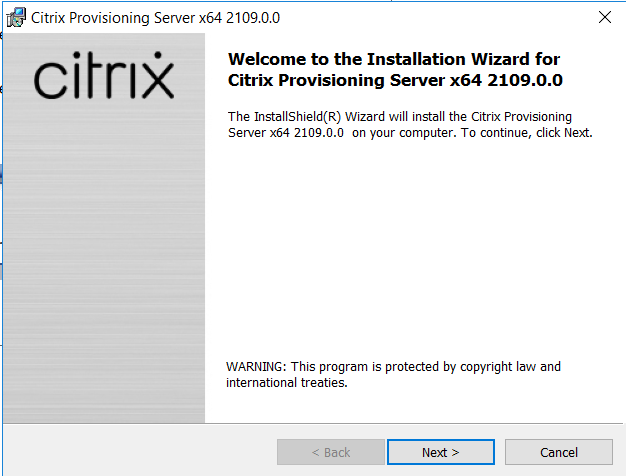
Click Server Installation

Click Install

Click Next
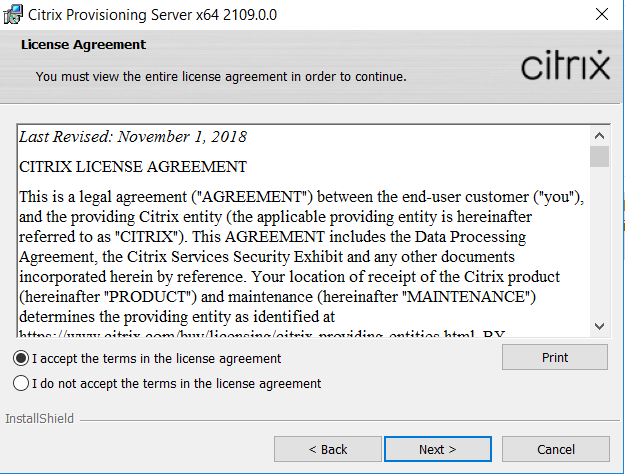
Click I accept and Next
Click next

Click next

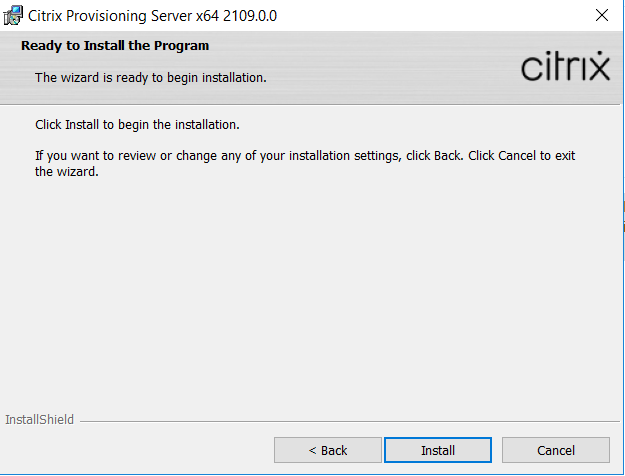
Click Install
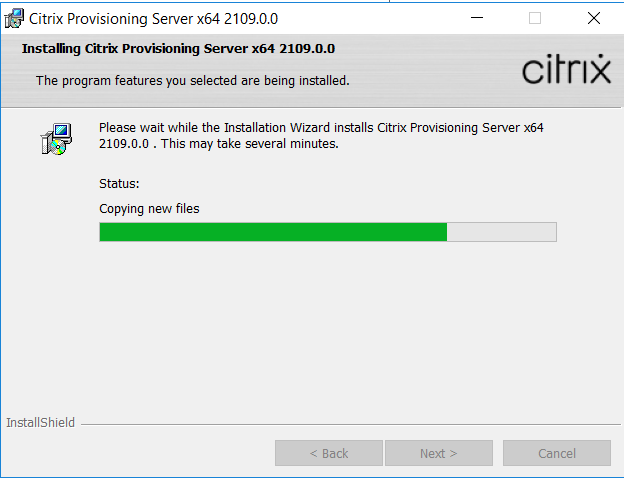
Now installation has completed

Once you will click Finish one pop up will come to install Citrix Console
Click Okay and do the configuration
Check mark on the service that runs on another computer (In My infra I have configured DHCP on my Domain controller server, in case if you have configured DHCP on same PVS server then keep it default)

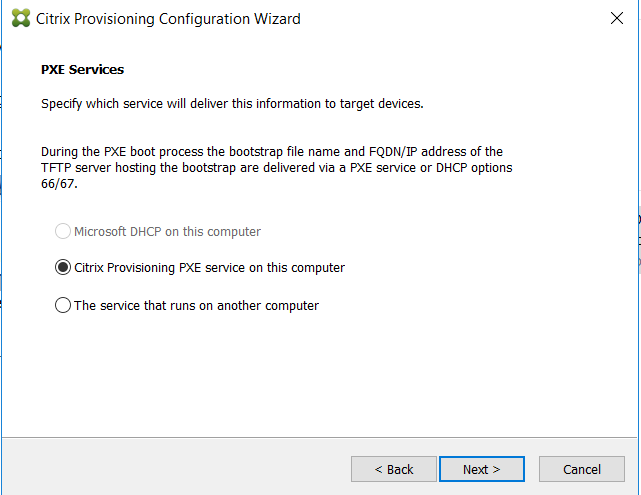
Choose the option for PXE Services, in my case I am running PXE service on the same PVS server that you can see in DHCP configuration.
Select Create farm or use existing farm
In my case there is no existing farm so I am selecting Create farm

Enter Database server name – database.ads.com
Instance name -: Give the name if you have already created or click next for let it create auto
TCP port-: 1433

Enter Database Name: - database.ads.com
Farm Name: - DEMO
Site Name: - BIHAR
Collection Name: - Collection
Select use Active Directory group for security

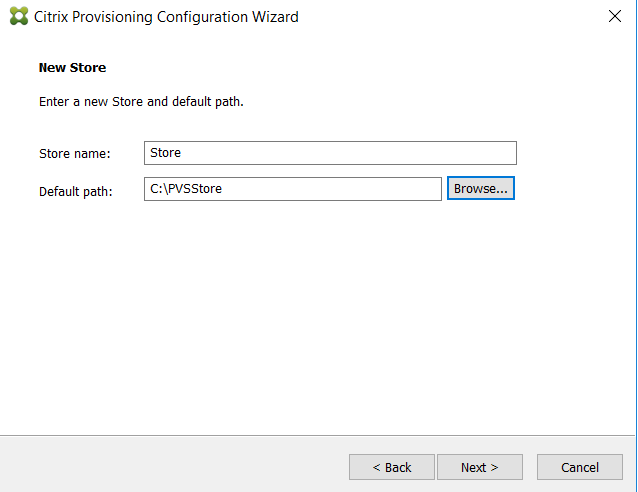
Assign Name and path for Store
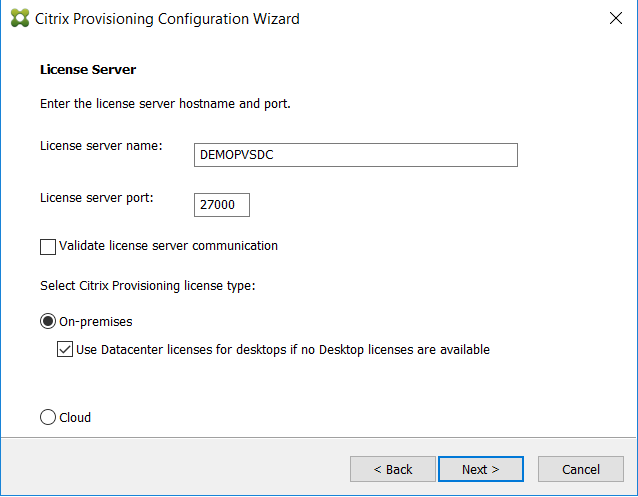
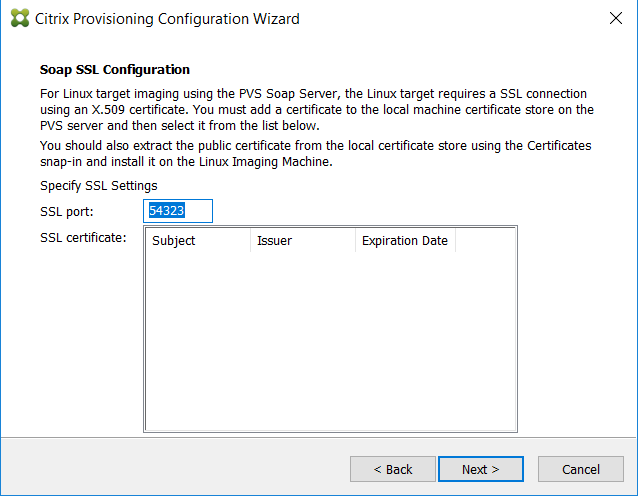
Enter License server Name
License server port
Uncheck validate license server communication: - In my case there is no License server that’s why I am unchecking.
Select Use network service account or Specified user account if you want to run it with a separate account.

Check mark to Automate computer account password within selected days

Select Network card for streaming and Management
In my case I am using single NIC for both Streaming and Management

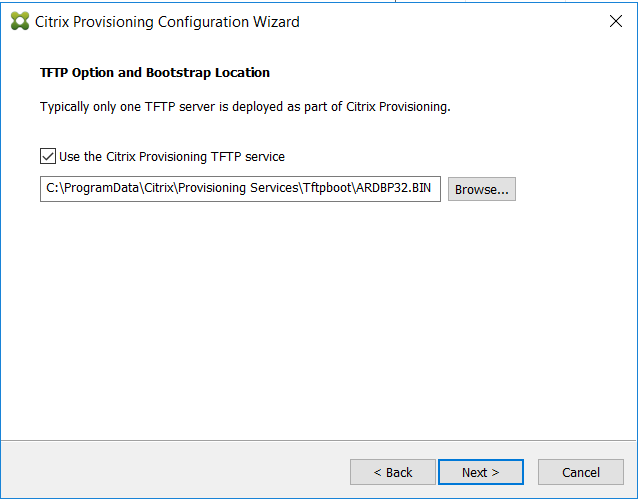
If you are using PXE boot from the same server then check mark on Use the Citrix provisioning TFTP service or browse and assign the path for ARDBP32.BIN file.
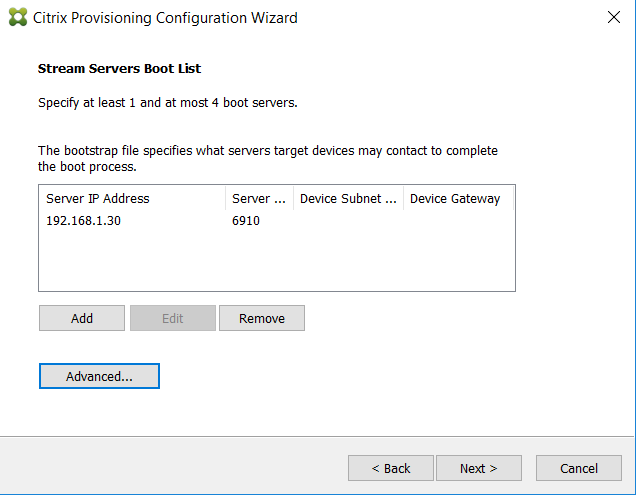
Click next and add Stream server IP if you have different one
Click Next
Enter My Citrix user details to submit error details online else leave it.

Below is the final configuration details
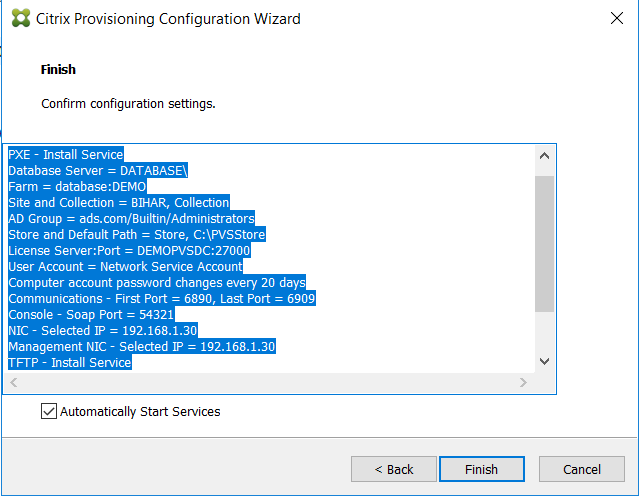
Click Finish

Now Installation completed.
Now launch Citrix Provisioning Configuration wizard
Now go to Target Device server WIN16TS.ads.com and launch Citrix Provisioning setup
Select Target Device Installation
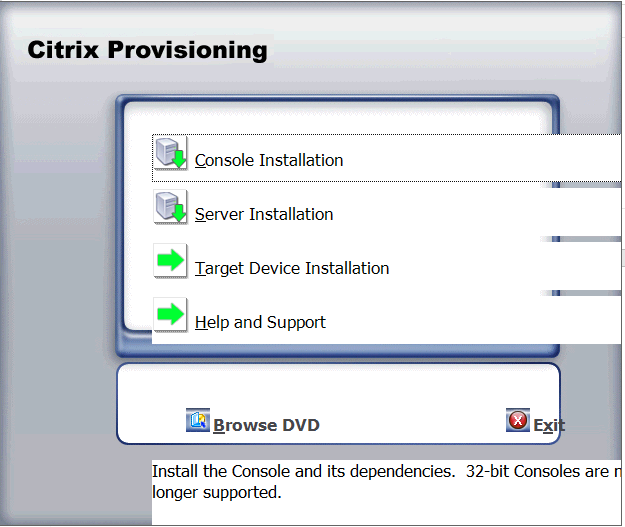
Click Target Device Installation

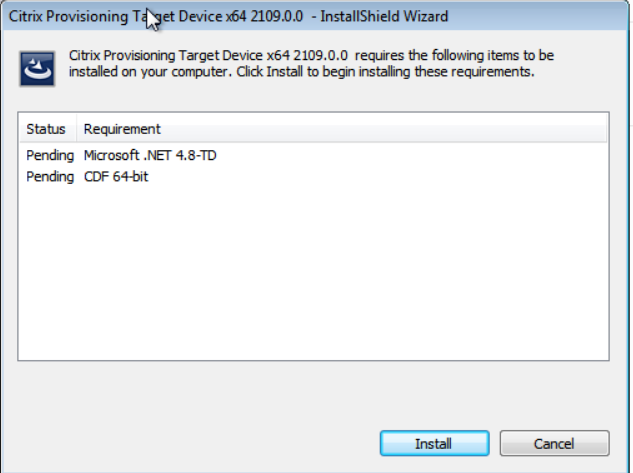
Click Finish
Once installation will complete it will ask for reboot the server.
Reboot the server and again launch Citrix provision installation setup wizard
Select Target device installation

Accept license agreement and click next

Click Next

Click install

Check mark on launch imaging wizard and click finish to start Image wizard
Or you can launch later.
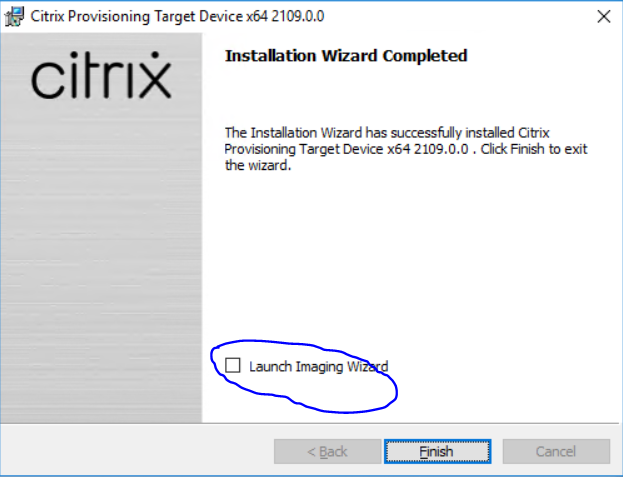
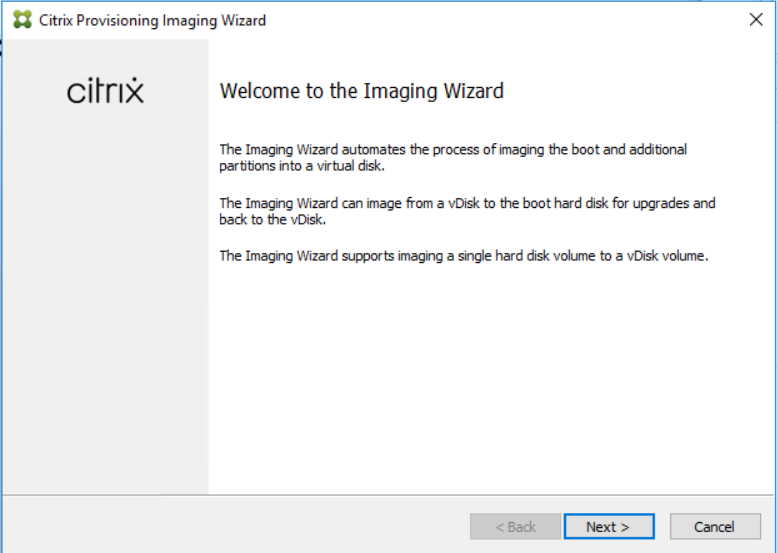
Or you can launch Imaging Wizard from start menu
Click next
Enter PVS site IP or name -> click next

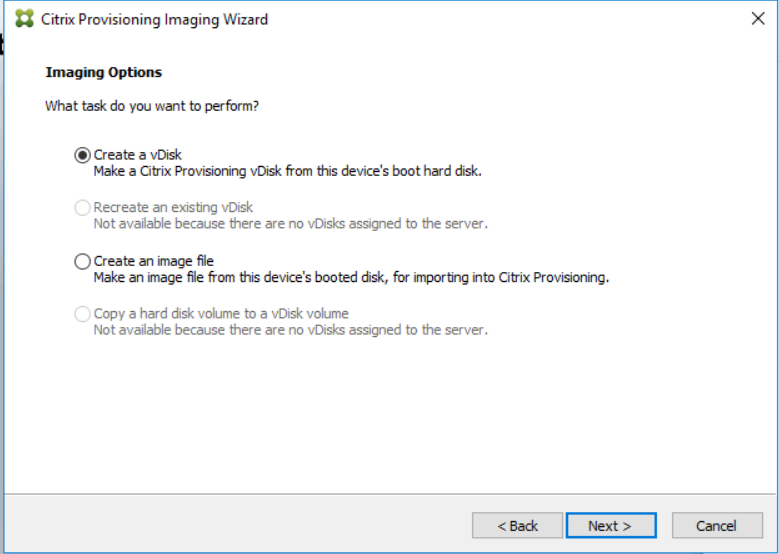
Select create a vDisk -> Press Next
Enter Target device name: it should not be existing one

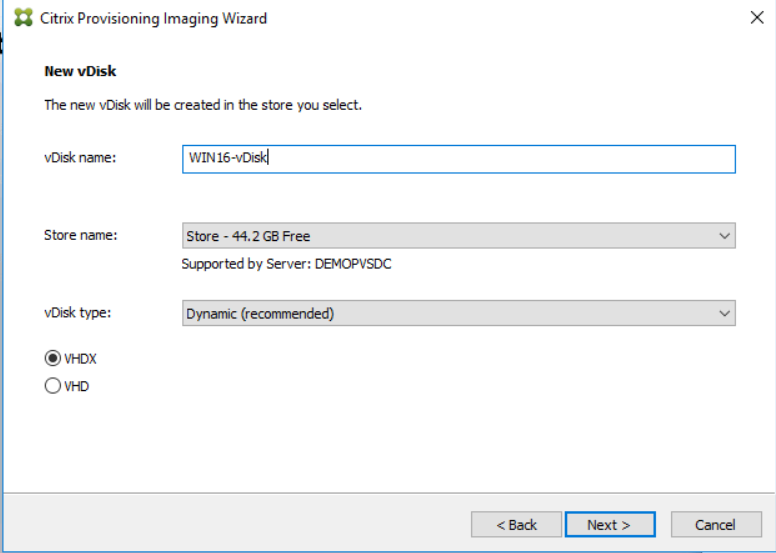
vDisk Name: Enter vDisk Name
Select vDisk type Dynamic VHDX/VHD
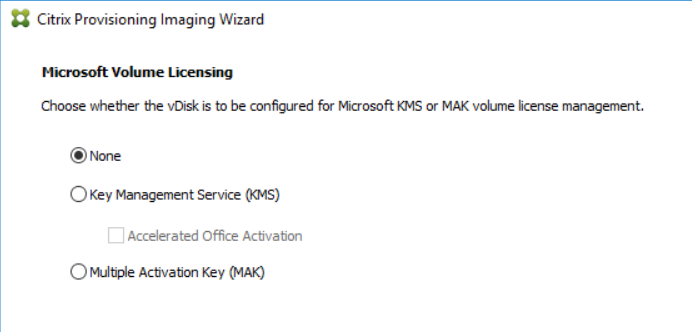
Select Volume licensing type. In my case I am not using any types of license server
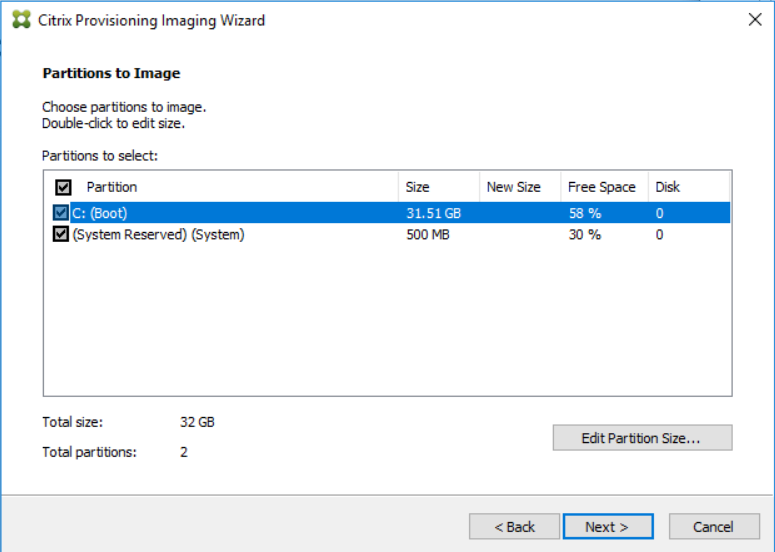
Chose entire Image boot disk or custom

Click on edit partition size to assign new size that you want to copy
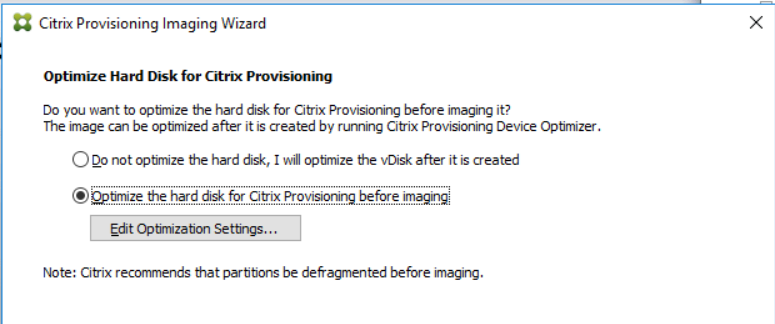
Click optimization settings, if you want to customize else select do no optimize and click next
Click Create

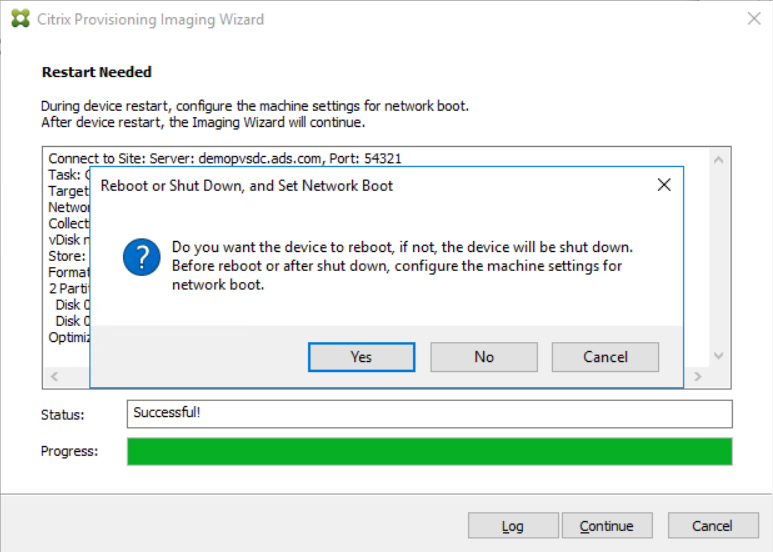
Click continue once status will change to successful

It will ask to reboot the machine but before rebooting it you need to change the boot setting using below screen.
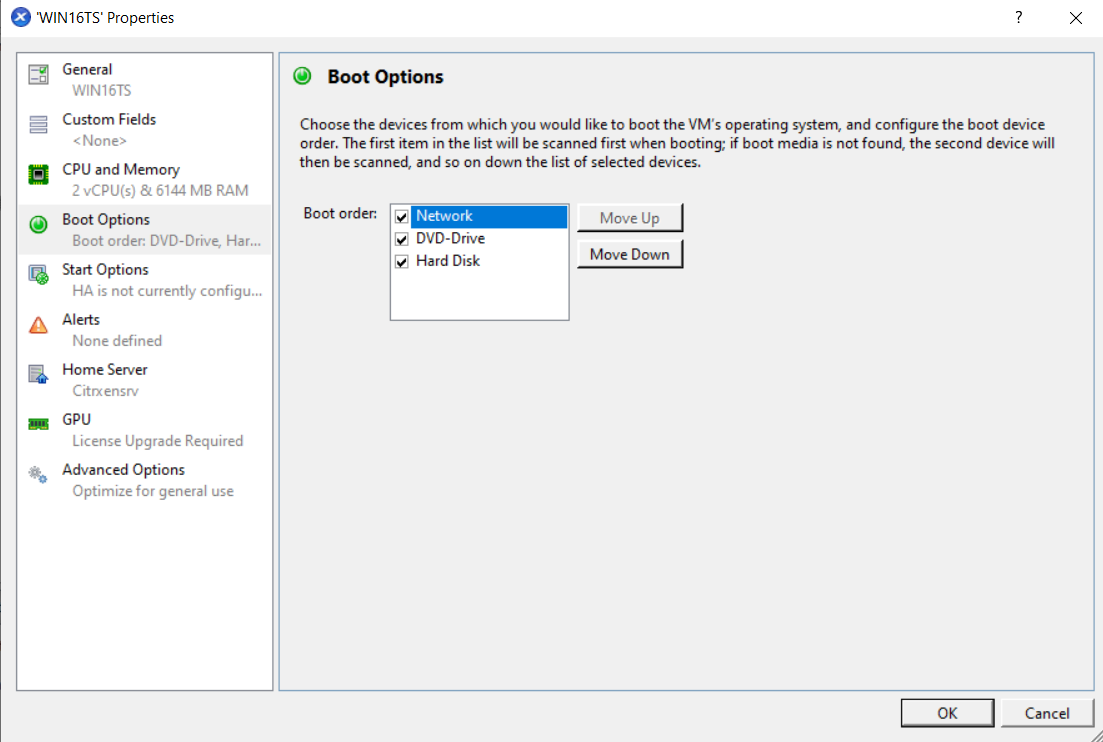
Before reboot the server, change server boot option
Next boot with network -> Apply Ok
Click yes to reboot the machine,
Once the machine comes online, login to the server.
Auto setup will start to copy files, it will take time to complete copy process.

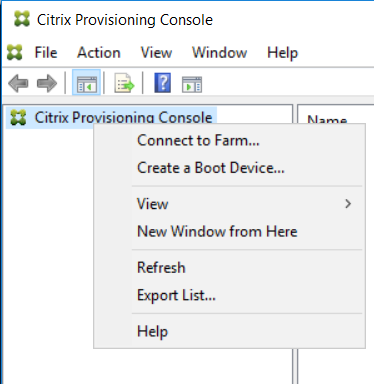
Launch Citrix Provisioning Console from PVS server

Right click and select connect to Farm
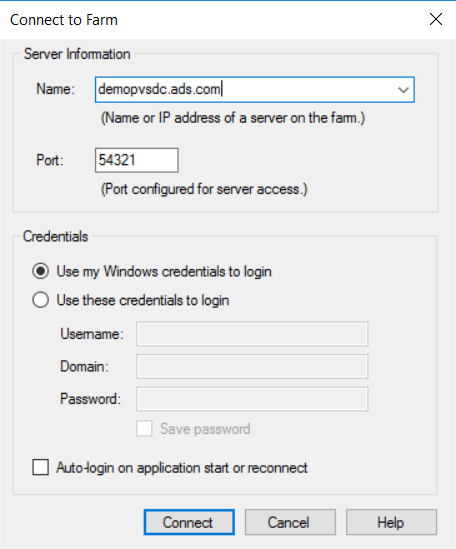
Enter PVS server Name or IP address to connect with Farm -> Click connect
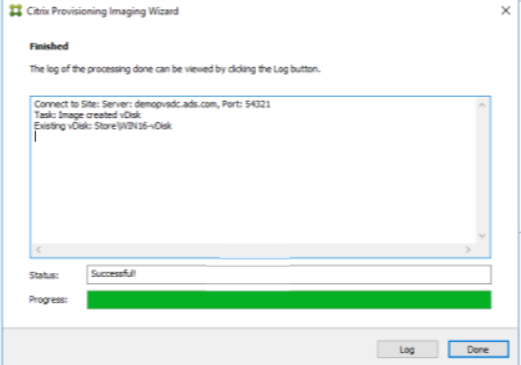
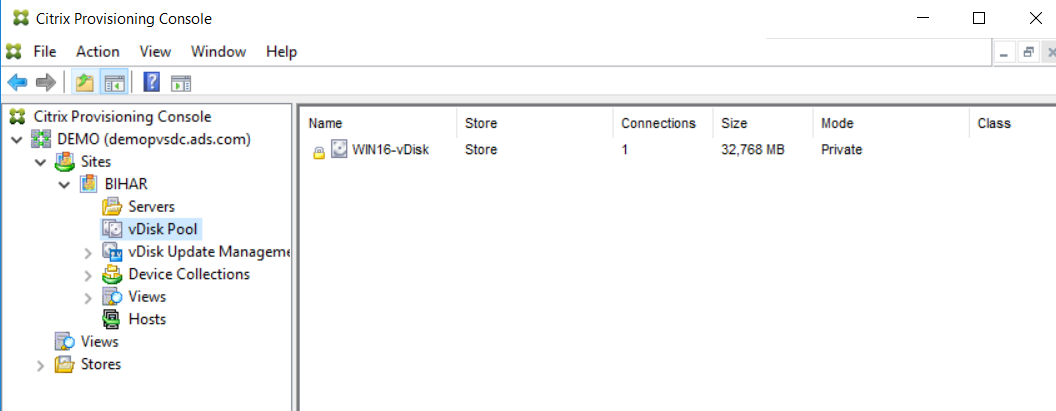
Now the new Farm has connected also you can see new vDisk WIN16-vDisk has been created.
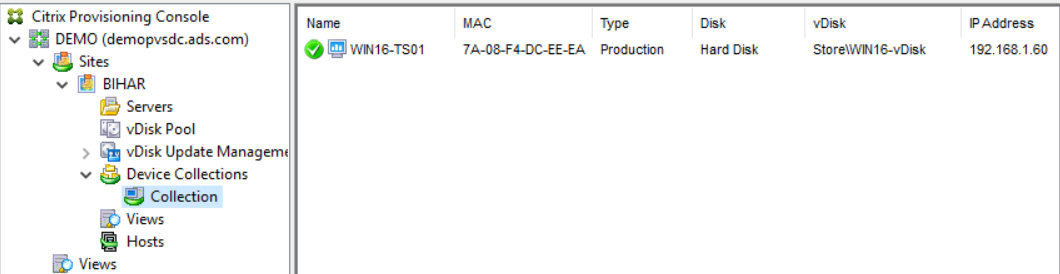
Click on Device Collection to see live machine that is using vDisk
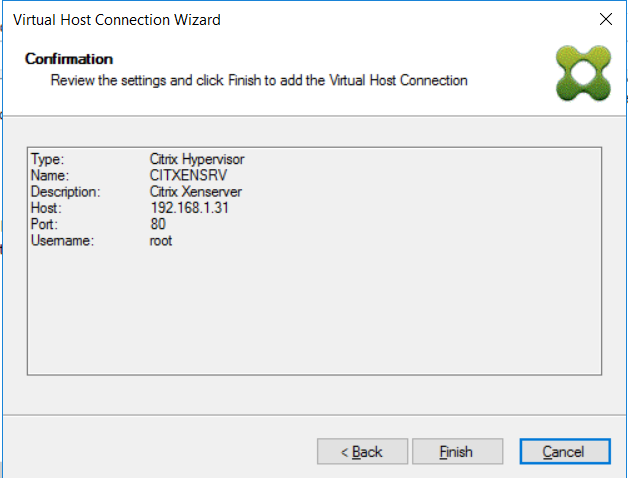
Now right click on Hosts and select add new host -> Next

Select Hypervisor -> In my case I am using Citrix Hypervisor -> Click next

Enter Hypervisor Name

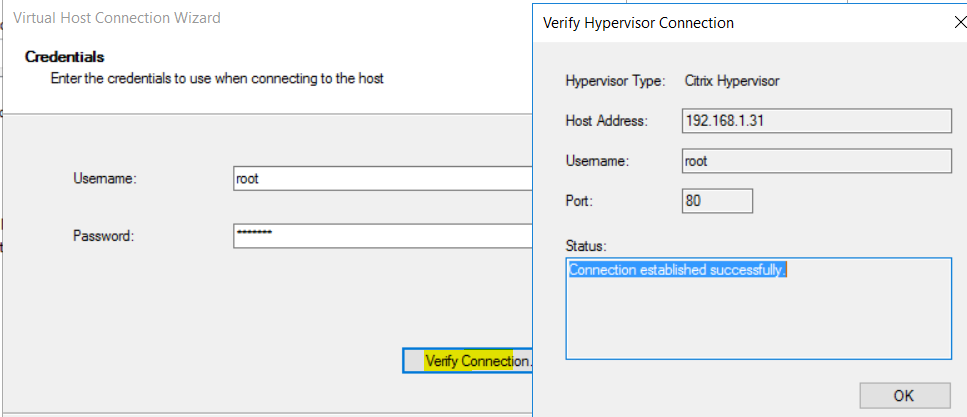
Enter Hypervisor IP and port

Enter Username and password
Click on Verify connection.
If connection verification is OK, click next


No comments:
Post a Comment