Azure VNet
Virtual networks (VNets) are used in Azure to provide private connectivity between Azure Virtual Machines and other Azure services. VMs and services that are part of the same virtual network can access one another. By default, services outside the virtual network cannot connect to services within the virtual network. You can, however, configure the network to allow access to the external service, including your on-premises servers.

Create VNet in Azure using Azure Portal.
Login to Azure portal using your subscription ID
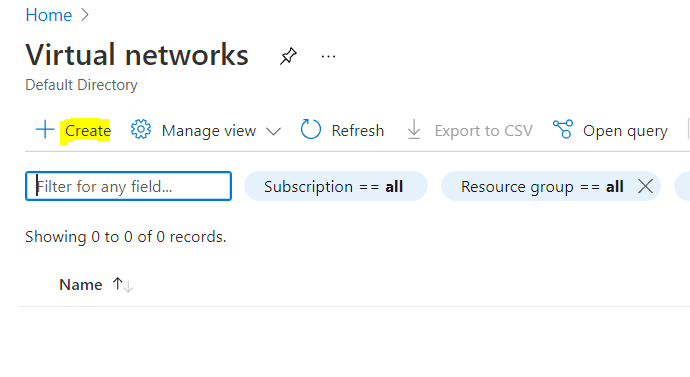
Click Virtual Network.

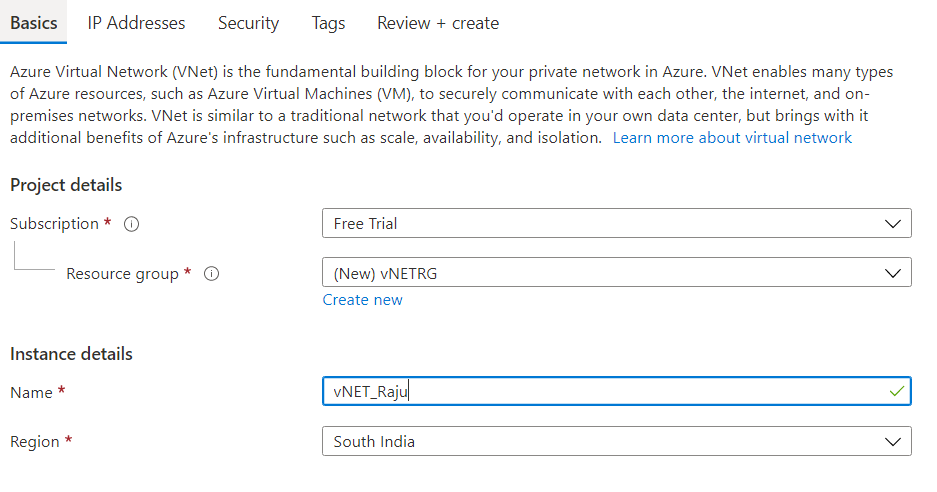
Click create
Click IP Addresses and Enter IP Address

Click Add Subnet -> Give the subnet Name and range.
Subnet range must be from same IP range

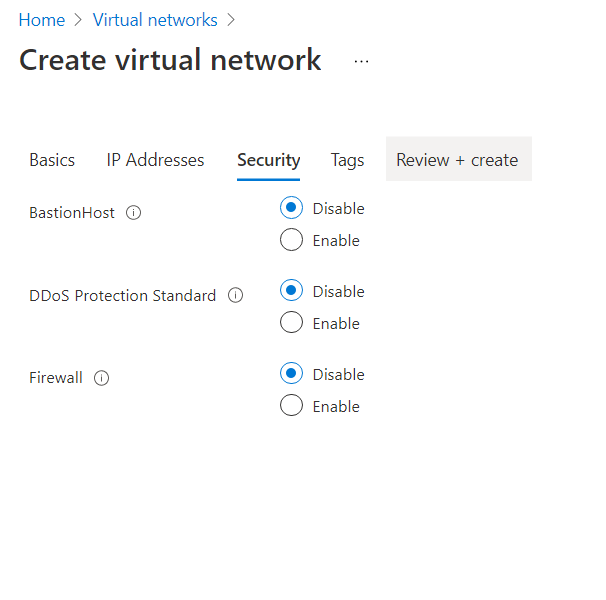
Click Security -> Here I am leaving default; you can change as per your requirement.
Click Tag -> Update the Tag that you want like owner, department

Click Review + Create

Click Create

Now go to Virtual network and you will see newly created VNet.

If you want to create more subnet in VNet_Raju, Open the VNet and click Subnets
Click Add Subnet and assign CIDR range.

Note -: When you deploy a new VM, you need to select VNet_Raju Network and inside the network you will see multiple Subnets that you have created.
Select the correct required subnet from the list.


No comments:
Post a Comment