Azure Resource Group-> You can deploy, Manage and Monitor all the resources for your solution as a Group, rather than handling these resources individually.
You can repeatedly deploy your solution throughout the development lifecycle and have confidence your resources are deployed in a consistent state.
You can manage your infrastructure through declarative templates rather than scripts.
You can define the dependencies between resources so they are deployed in the correct order.
You can apply access control to all services in your resource group because Role based access control (RBAC) is natively integrated into the management platform.
You can apply tags to resources to logically organize all the resources in your subscription.
you can clarify your organization's billing by viewing costs for a group of resources sharing the same tag.
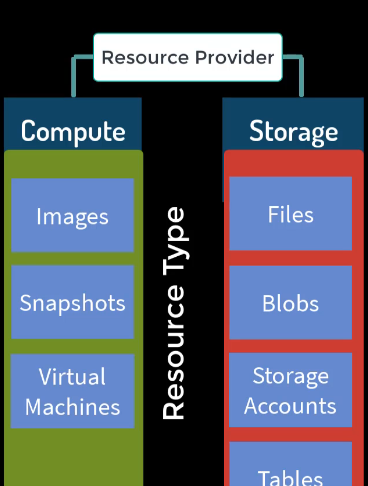
Resource provider
Microsoft has categorized resources and different categories.
Compute -> it will provide Images , Snapshots, Virtual Machines
Storage-> Storage provides Files, Strage Accounts, Blobs, Tables
SQL -> Tables, Structured
Top categories is called Resource Provider and Subcategories is called Resource Type.
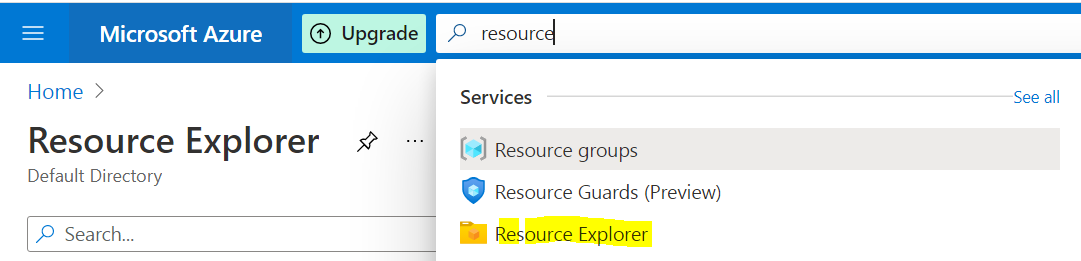
To check the list of resource provider login to Azure Portal and search for resource Explorer.
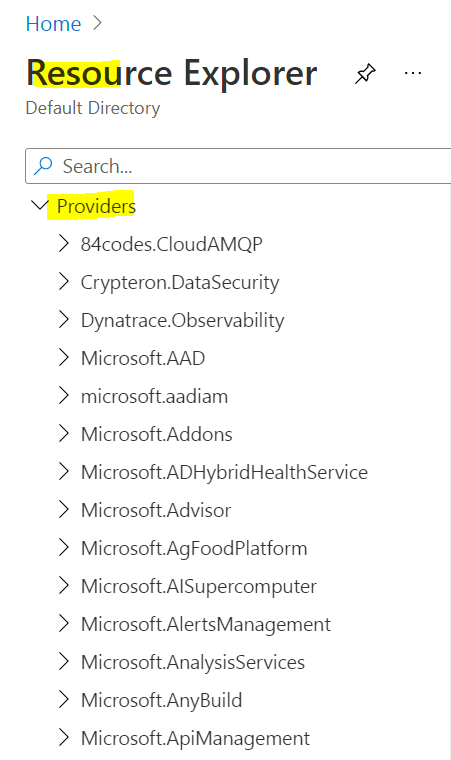
Click on provider and you will see a list of resource providers.
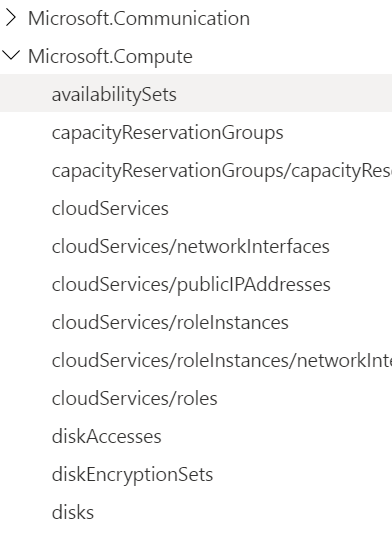
Once you expand the resource provider you will see resource type, like below.
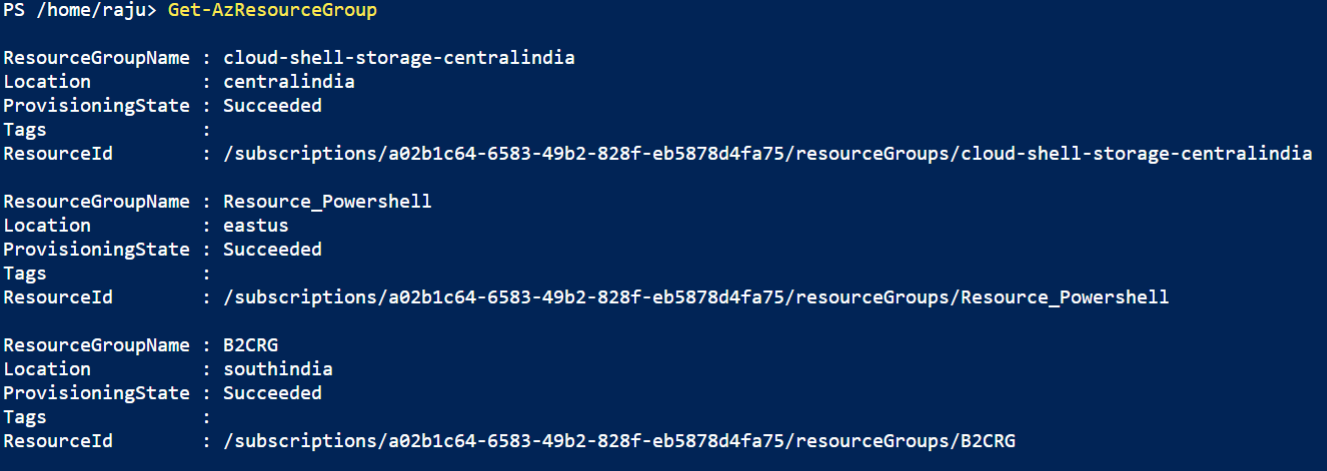
Use below Command to Get Azure Resource Group list
Get-AzResourceGroup
Locking resource or resource Group using PowerShell
We lock resource groups, or resources to prevent other users in the organization from accidentally deleting or modifying critical resources.
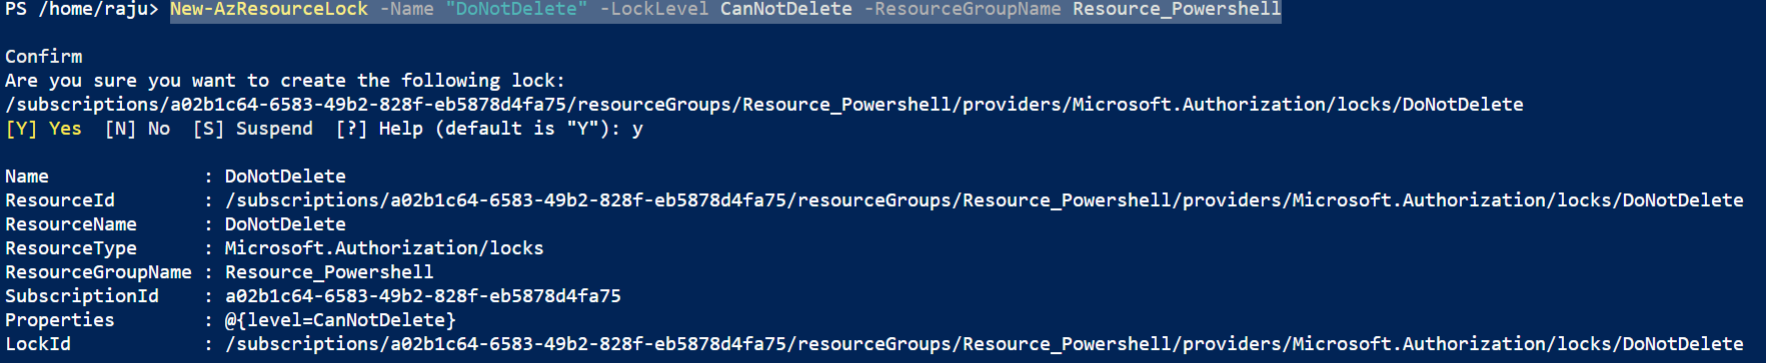
Use below Command to create AzResource group lock and protect Azure Resource Group.
New-AzResourceLock -Name "DoNotDelete" -LockLevel CanNotDelete -ResourceGroupName Resource_Powershell
“DoNotDelete” -> AzResource Group Lock name (Newly created)
Resource_PowerShell -> Resource Group Name that was earlier created using New-AzResourceGro***** Command.
How to check Azure Resource is locked or not using Azure portal.
Login to Azure Portal
Search for Resource Group -> You shall see a list of the resource created inside the Resource Group.
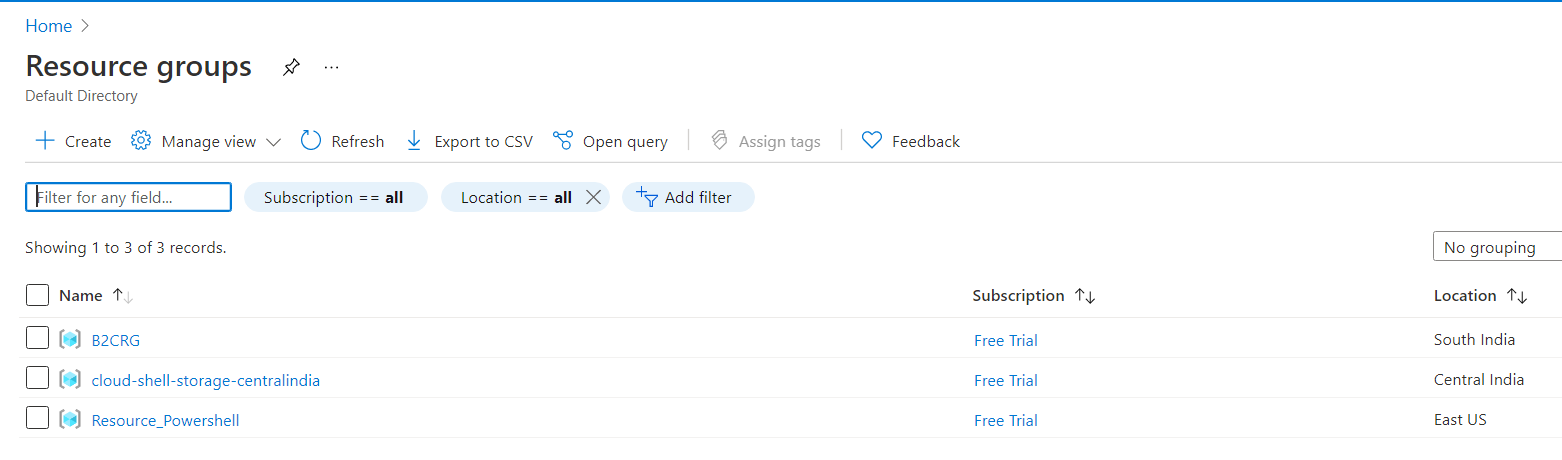
Select the resource group for which you applied lock level, in my case I applied on Resource_PowerShell.
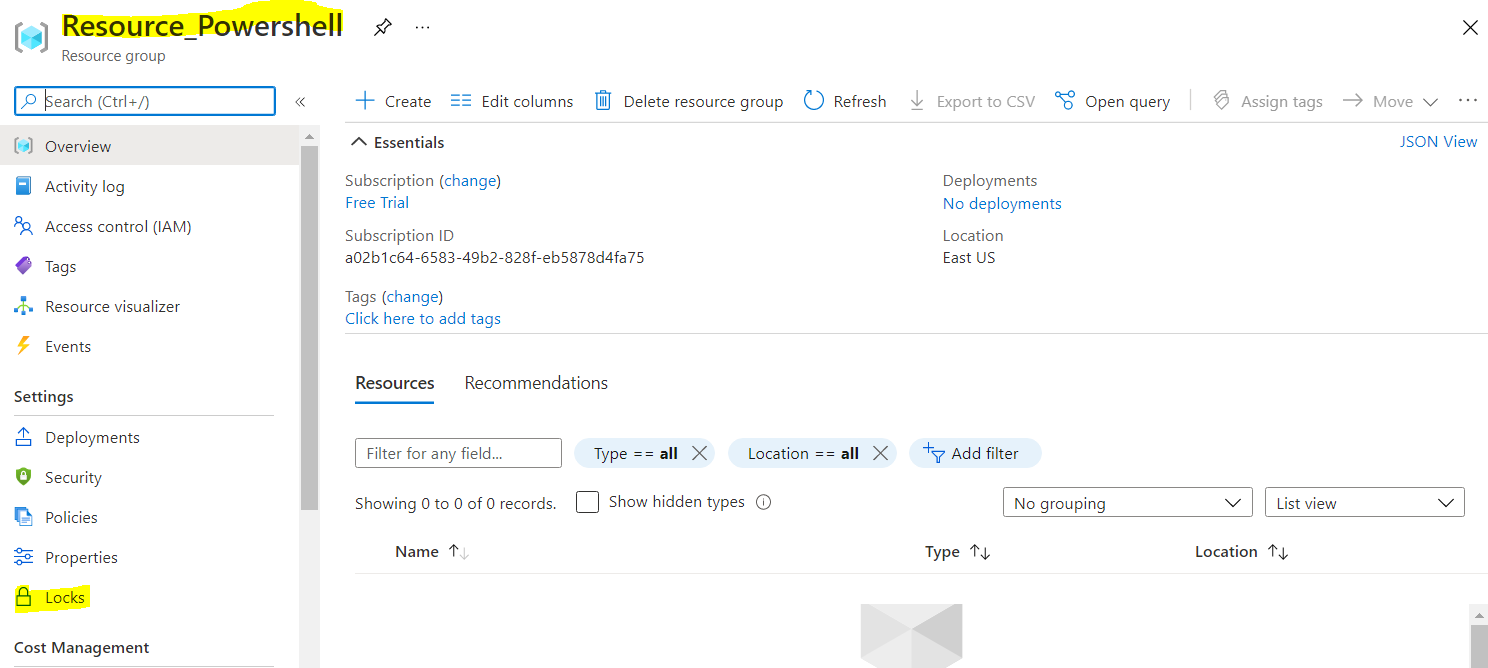
Click on Lock ->
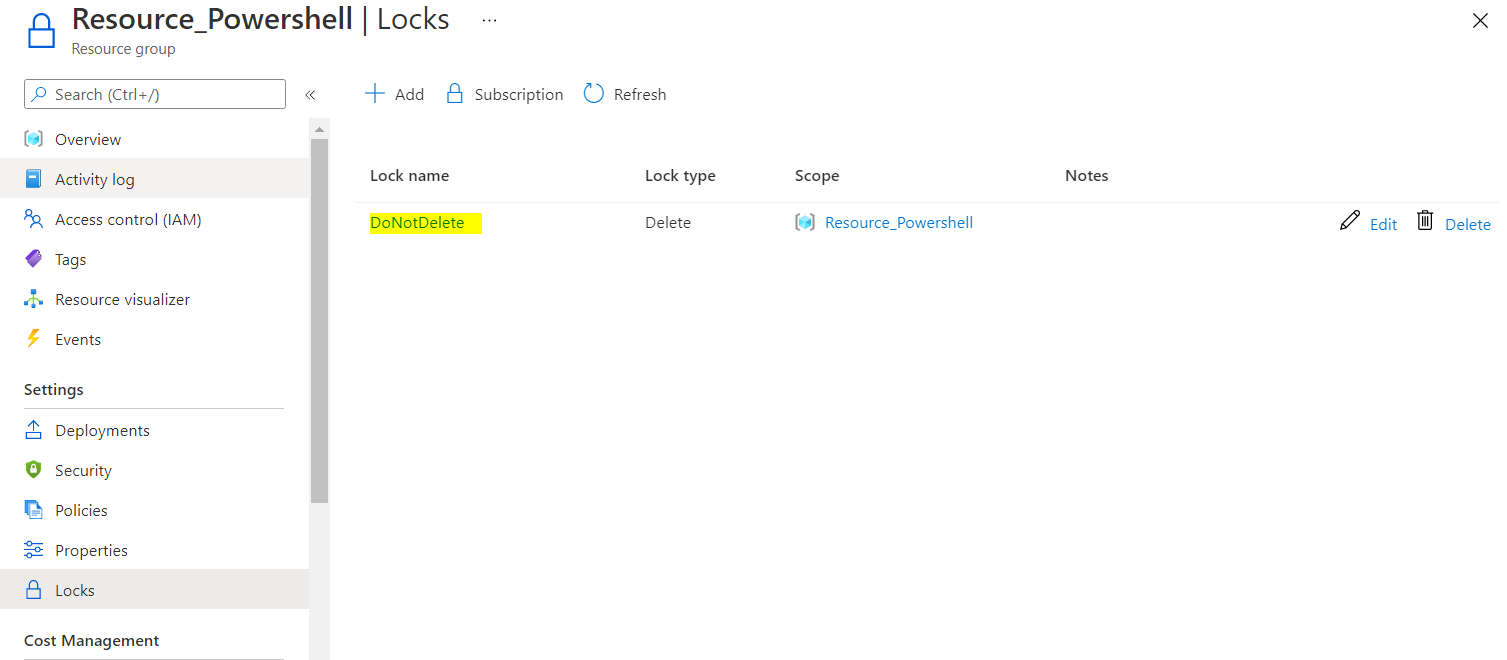
Lock Name is created, and lock type is set Delete.
From the Azure Portal you can also lock your resource.
Login to Azure Portal
Search for Resource Group and inside the Resource Group search for resources.
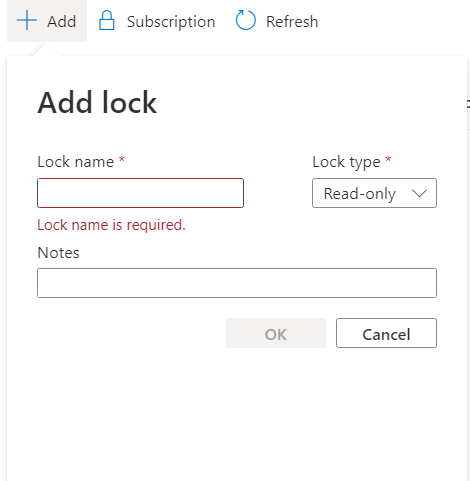
Select the Resource that you want to lock -> Click Locks -> Add

Give the Lock Name
Select Lock type
And press OK.
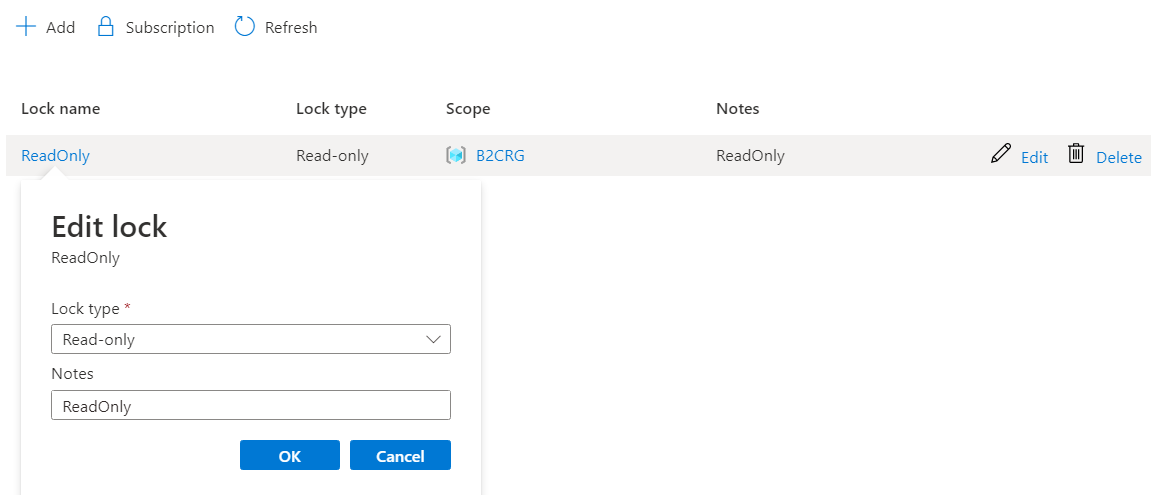
Now Try to check whether the resource is locked or not.
Use the below command to delete resources in PowerShell.
Remove-AzResourceGroup -Name Resource_Powershell

Command to get Azure resource lock ID
Get-AzResourceLock
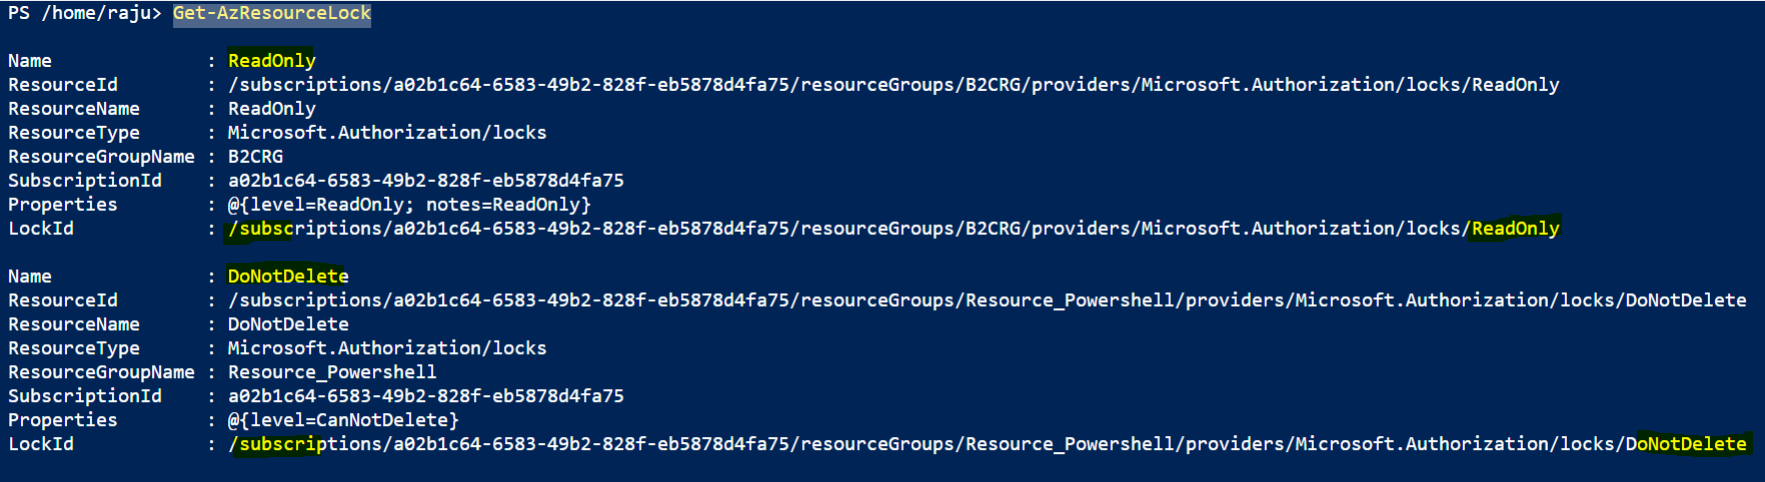
Command to remove LockID from resource or resource group.
Remove-AzResourceLock -LockId /subscriptions/a02b1c64-6583-49b2-828f-eb5878d4fa75/resourceGroups/Resource_Powershell/providers/Microsoft.Authorization/locks/DoNotDelete

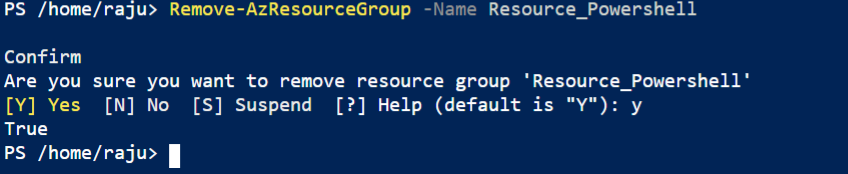
Resource “Resource_Powershell” is now not protected so you can now easily delete from resource group either using PowerCli or Azure Portal.
Command to remove Azure Resource Group
Remove-AzResourceGroup -Name Resource_Powershell


No comments:
Post a Comment