Virtual Networking allows you to create completely isolated virtual networks that are separated from the physical network. You can do multi-tenant network provisioning with overlapping IP addresses, self-service network provisioning, and IP address preservation. Best of all, these isolated virtual networks provide security by default.
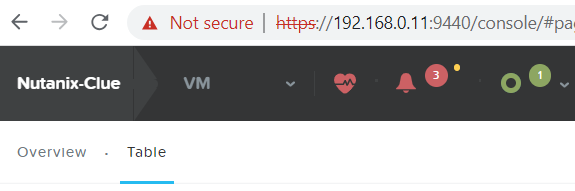
Open Nutanix Console using cluster IP
Click on drop down -> Select Network
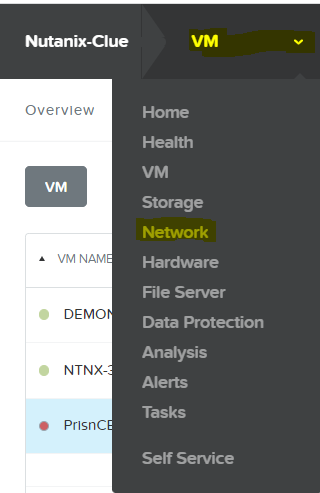
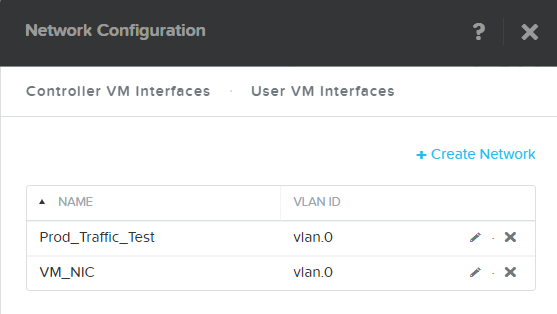
Once you click Network tab you will see list of the created network and Network assigned to which VMs.

How to create a Virtual Network in Nutanix.
To flow the traffic within the Nutanix infra or outside we need to create a Virtual network and assign it to VM.
Steps to create Virtual Network in Nutanix
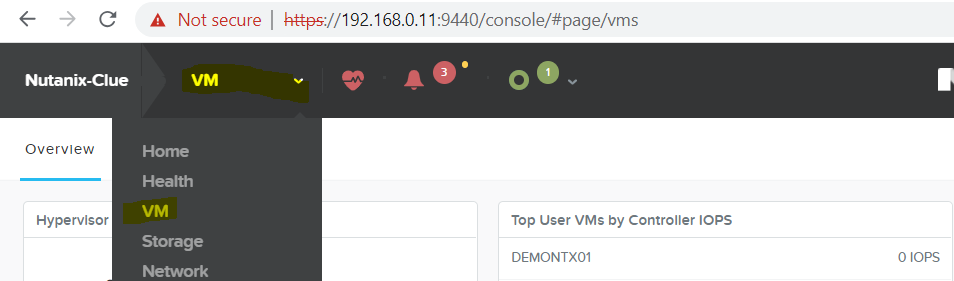
Click on drop down & Select VM
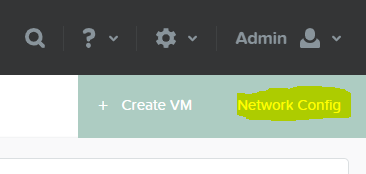
Click on Network Config
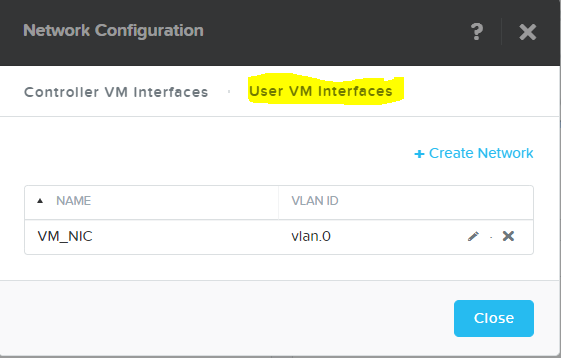
Click on User VM Interfaces -> To create network interface for VM
Give network Name and & vLAN ID.
If you are creating virtual network in your Lab environment and you don’t have vLAN to configure then you can give vLAN ID 0
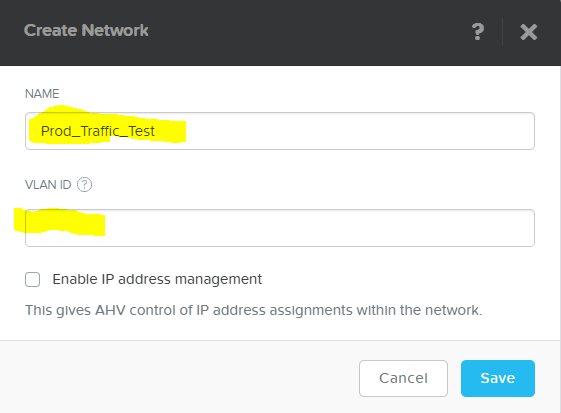
Click Save.
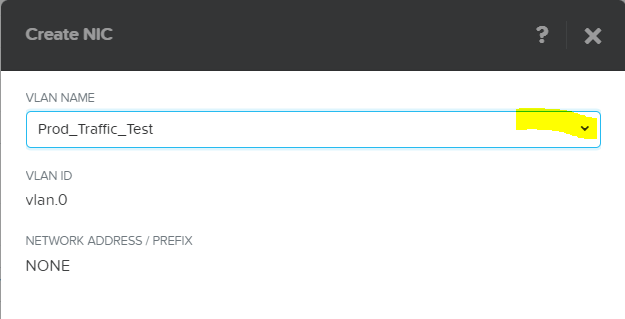
To assign the network interface for VM
Select VM and click -> click Update
Select Add New NIC

Drop down and select the NIC
Full network tutorial
https://www.nutanixbible.com/12c-book-of-network-services-flow-virtual-networking.html


You are Awesom, PLease make a whole series on Nutanix and Pure
ReplyDelete