For prerequisite follow below VMware KB article
https://blogs.vmware.com/vsphere/2019/08/changing-your-vcenter-servers-fqdn.html
Prepare Infra level configuration
Current VCSA FQDN -: DEMOVCSA01.ads.com
Current VCSA IP -:192.168.0.30
VCSA URL -: https://demovcsa01.ads.com/ui/
Create new DNS host record keeping the same old IP 192.168.0.30
Update both A and PTR records and run nslookup to see DNS is resolving DNS name correctly.

Once DNS level configuration complete and everything is resolving correctly
vCenter level
Now go to vCenter prerequisite like taking backup, create clone or snapshot
Make sure you are taking backup and cloning vCenter server for roll back plan
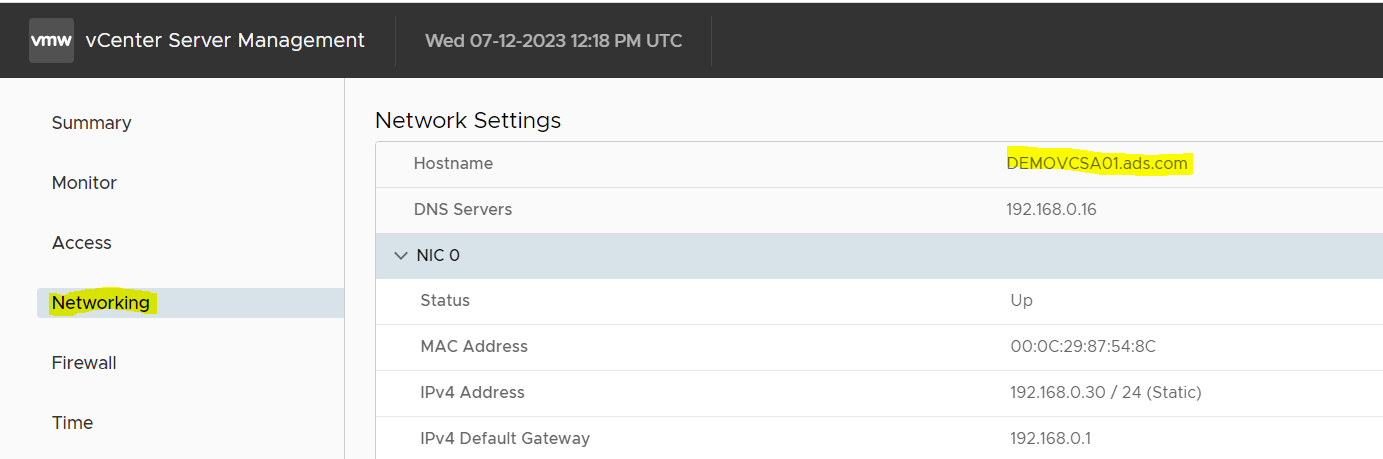
Open VAMI console using 5480 port
Login with root account
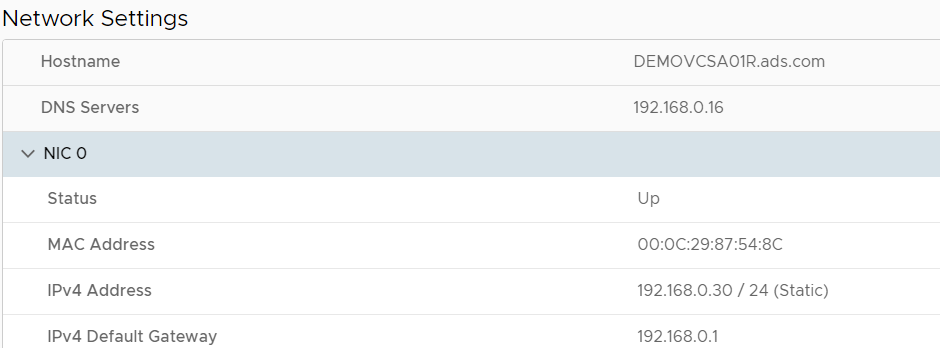
Go to networking -> check the existing configure hostname and IP
Click Edit
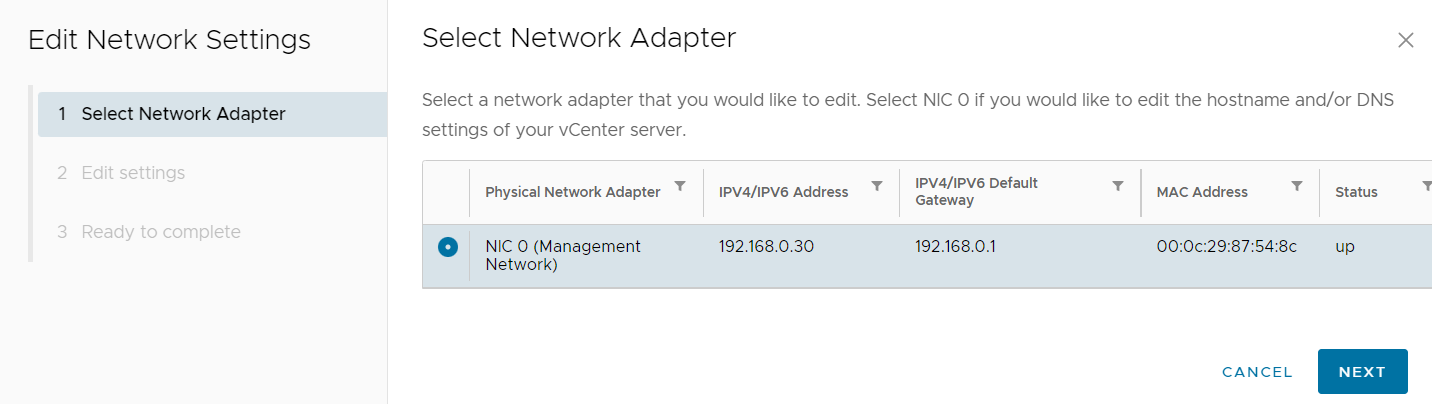
Select the correct NIC assign to Management, usually we keep NIC 0 for Management traffic
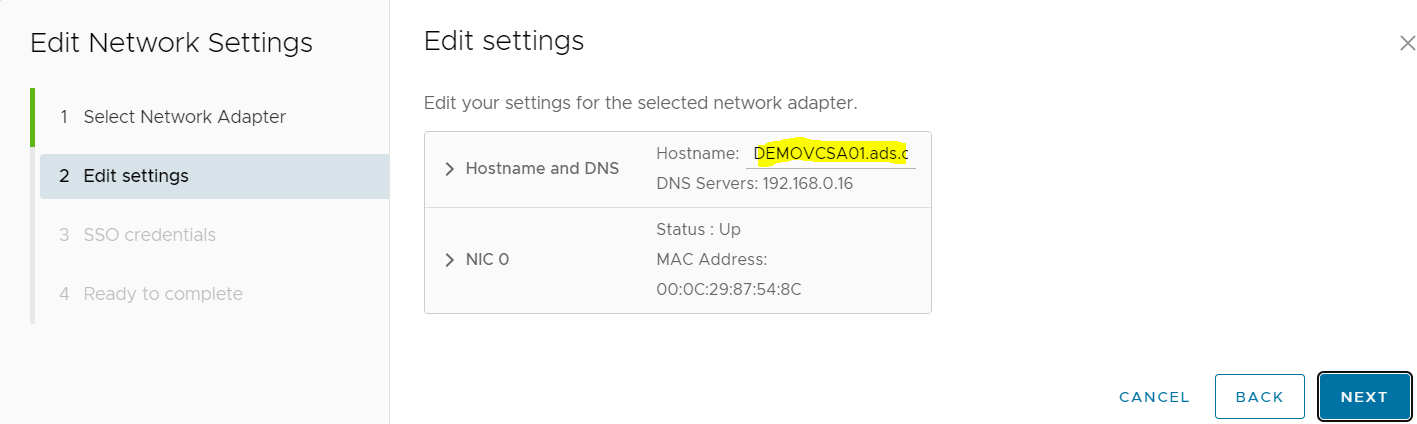
Change Hostname and DNS
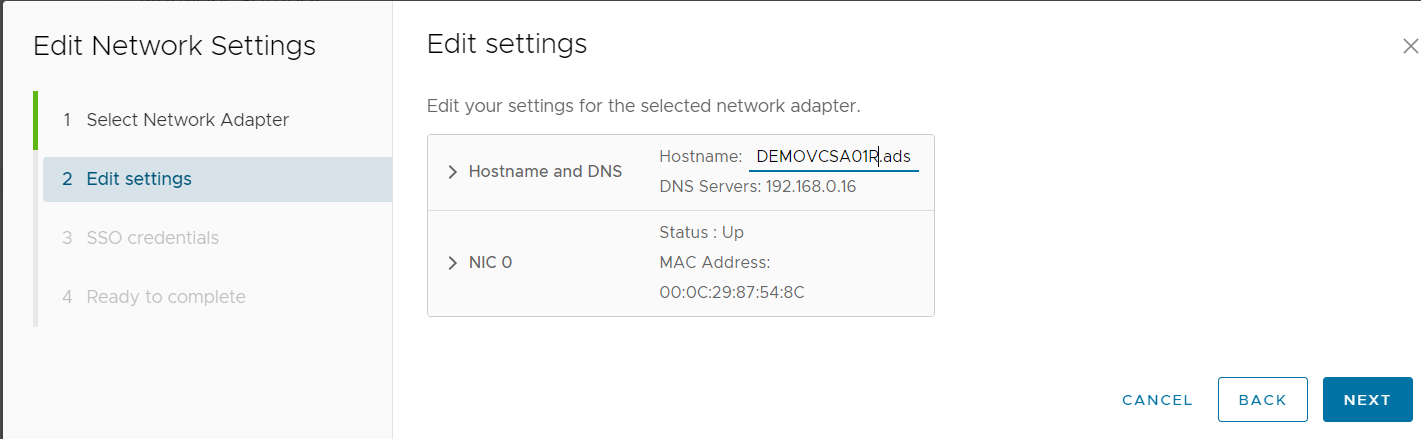
I changed from DEMOVCSA01.ads.com to DEMOVCSA01R.ads.com
Click Next
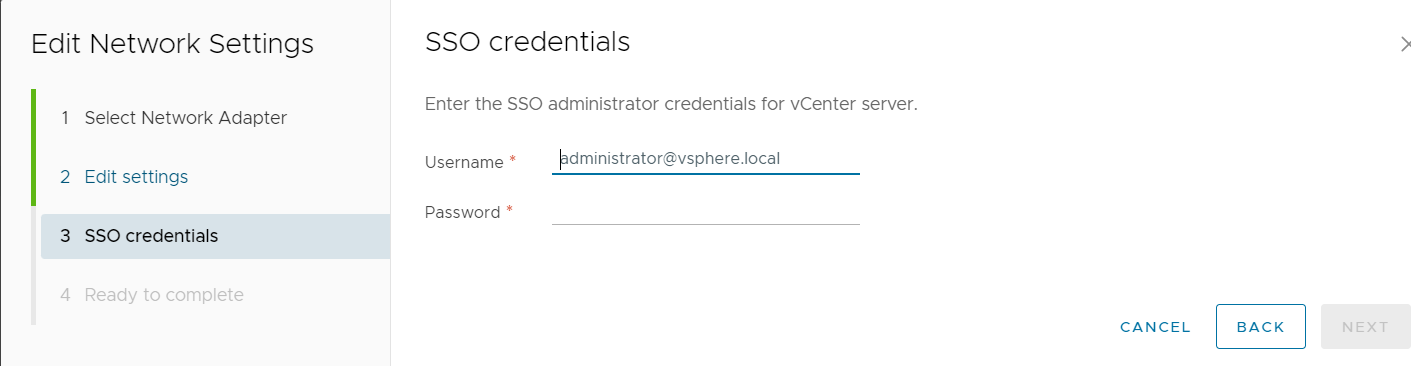
Enter administrator@vsphere.local user ID and password
Click next
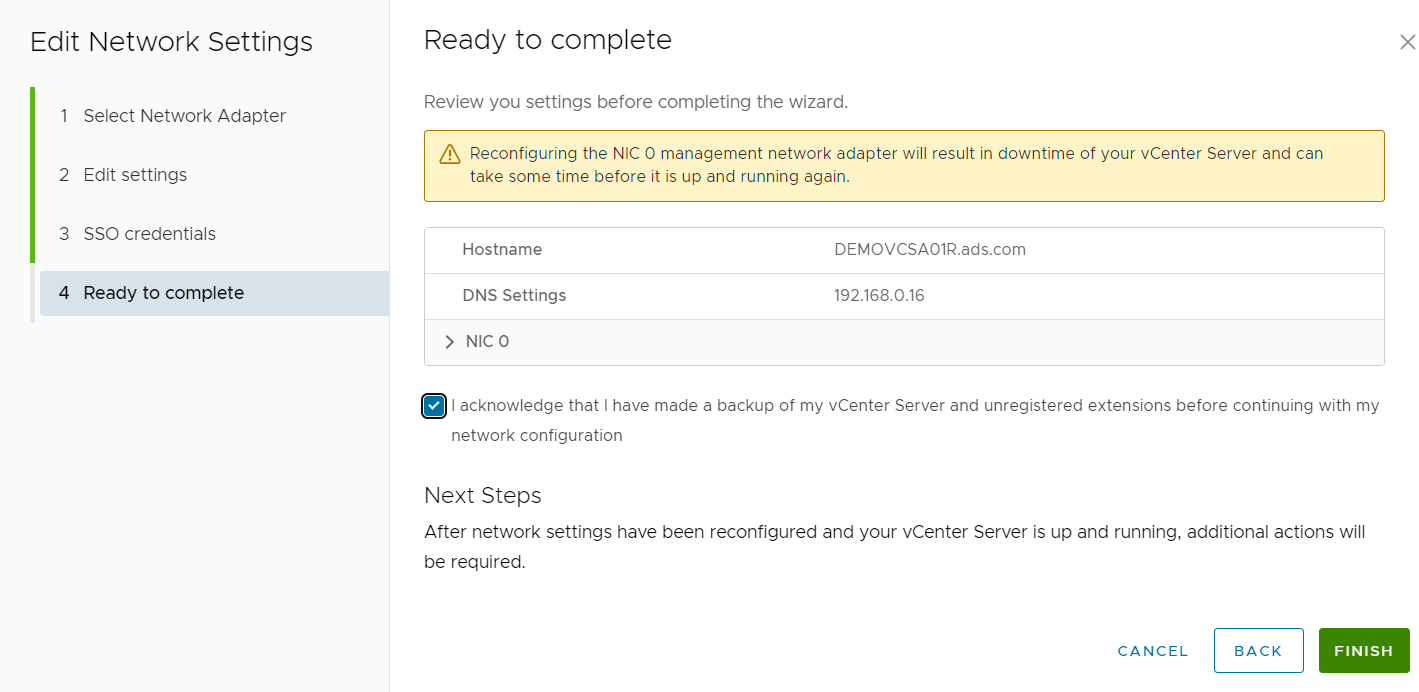
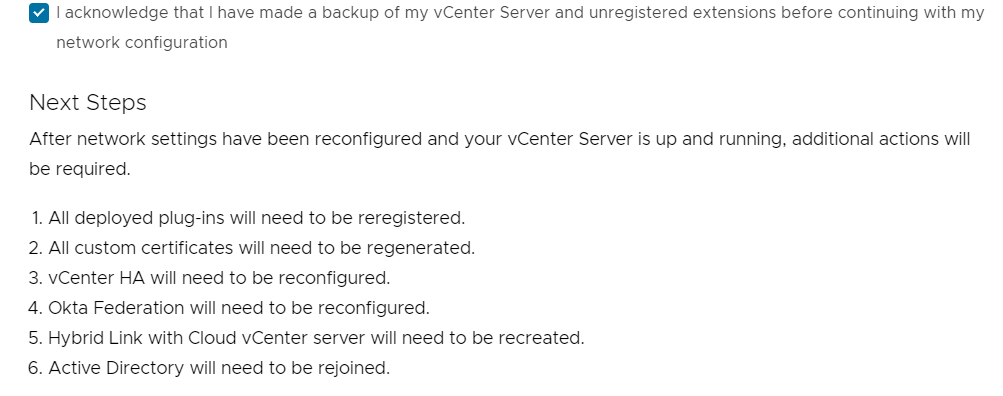
Acknowledge and click Finish
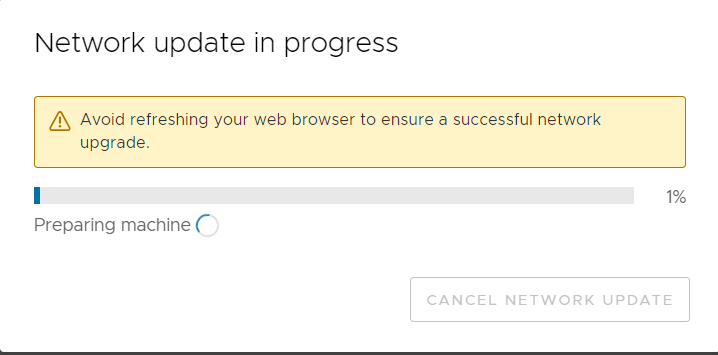
Once service will restart the VAMI page you need to reconnect.
Login with root password in VAMI page
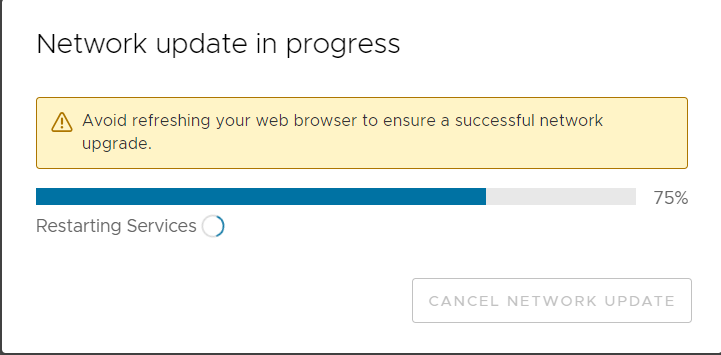
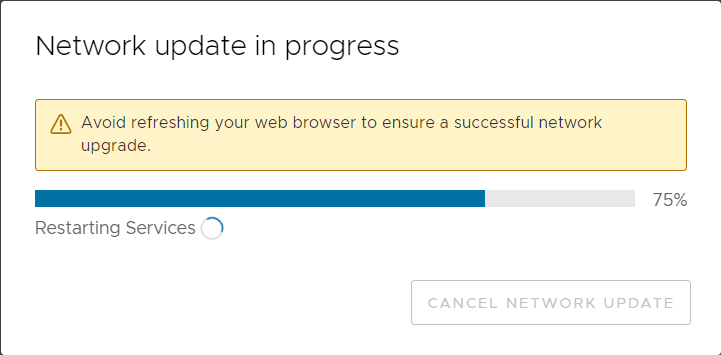
Wait for to restart all the services and complete the process
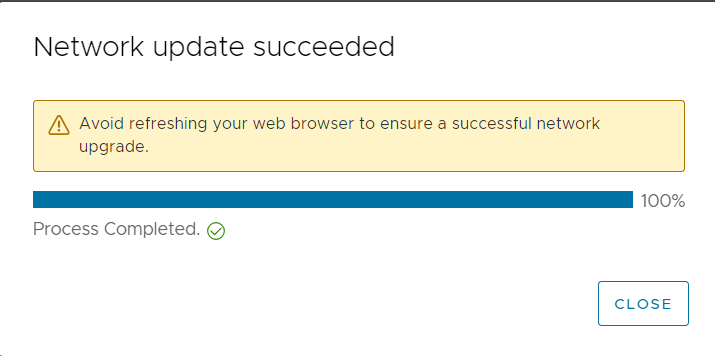
Refresh the page or re-login
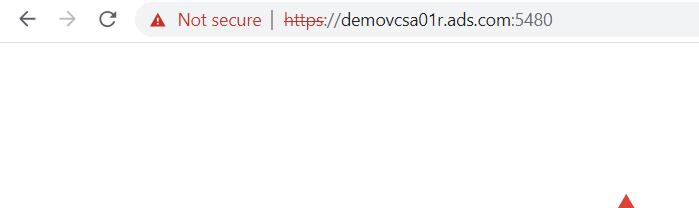
Use the new URL to access vCenter UI link
https://demovcsa01r.ads.com/ui


Nice Sir
ReplyDeleteplease make a notes on Site Recovery Manager and MDS and Brocade zoining both Hard and Soft zoining
ReplyDelete