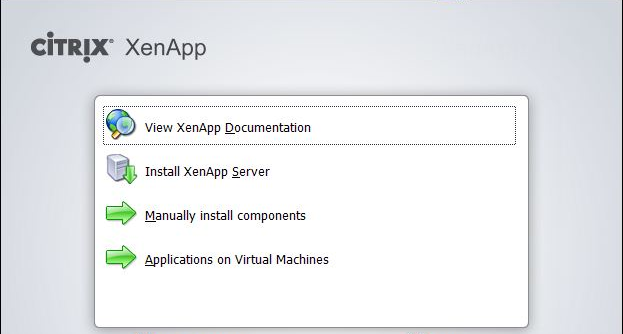
Open XenApp 6.5 setup folder >select Auto-run press enter

Click on Install XenApp Server
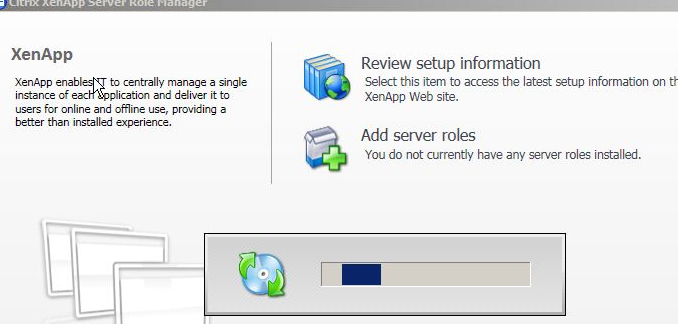
Click on Add server Roles

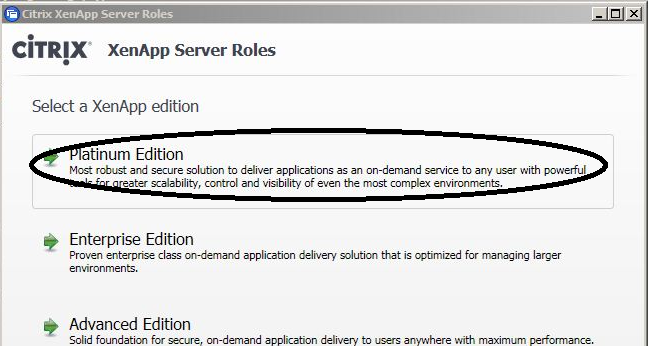
Click on Platinum Edition>
Accept license agreement > next

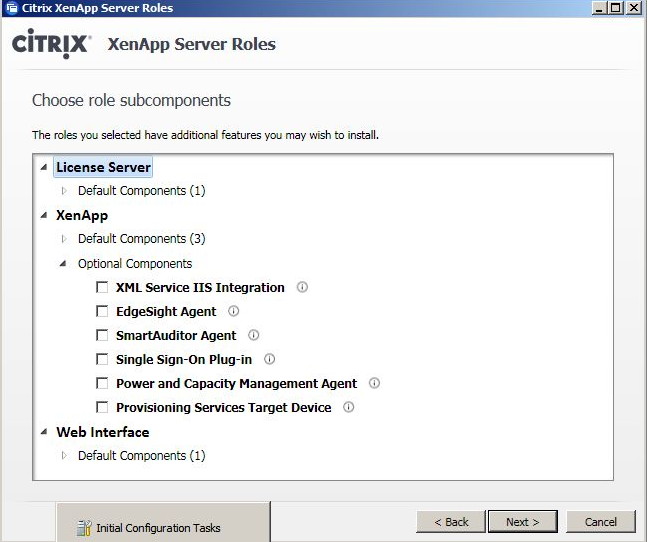
Select common Roles
License Server
XenApp
Web Interface

Click Next
Click on XML Service IIS Integration
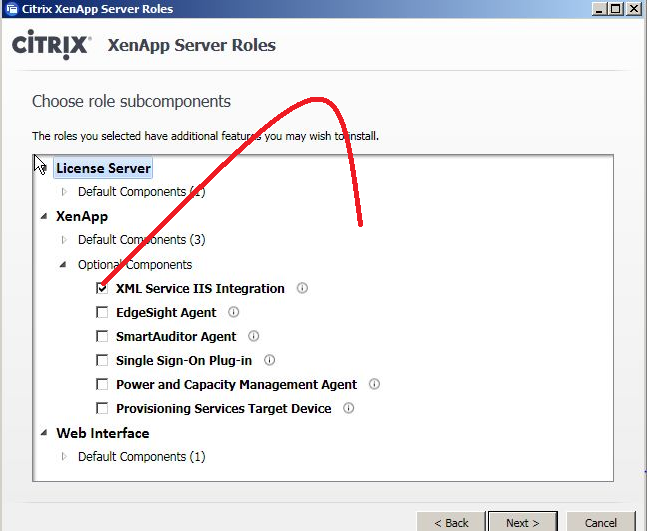
Click Next

Click Next> Install
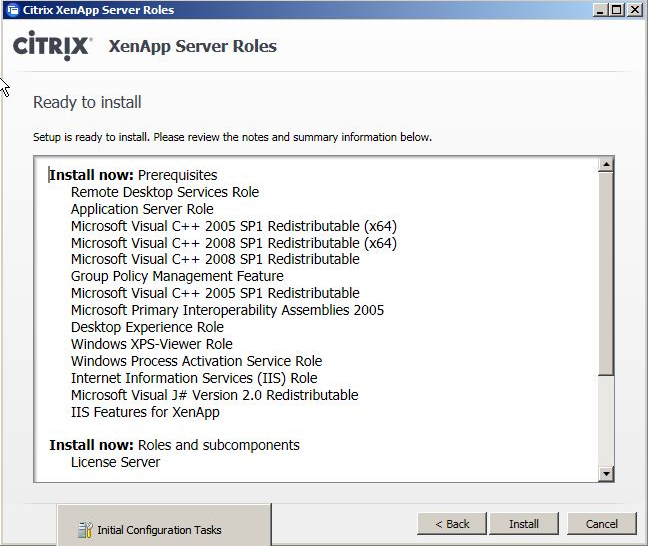
Click on Install
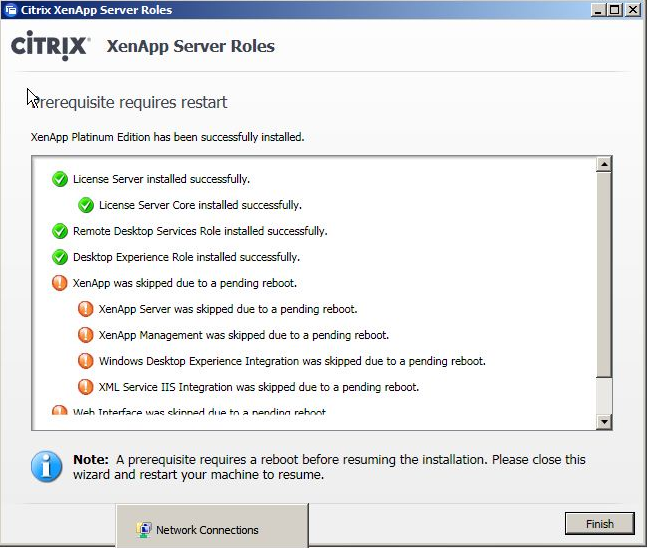
Click Finish>
Note -:your system will reboot and after reboot setup will auto resume.
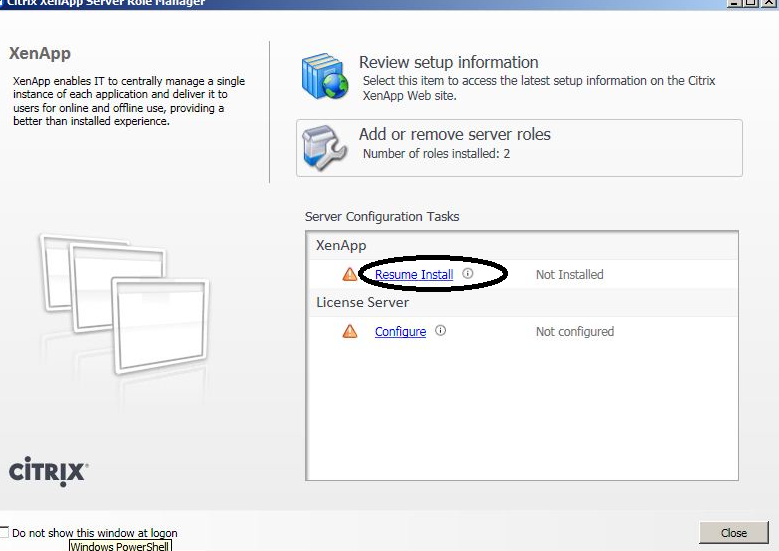
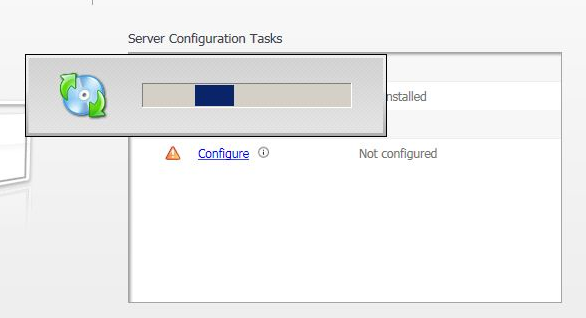
Click on Resume installation

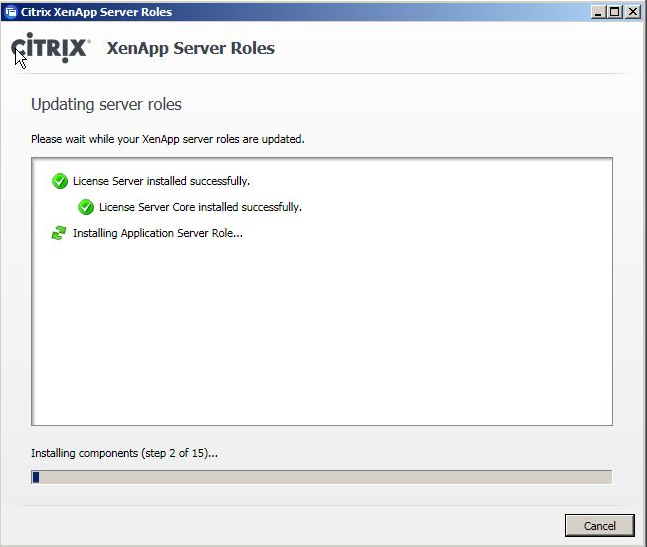
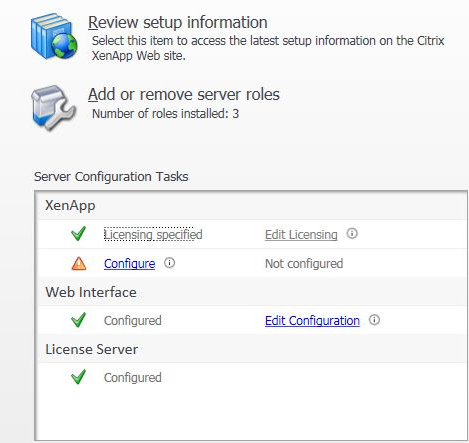
Note-: Once the setup will complete you will see below screen

Click on Web interface configuration
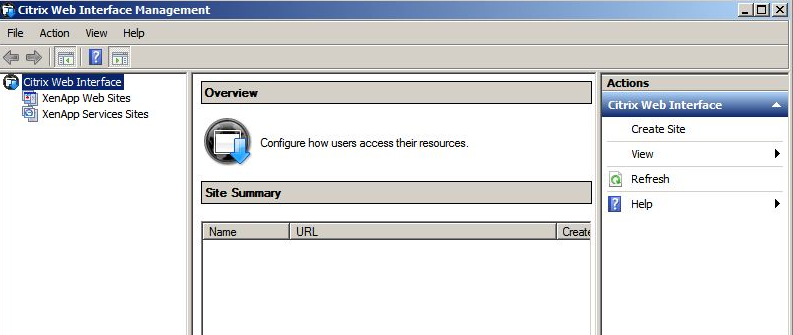
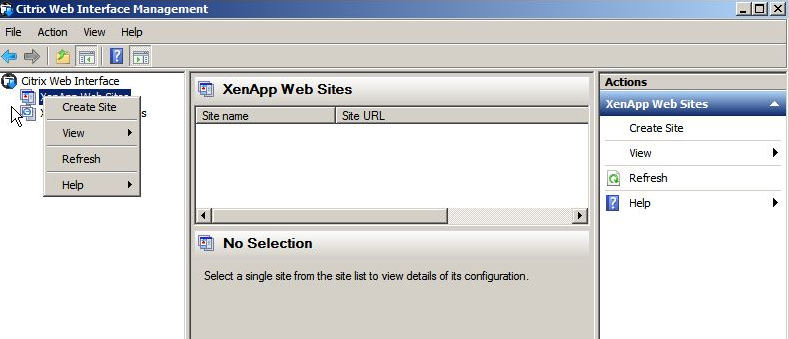
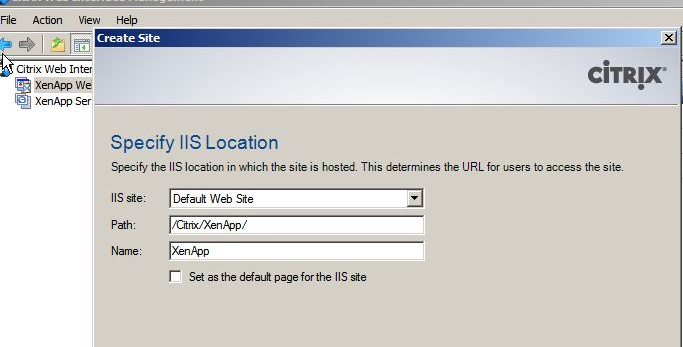
Right click on XenApp Website>Click on Create Site


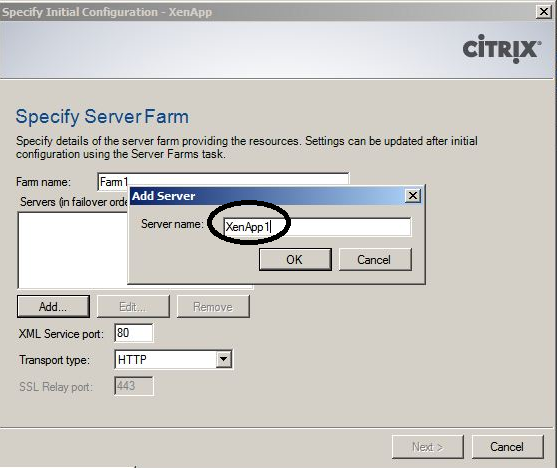
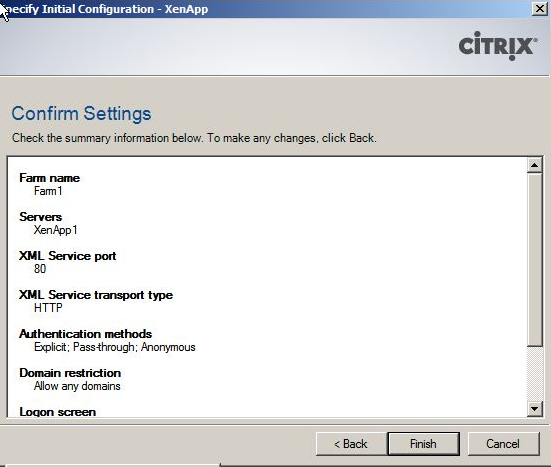
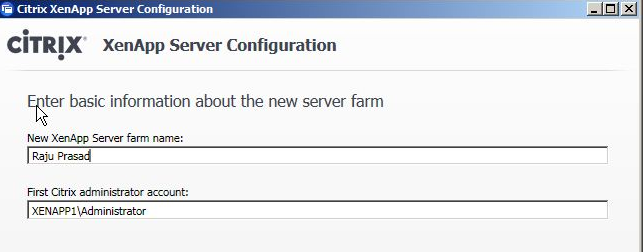
Enter Farm Name
Click on Add and enter your server Name here
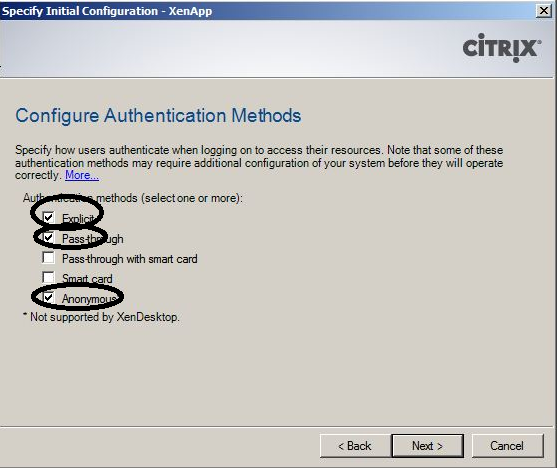
Select Authentication type that you want to apply for your XenApp users.

Select Allow any domain>next
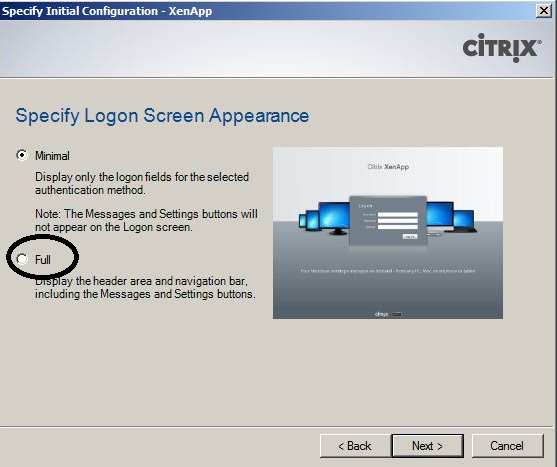
Select full screen appearance
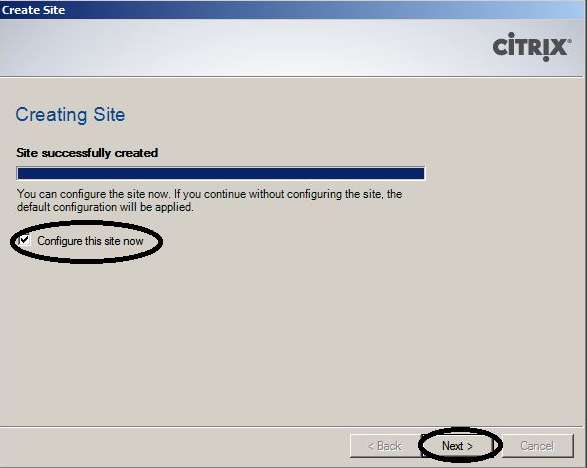
Click on Finish button
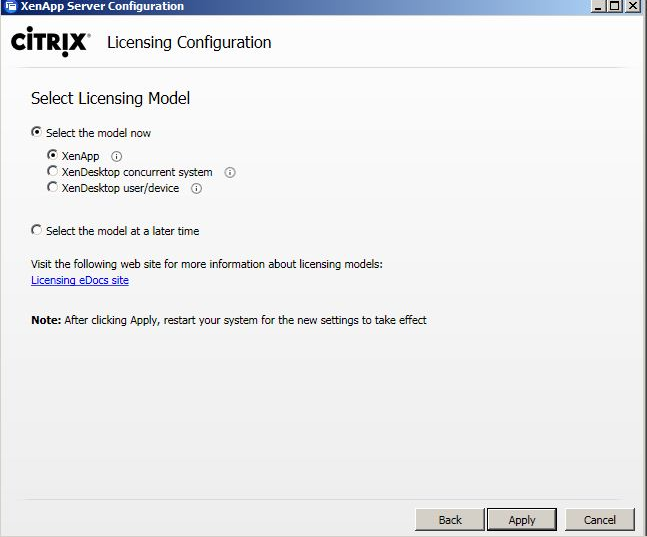
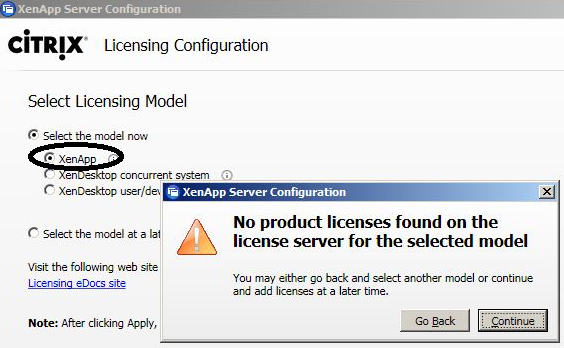
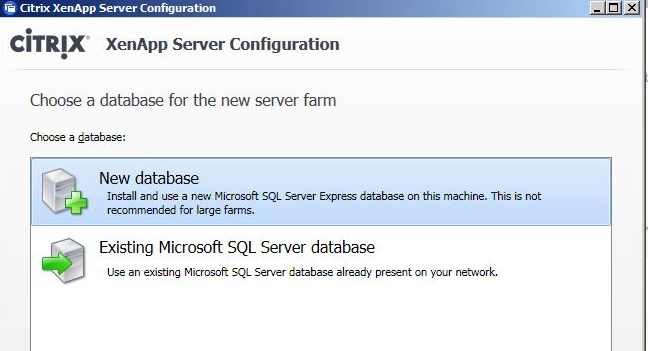
License Server configuration
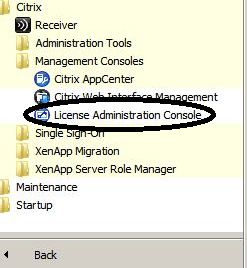
Start>citrix>Management Consoles>License Administration Console
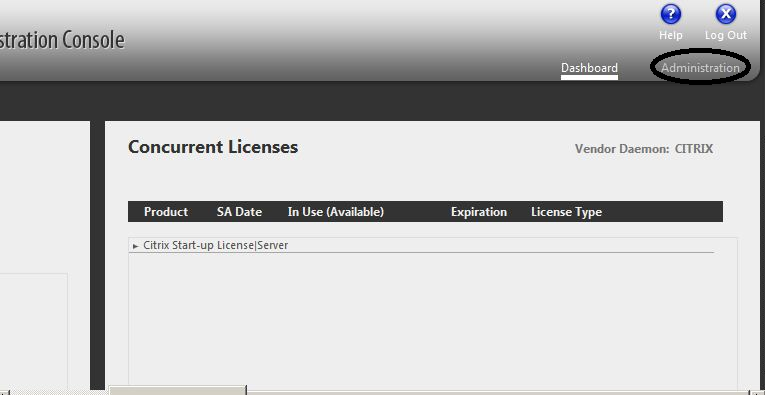
Click on Administrator
User ID-: enter user Name
Password-: enter password
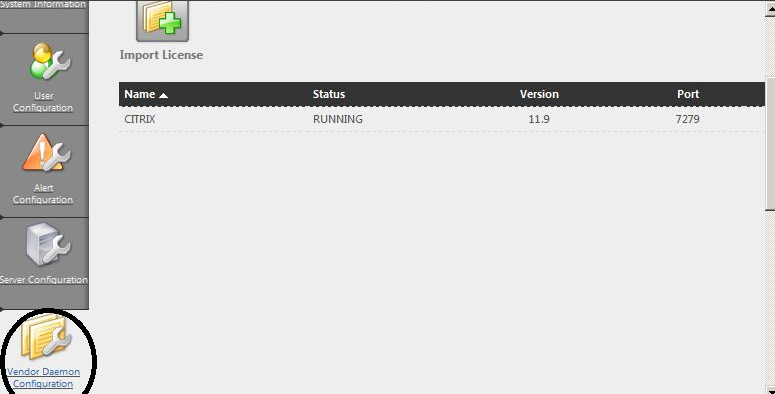
Click on Vendor Daemon

Click on Import License
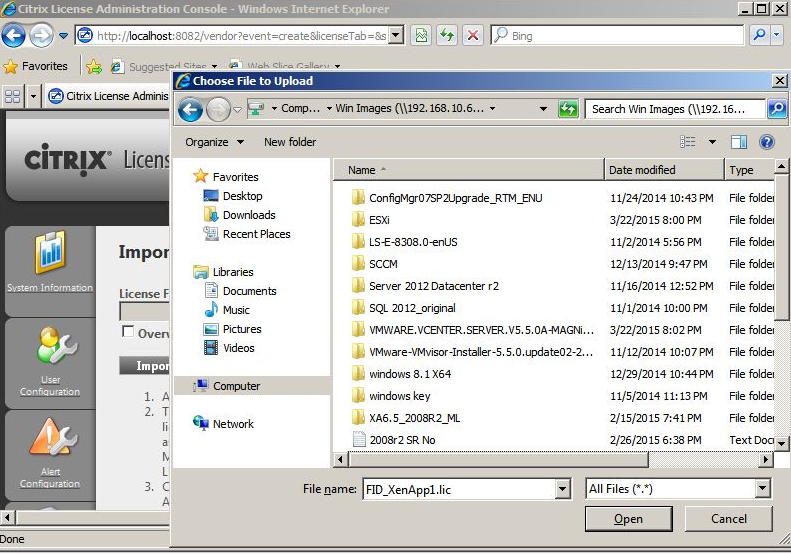
Click on Browse and and define the license file(.lic) path.

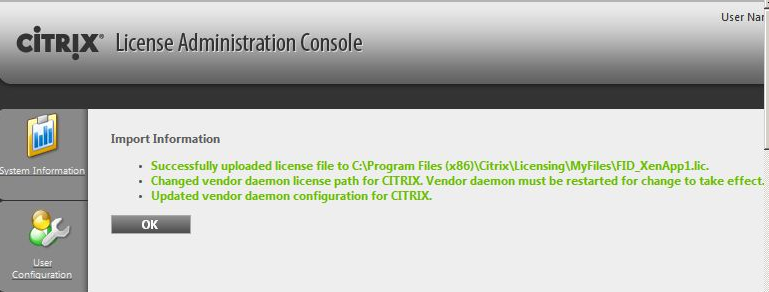
Click >Ok
How to configure License server Name

Enter License server Name this name should be your computer Host Name

Click on Test connection>close>next


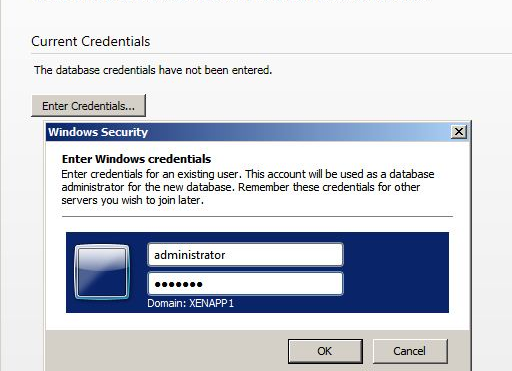
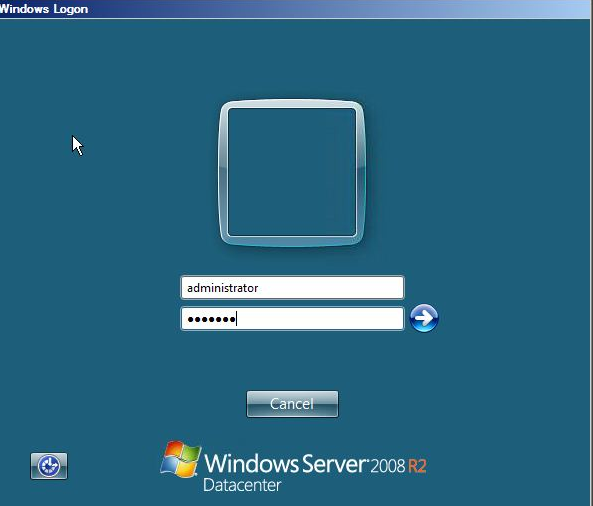
Enter login credentials>ok

Select Allow shadowing of user session if you want
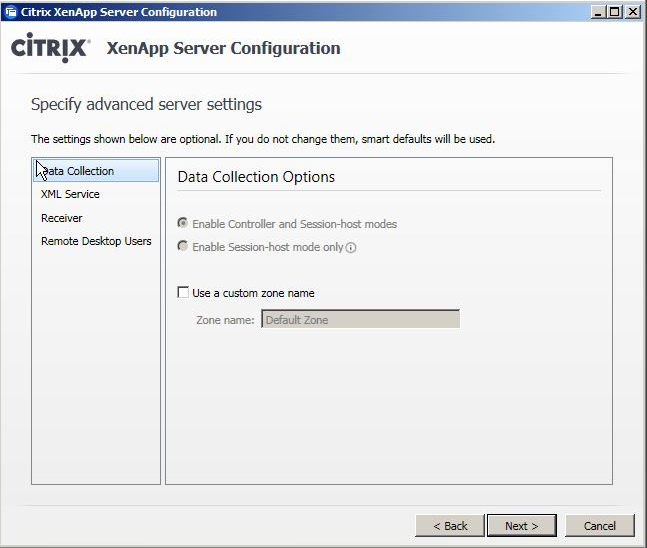
Enter Zone Name if you want to or leave it default Zone>
XML Service> you can change port number if you want
Receiver > Assign receiver path for access Applications or Desktop.
Remote Desktop user>Assign access to user who can access or not.

Click Apply
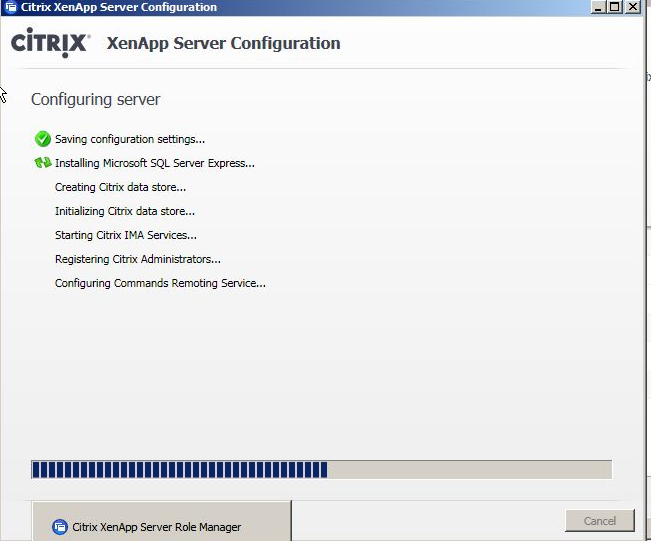

Click on Finish and let the server reboot if server does't reboot.
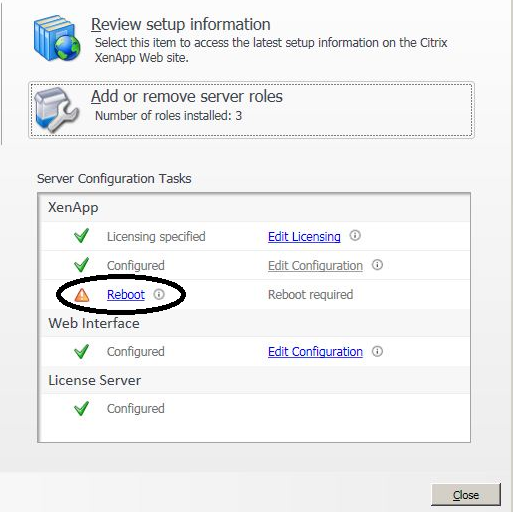
Click on Reboot>
How to configure AppCenter on XenApp server for map application
Start>citrix>Management Consoles> Cirtix AppCenter>

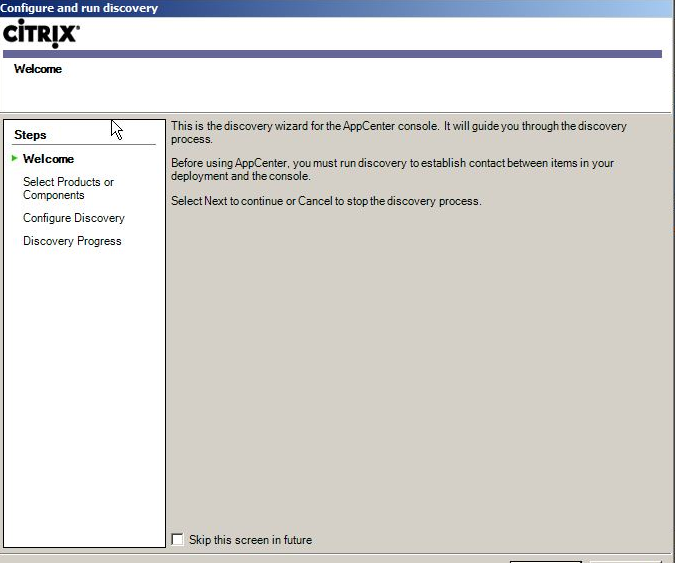
Click >Next

Select XenApp

Click on Add Local Computer
Click on Add>Select server Name here form the list
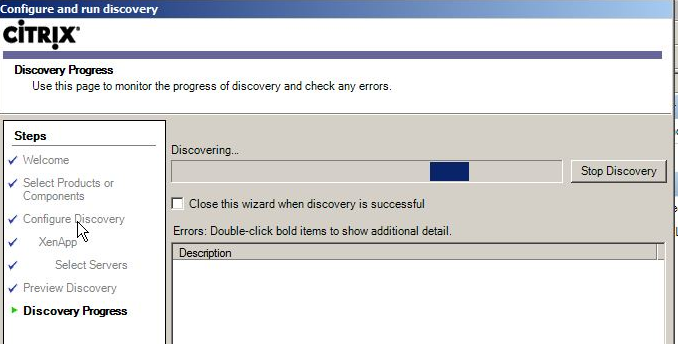
Once Discovery will complete a successfully Discovery completed message will display on the screen
How to publish Application on XenApp server
Open Citrix AppCenter>
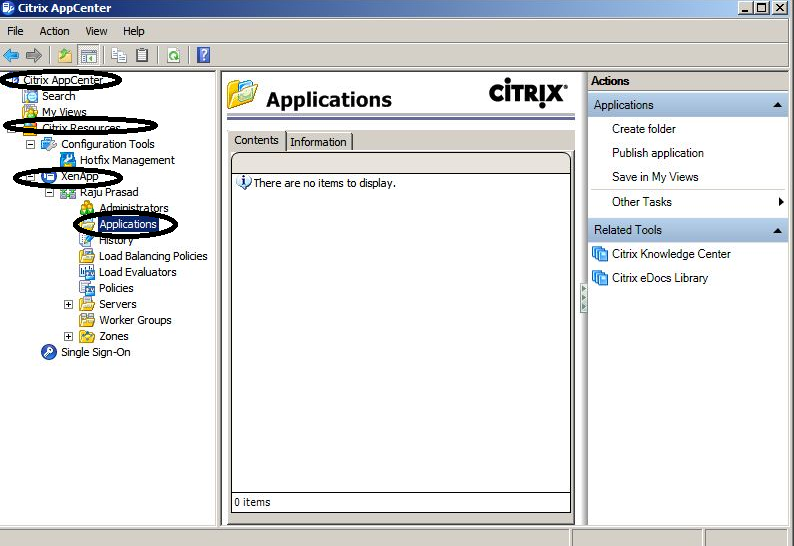
R.C on Application>Publish Application


In Display Name type the Application Name
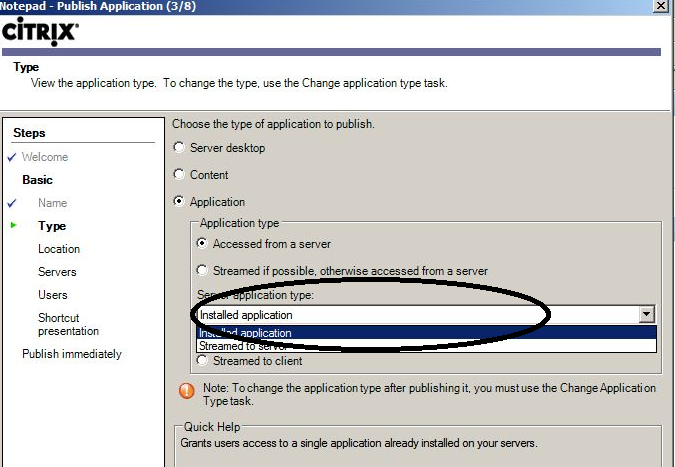
Select installed Application>Next
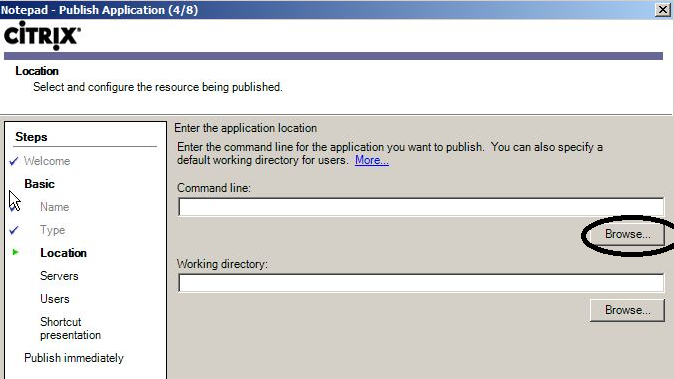
Click on Browse>Next
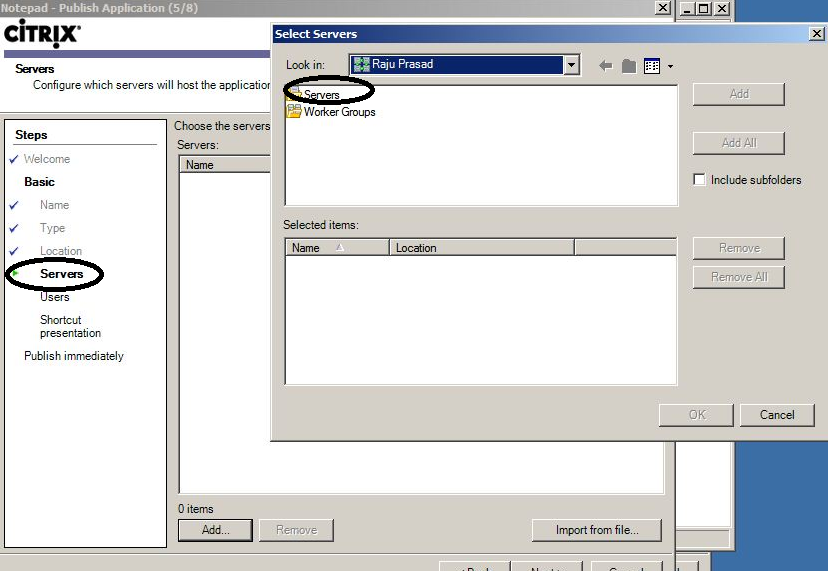
Click on Add>Select Server>Select server Name

Click Add>Ok

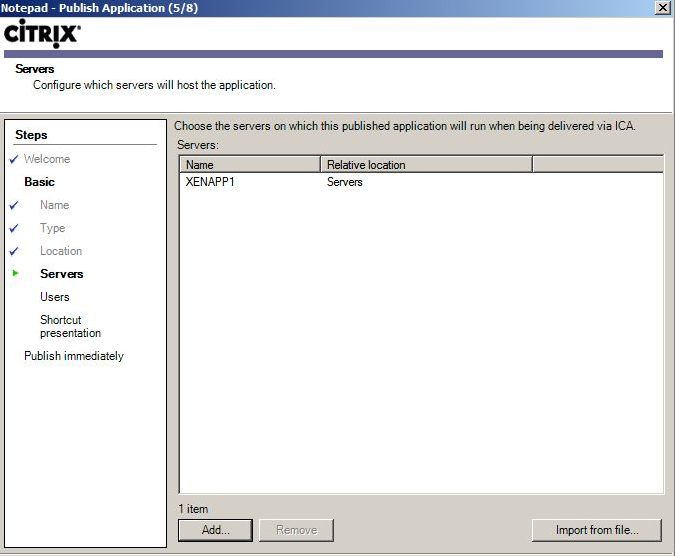
Click Add and select server Name.

Click users
Select Allow anonymous users(If you want to give access to every one)
Select Allow only configured users(If you want to assign access to user separately)
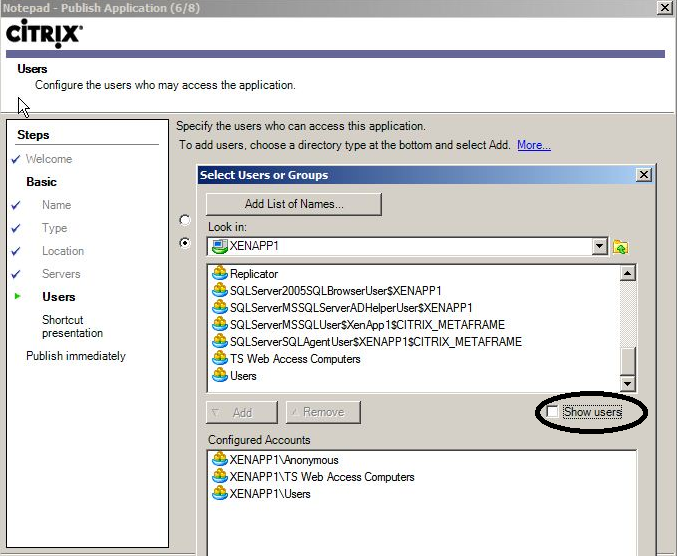
Click on Select Users from list

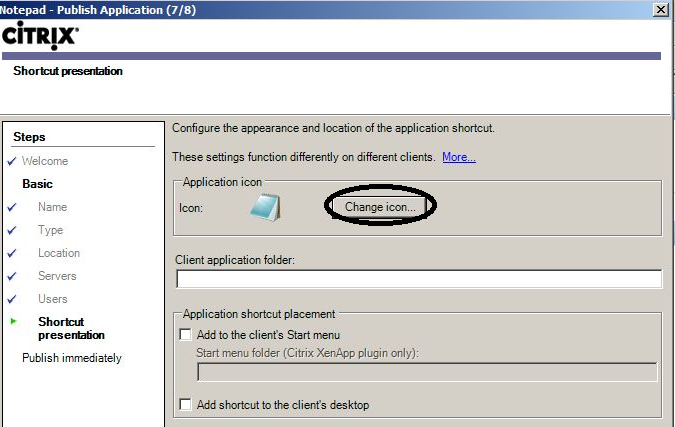
Click on change Icon if you want.

Now Click on finished

Now finally Notepad has been published on Citrix XenApp.
How to Open this published application if you are on server side
Now open IIS >XenApp
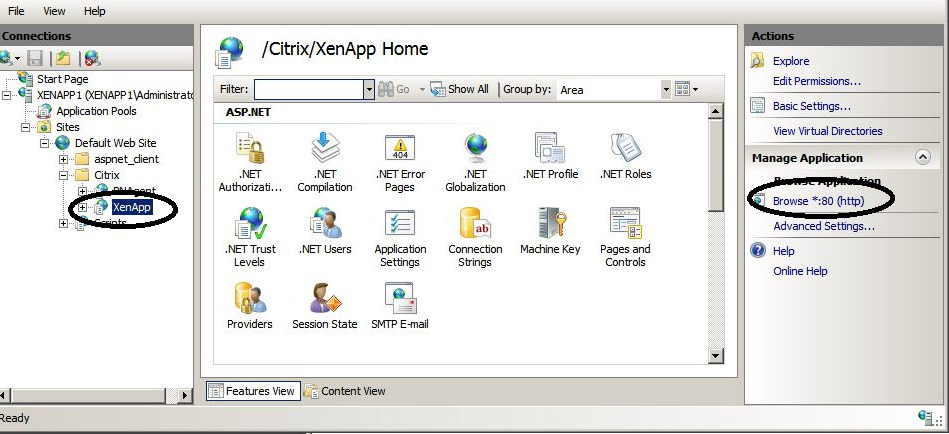
Click on Browse
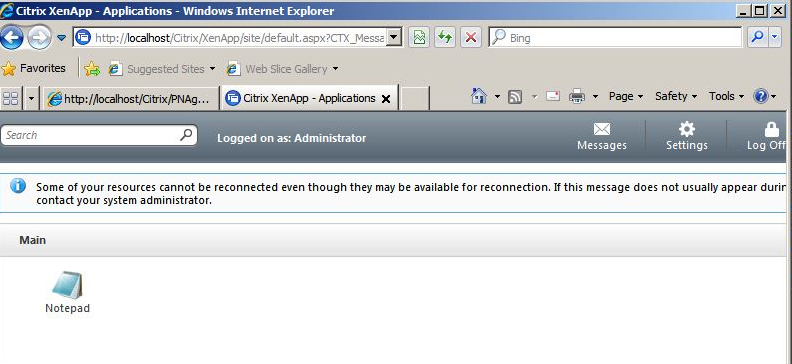
Now Click on Notepad
Enter User Name
Enter Password


Nice Article
ReplyDelete