ESXi hosts can be updated manually downloading the patch ZIP file from the VMware download page and installing the VIB by using the esxcli software vib command. Additionally, the system can be updated using the image profile and the esxcli software profile command
Before up-gradation we can
take ESXI host backup
First install VMware PowerCli
Connect your ESXI or vCenter with powercli
Connect-VIServer IP “VC or ESXI IP”
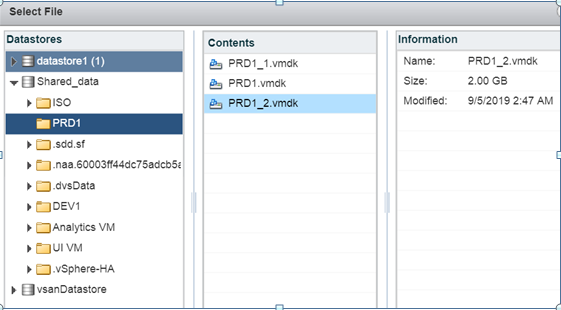
Create one folder in destination drive.
D:\Backup
Set-VMHost -VMHost ESXi_host_IP_address -State 'Maintenance'
How to restore VMware configuration
Before restore the ESXI configuration place your ESXI host
into maintenance mode
Set-VMHost -VMHost ESXi_host_IP_address -State 'Maintenance'
Download patch from below
link-:
https://my.vmware.com/group/vmware/patch#search
Place downloaded file into
local Datastore on ESXI host
Migrate all VMs to running
ESXI host
Place ESXI host into
maintenance mode using below command
vim-cmd hostsvc/maintenance_mode_enter
Command need to Run to
update new patch level.
esxcli software vib update –d /vmfs/volumes/5d1af13d-5309ef01-05a3-000c29ac6ffb/ESXi650-201710001.zip

Reboot the ESXI host
Now remove from maintenance mode
vim-cmd hostsvc/maintenance_mode_exit


